B550, B650, B750, B850, B950 etc.
Introduction
Every few years, for reason way above my pay-grade, the method or process for installing Windows on a RAID array finds itself having an exponentially more overly complicated and convoluted means of manifesting itself with you, the user, as its slave. I really wanted to use the Di$ney Fanta$ia drawing to describe you the user, you know the part about the broom carrying buckets of water as a slave to that mouse creature who manifested it, but apparantly there is a public private lobby which had occurred to convolute the original intent and purpose of copyright falling off into the public domain until pretty much everyone involved, and their grandchildren, is dead.
(satire, bastads)
That’s another story, but the point is - copyright law has evolved from encouraging, to stifling, creative enterprise. In spite of this being REPUGNANT to the US Const. In spite of Marbury v. Madison (1803) enumerating that I can engage in my preceding, and inalienable rights with impunity. And this lobbying was no mistake. Anyhow, I was talking about RAID for AMD on B850+ chipsets, not intellectual raping and pillaging as permitted by decades of public private lobbying without consideration for We, The People…
Our Use Case for AMD Hardware (Motherboard) RAID is RAID as Windows Boot Drive
But first, lets see what my friend from origins of Lore, that of Tek Syndicate, has to say about it:
")
Oh… $hit…
Well, that’s ok, by customer request we are doin’ it anyways…
NVME / m.2 for RAID native to motherboard is probably still yet the right way to do it, seeing as how Windows doesn’t seem to like simple software RAID solutions such as Linux Software RAID (mdadm).
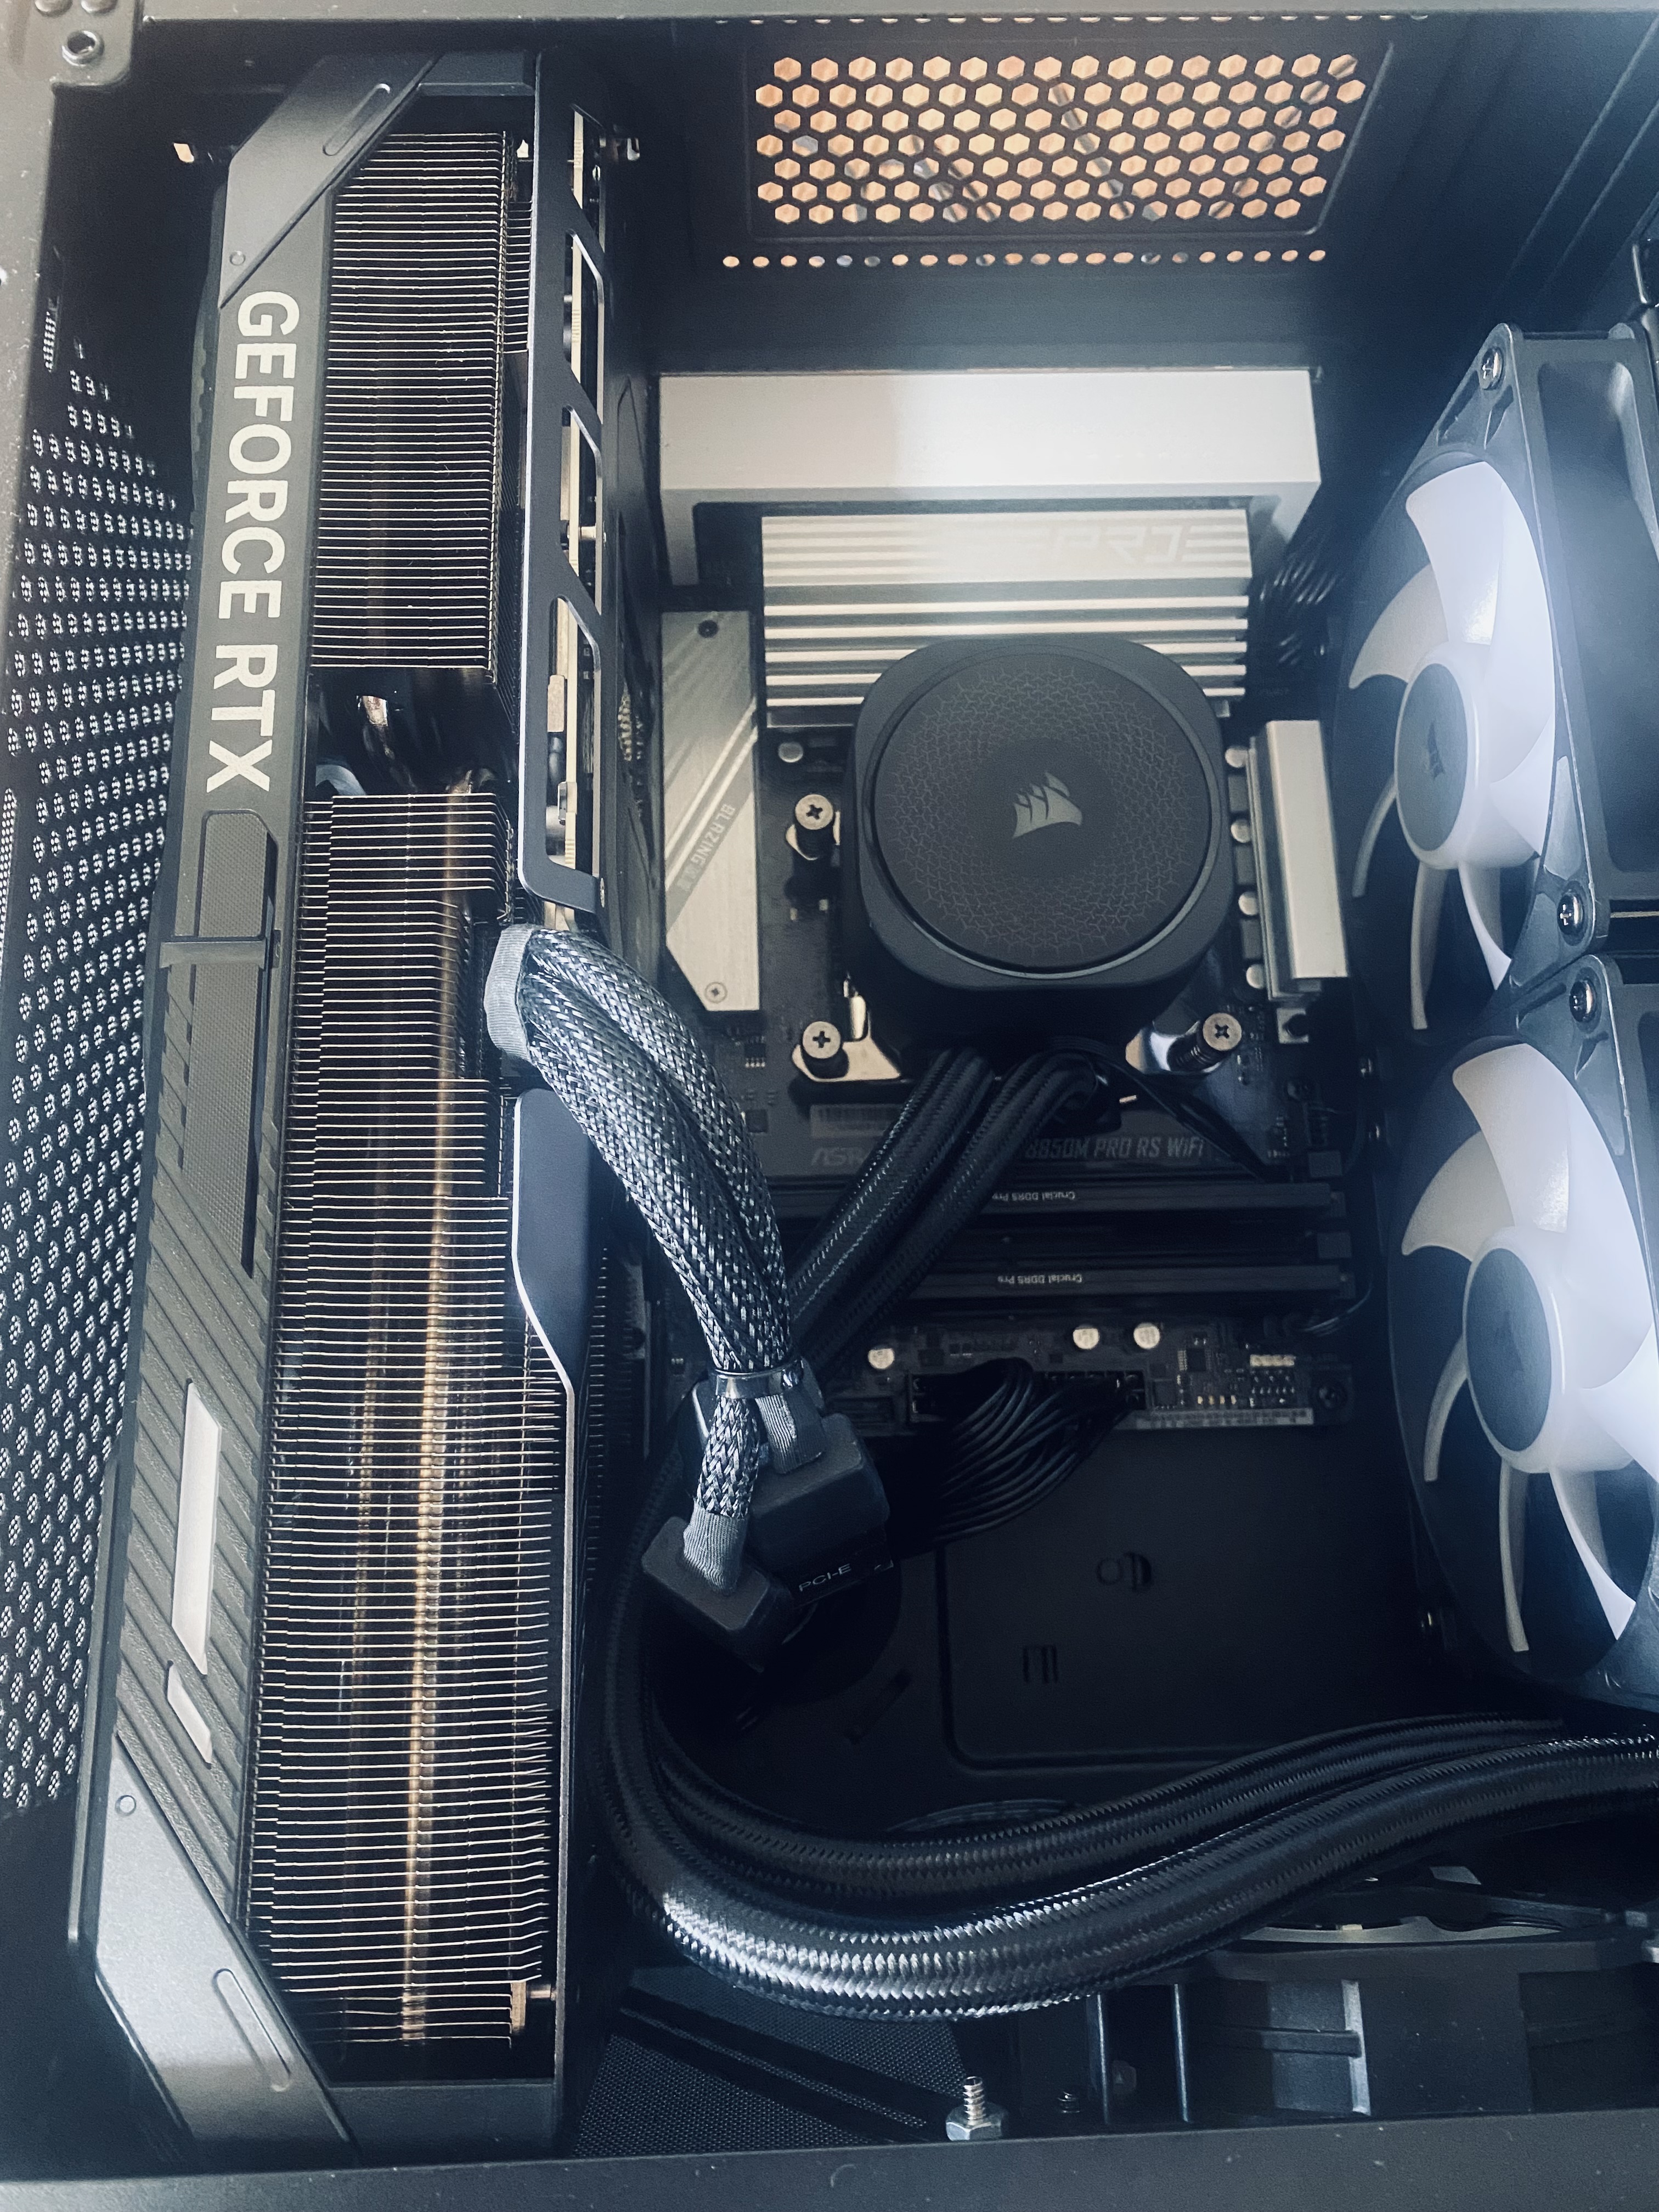
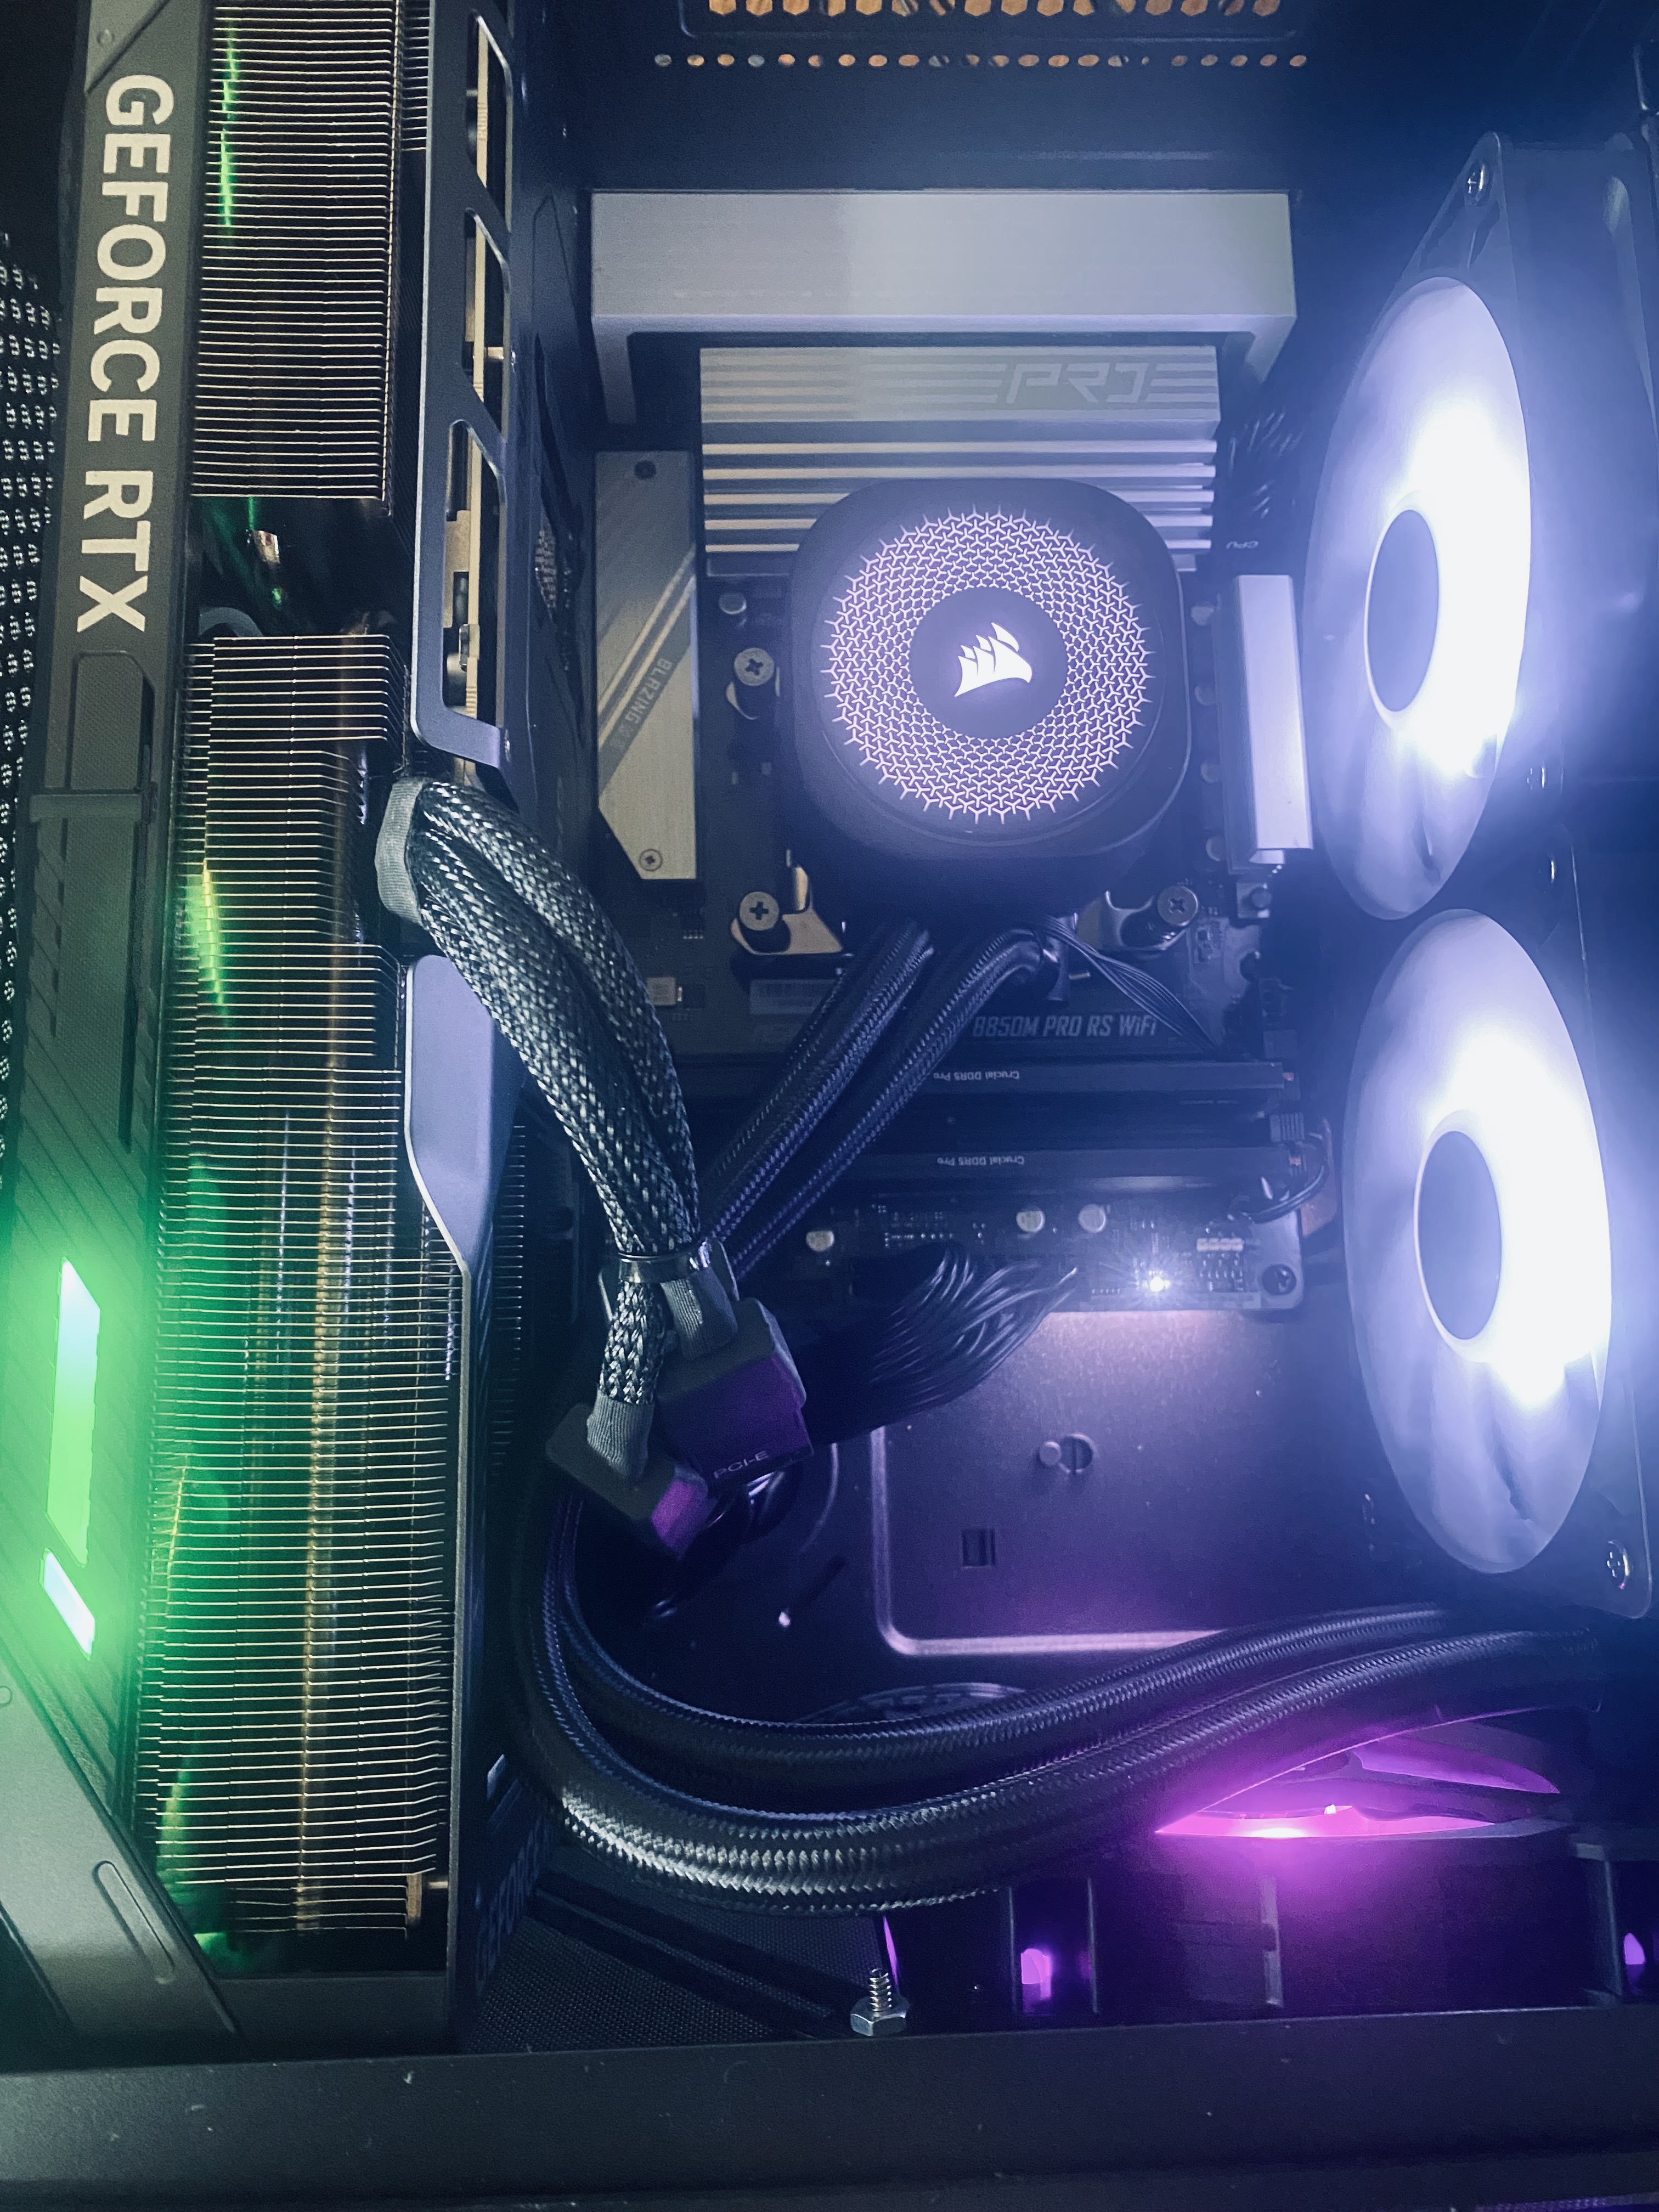
Our particular configuration at hand is an ASRock B850M PRO RS WIFI AM5 AMD B850 SATA 6Gb/s Micro ATX Motherboard. A sweet little guy, but darn if it’s not difficult to get a RAID1 for NVME / m.2 working on it!
Resolve second M.2 / NVME not recognized by bios
In order to future-proof the machine, I didn’t want to populate the only Gen5 M.2 slot on the motherboard. Instead, I wanted to place the two Gen4 M.2’s on the lesser M.2 slots which max out at Gen4 speeds.
So if you’re like me, you attempted to install one of your M.2’s in a slot which inadvertently disabled the other. So if you’re scratching your head as to why only one M.2 is recognized for a B850 or B850M by Asrock, here’s why:
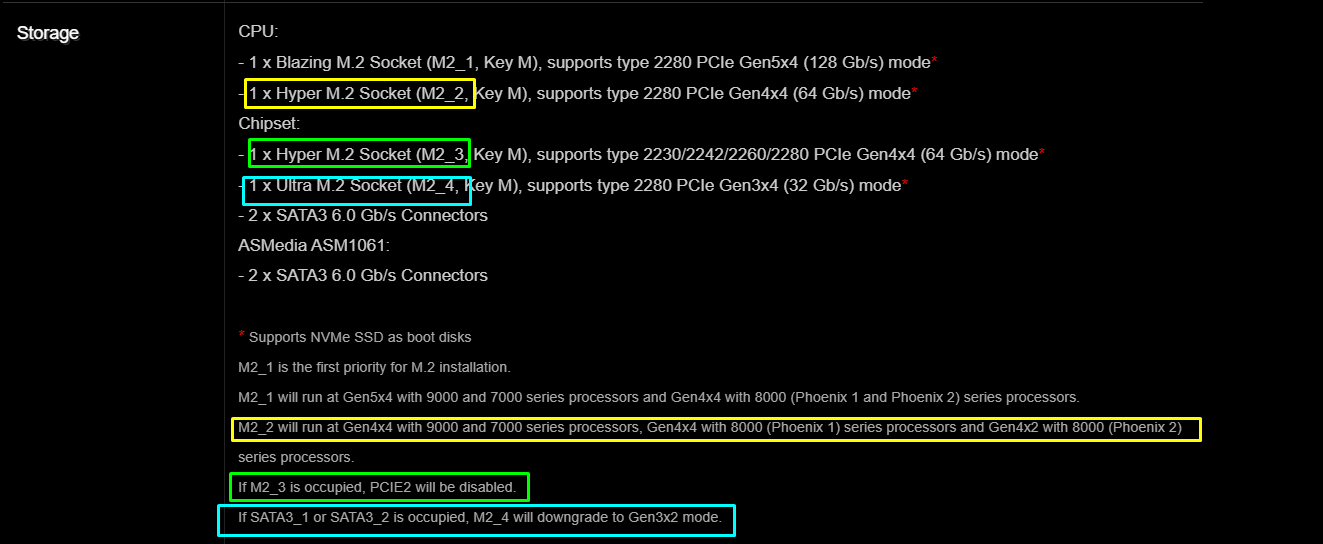
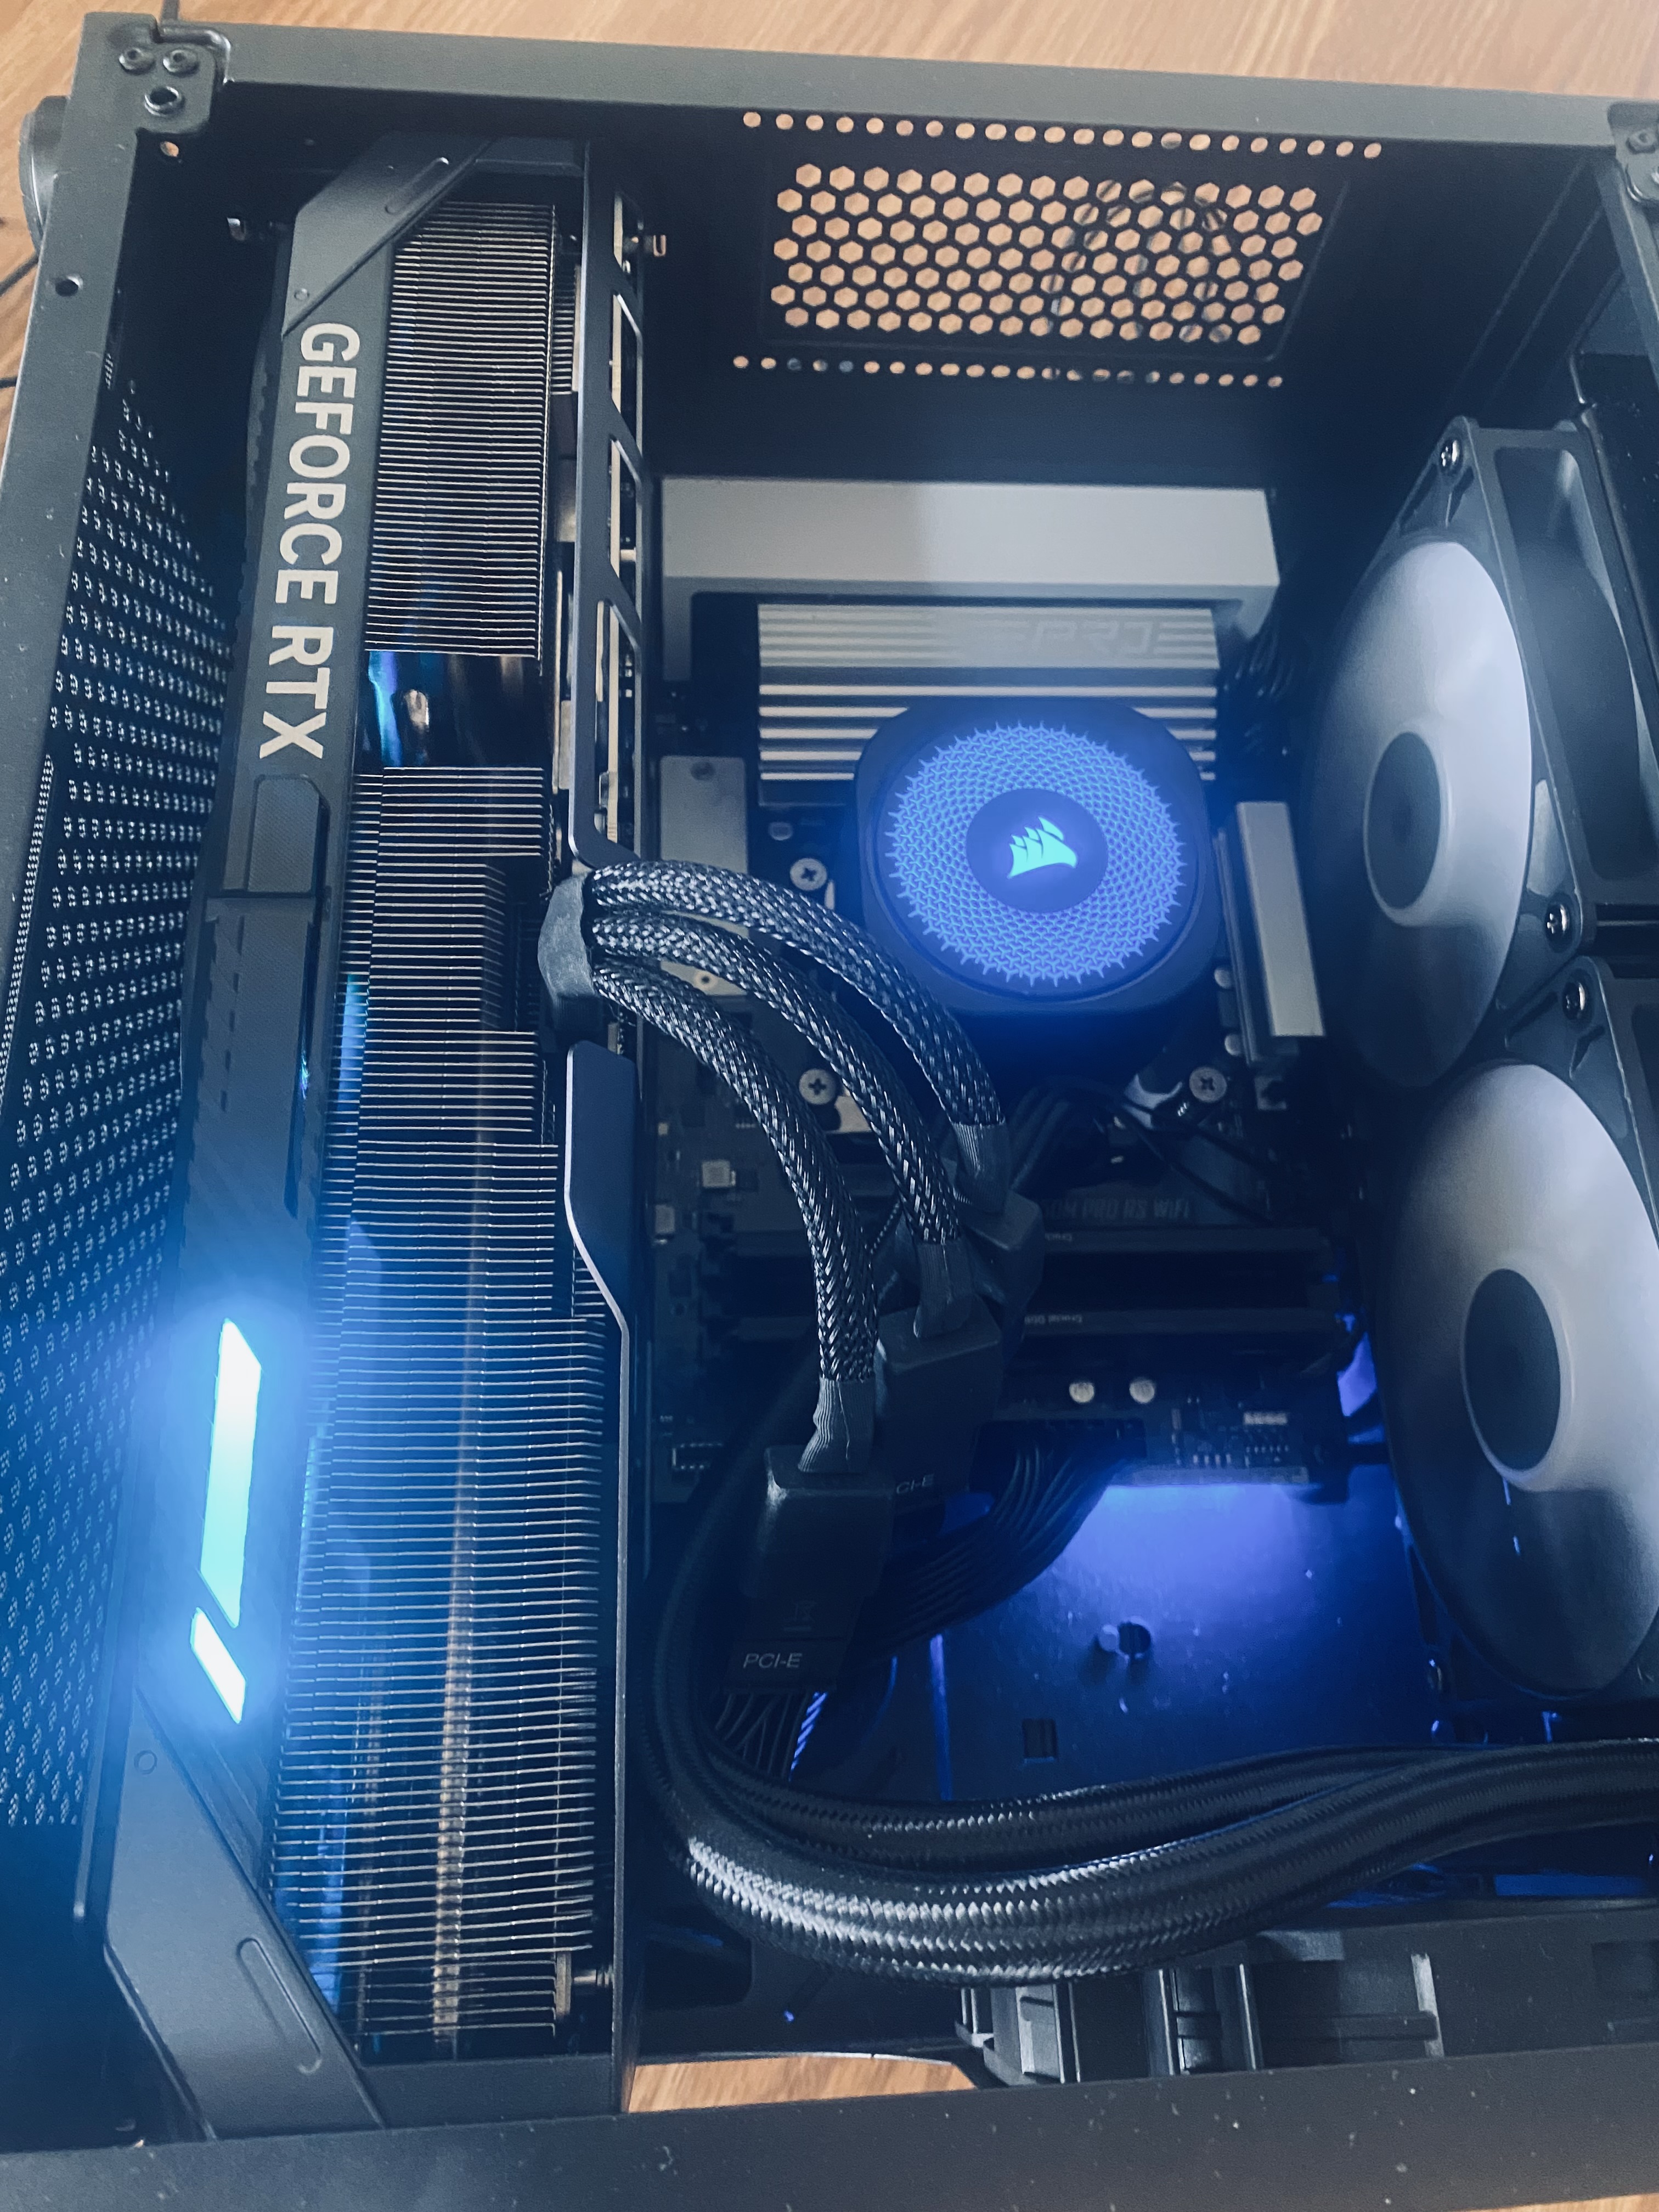
This was resolved by re-arranging my M.2’s. I temporarily placed one M.2 in the primary Gen5 M.2 slot. I then moved it back. Therefore I still have my primary Gen5 M.2 slot ready and able to receive a sweet upgrade in the future. If you’re like me, you wished somebody told you about this, that M2_3 being occupied disables the other M2 slot, all else equal, before wasting a few hours in bios instead of pulling out the megaladon RTX 5070 Ti (it’s really too big, isn’t it?) to play musical chairs with your NVME / M.2’s. I’m not clear on why it works after re-arranging our M.2’s, but this is pretty common in hardware actually.
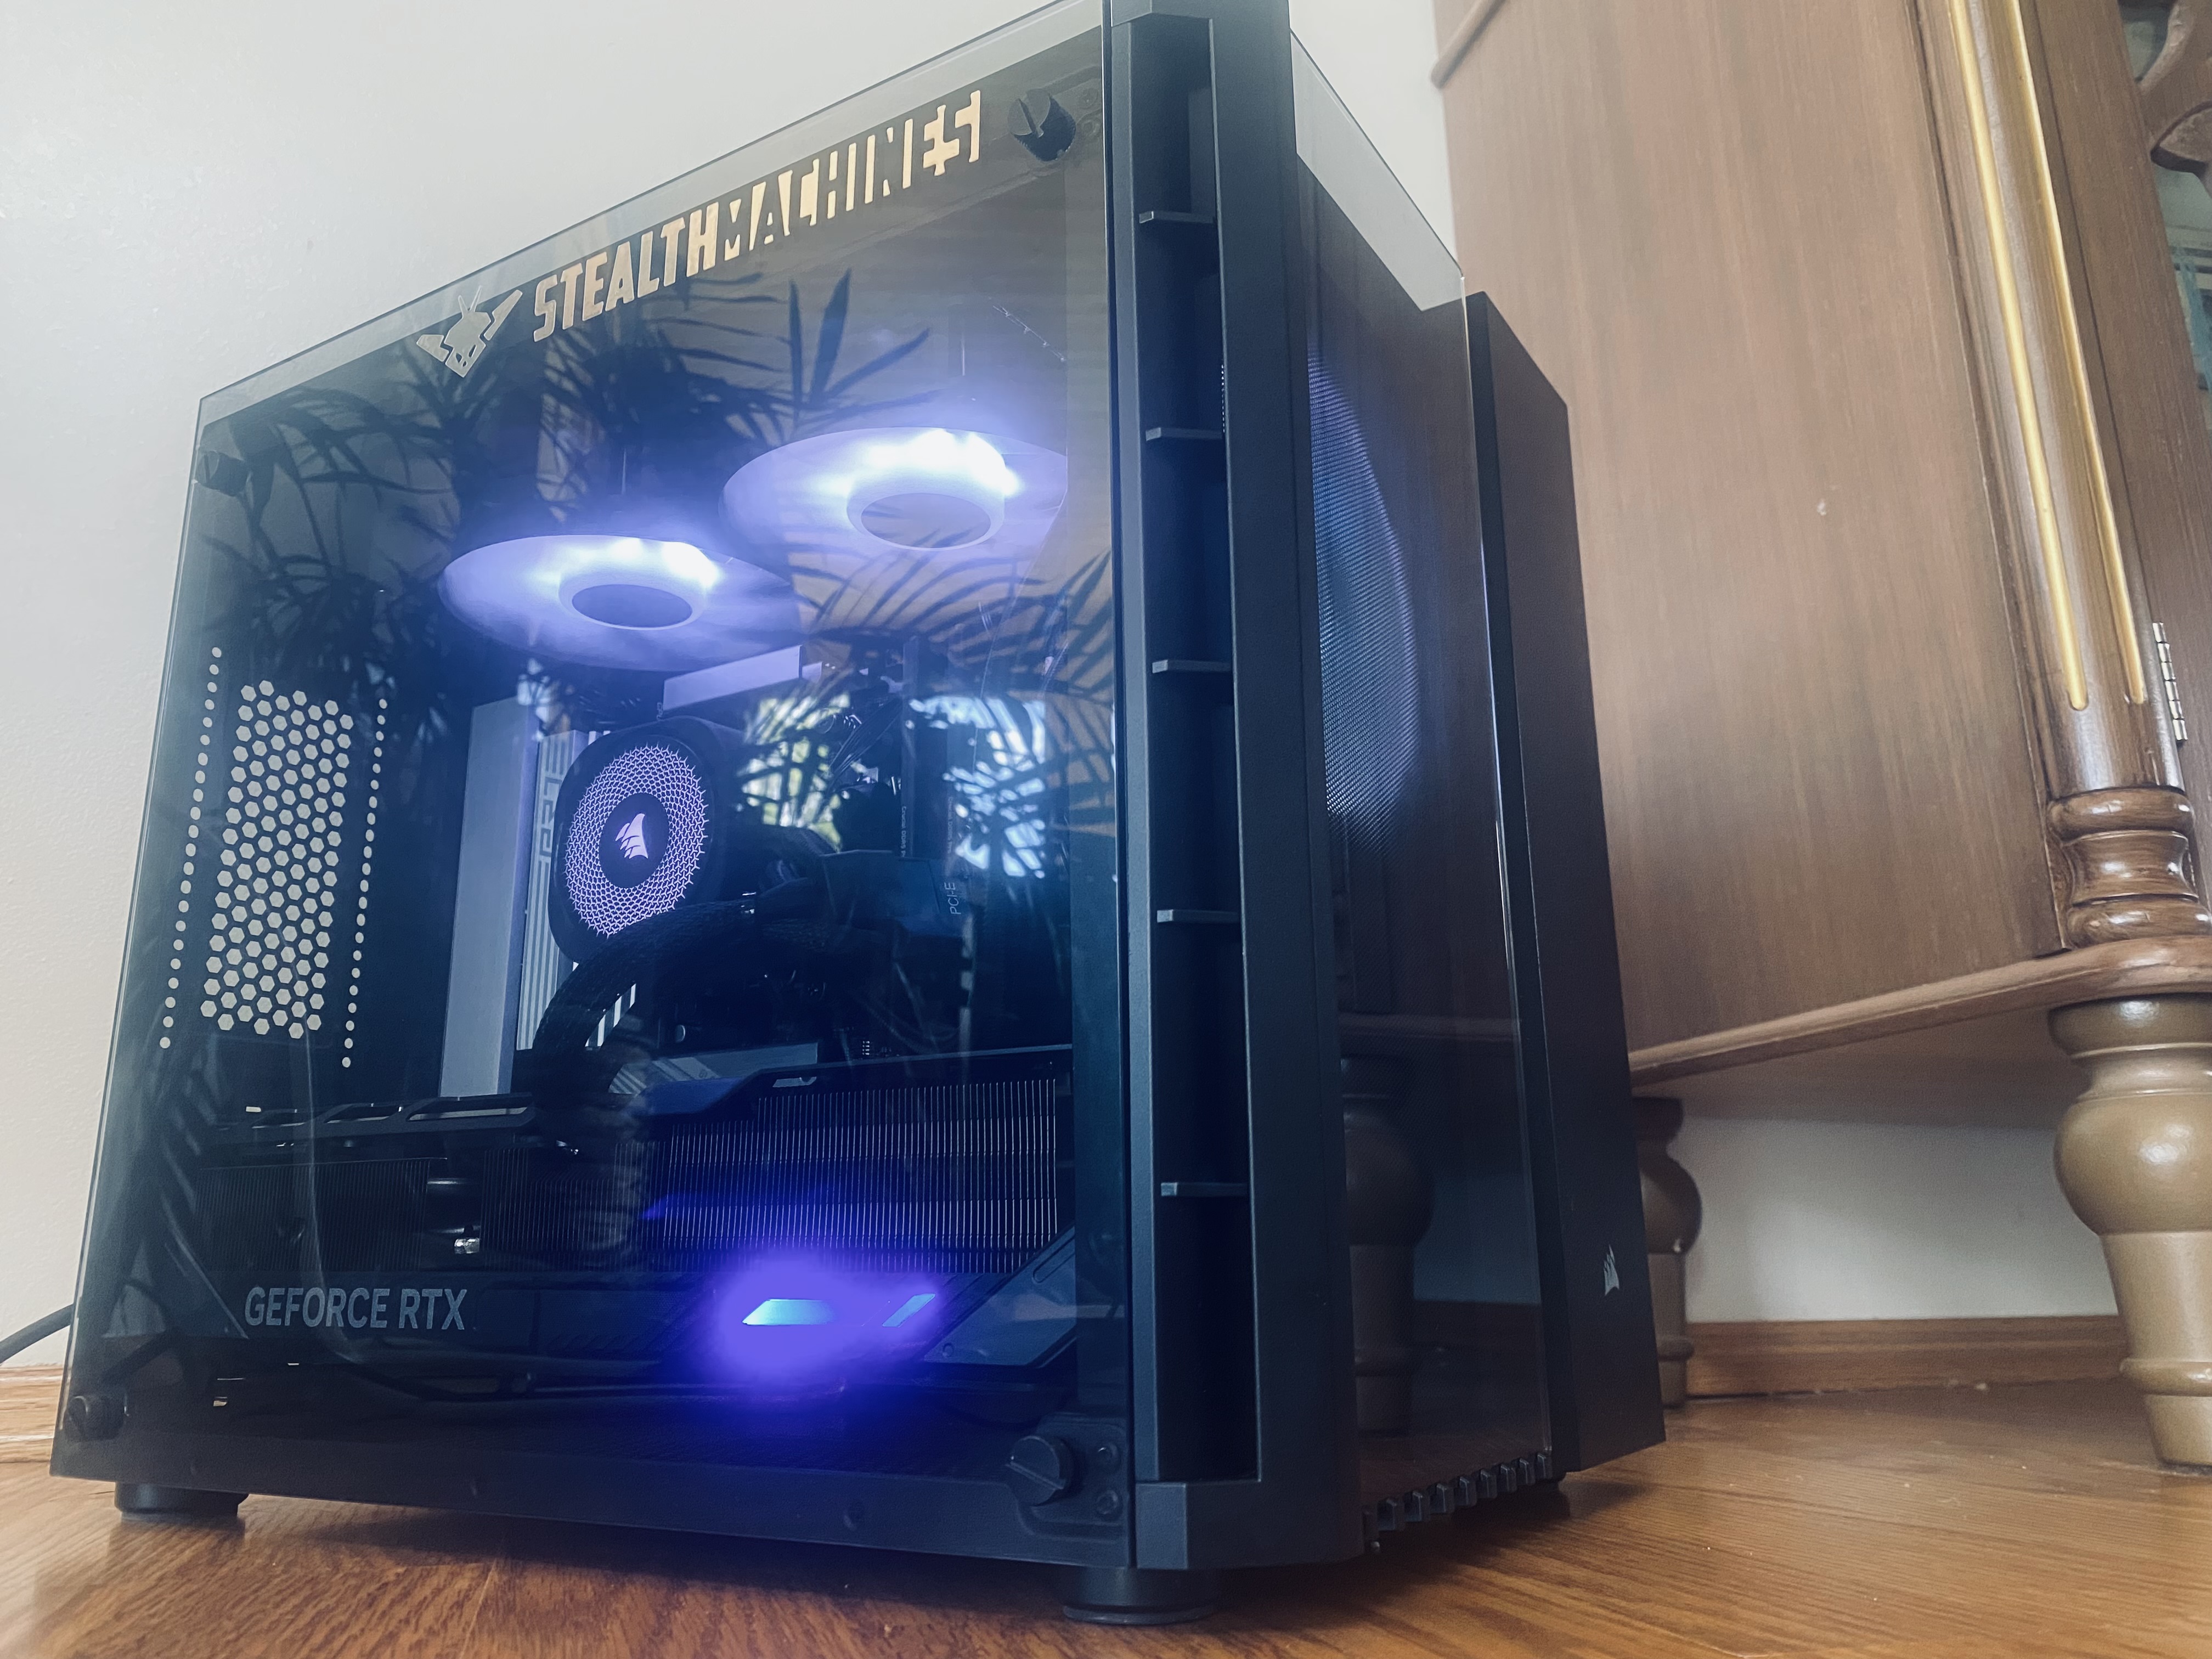
Full Specs for this build were as follows:
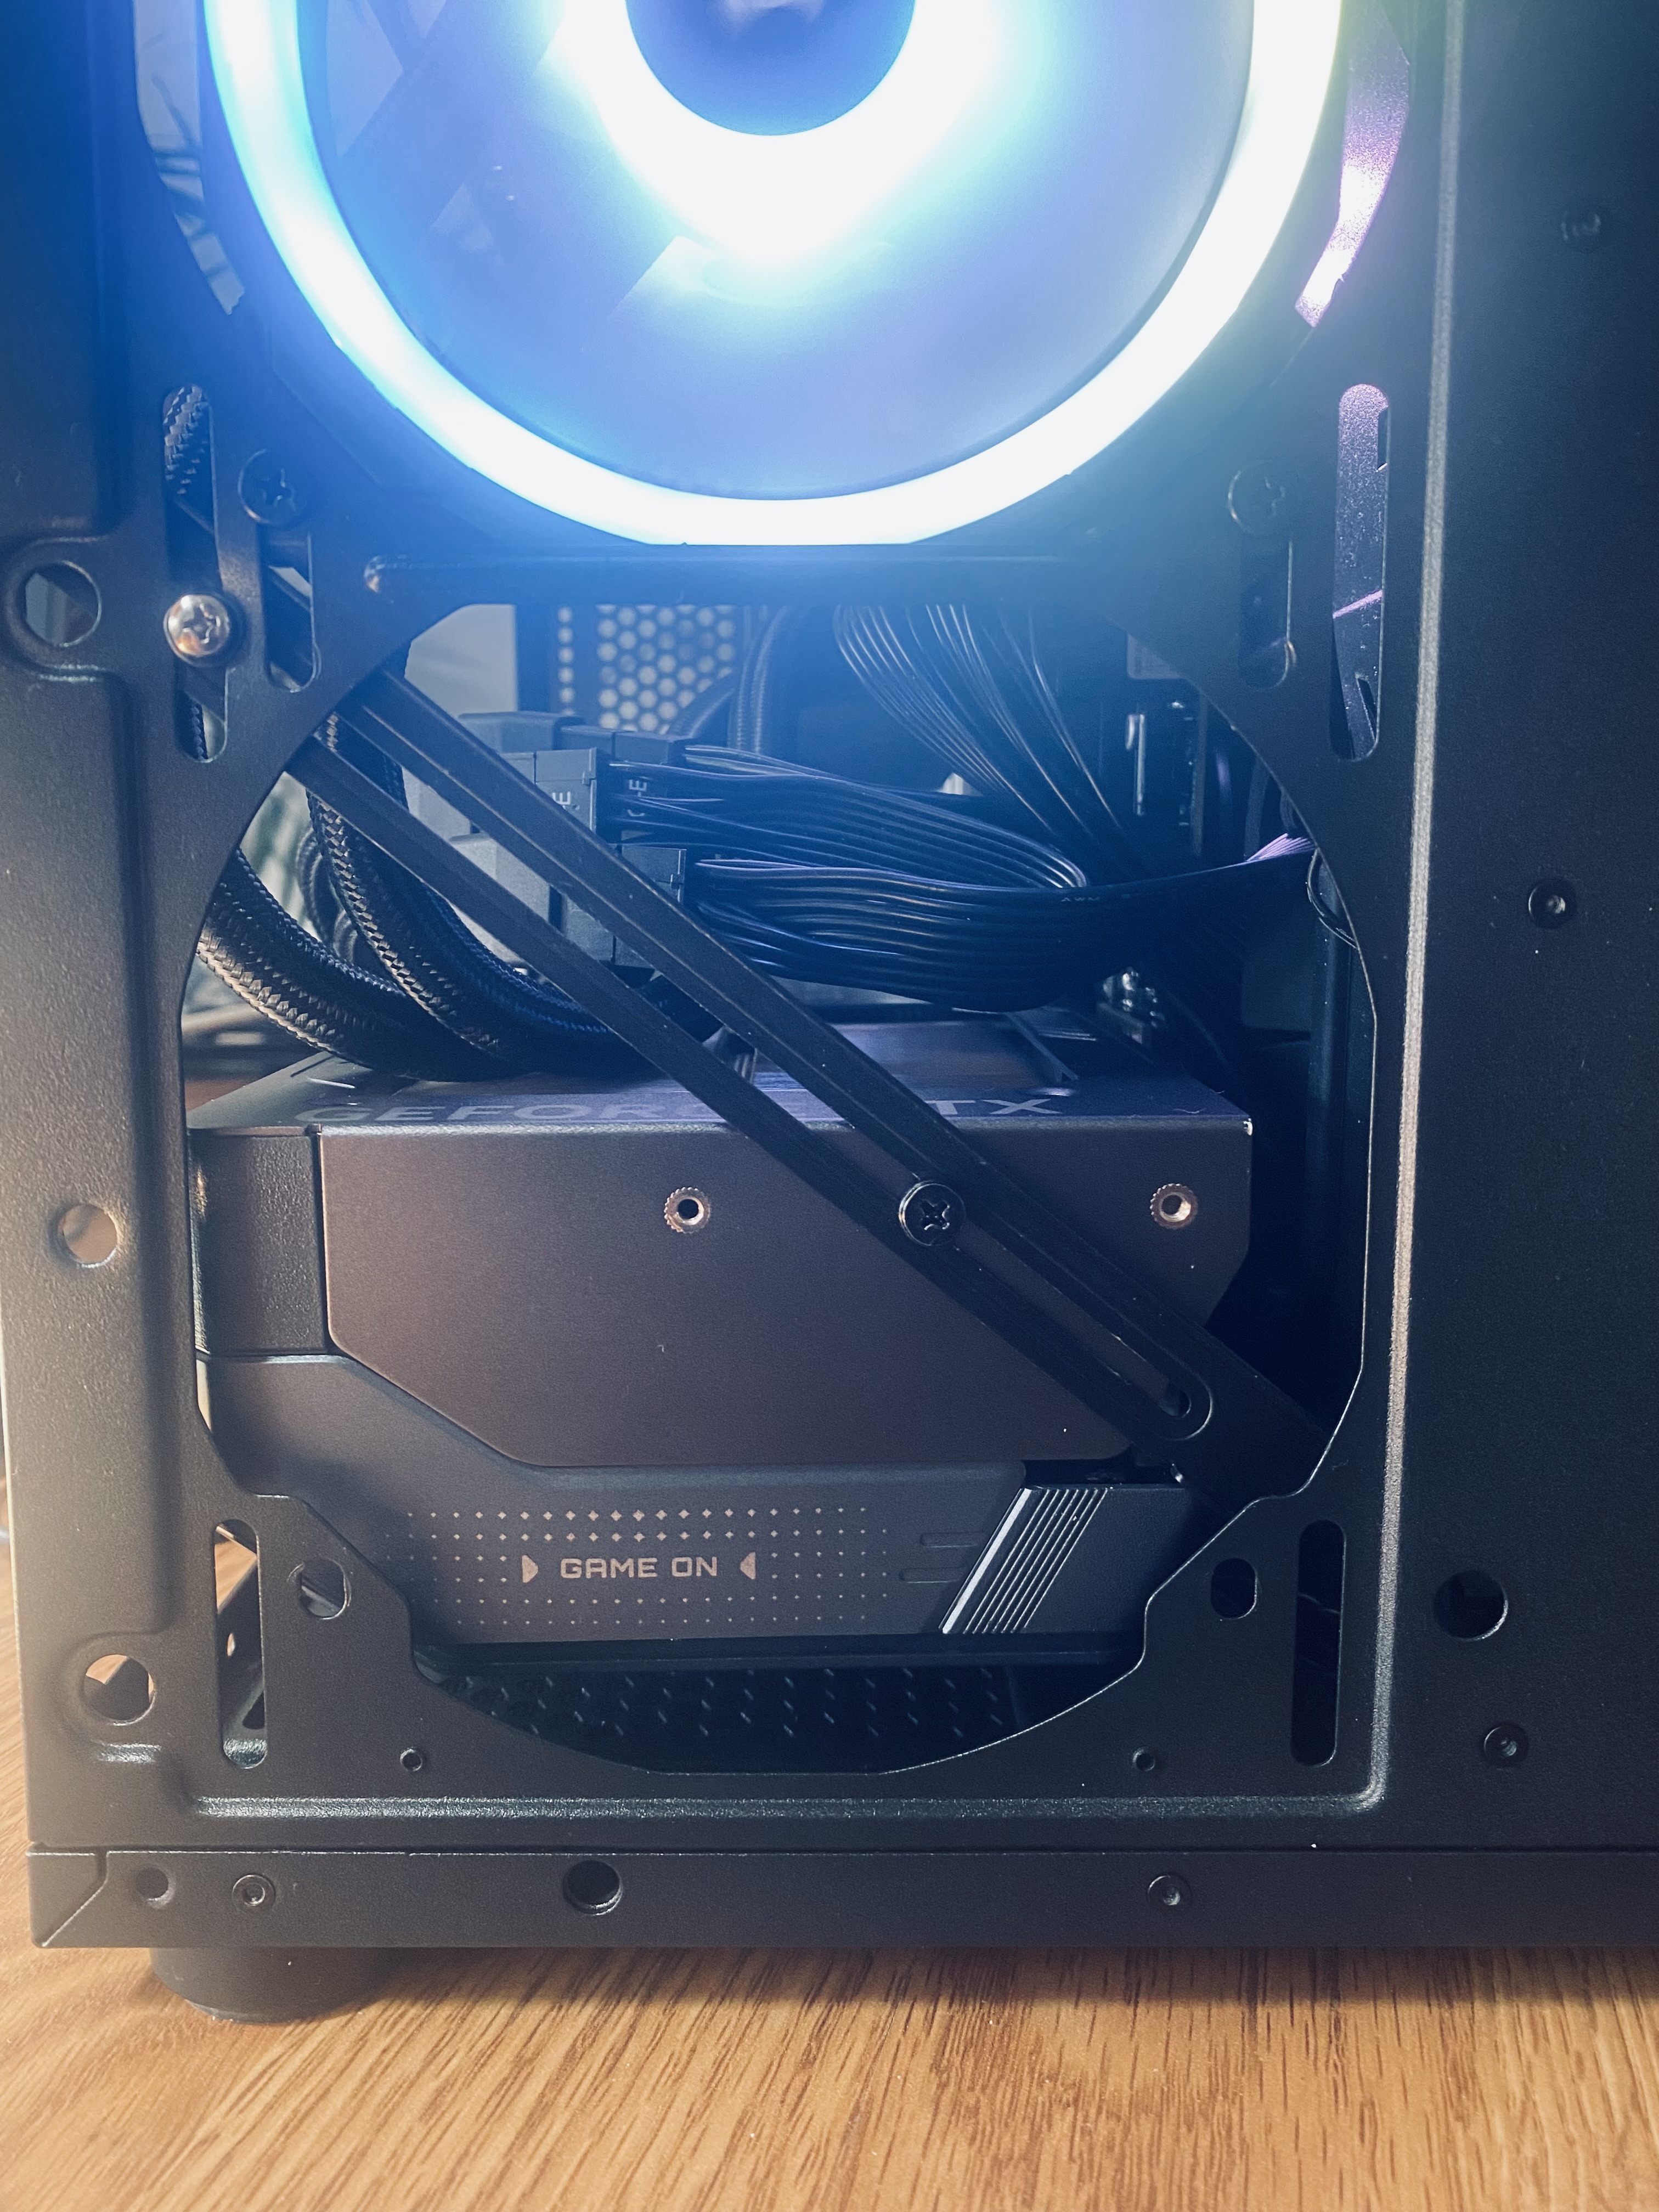
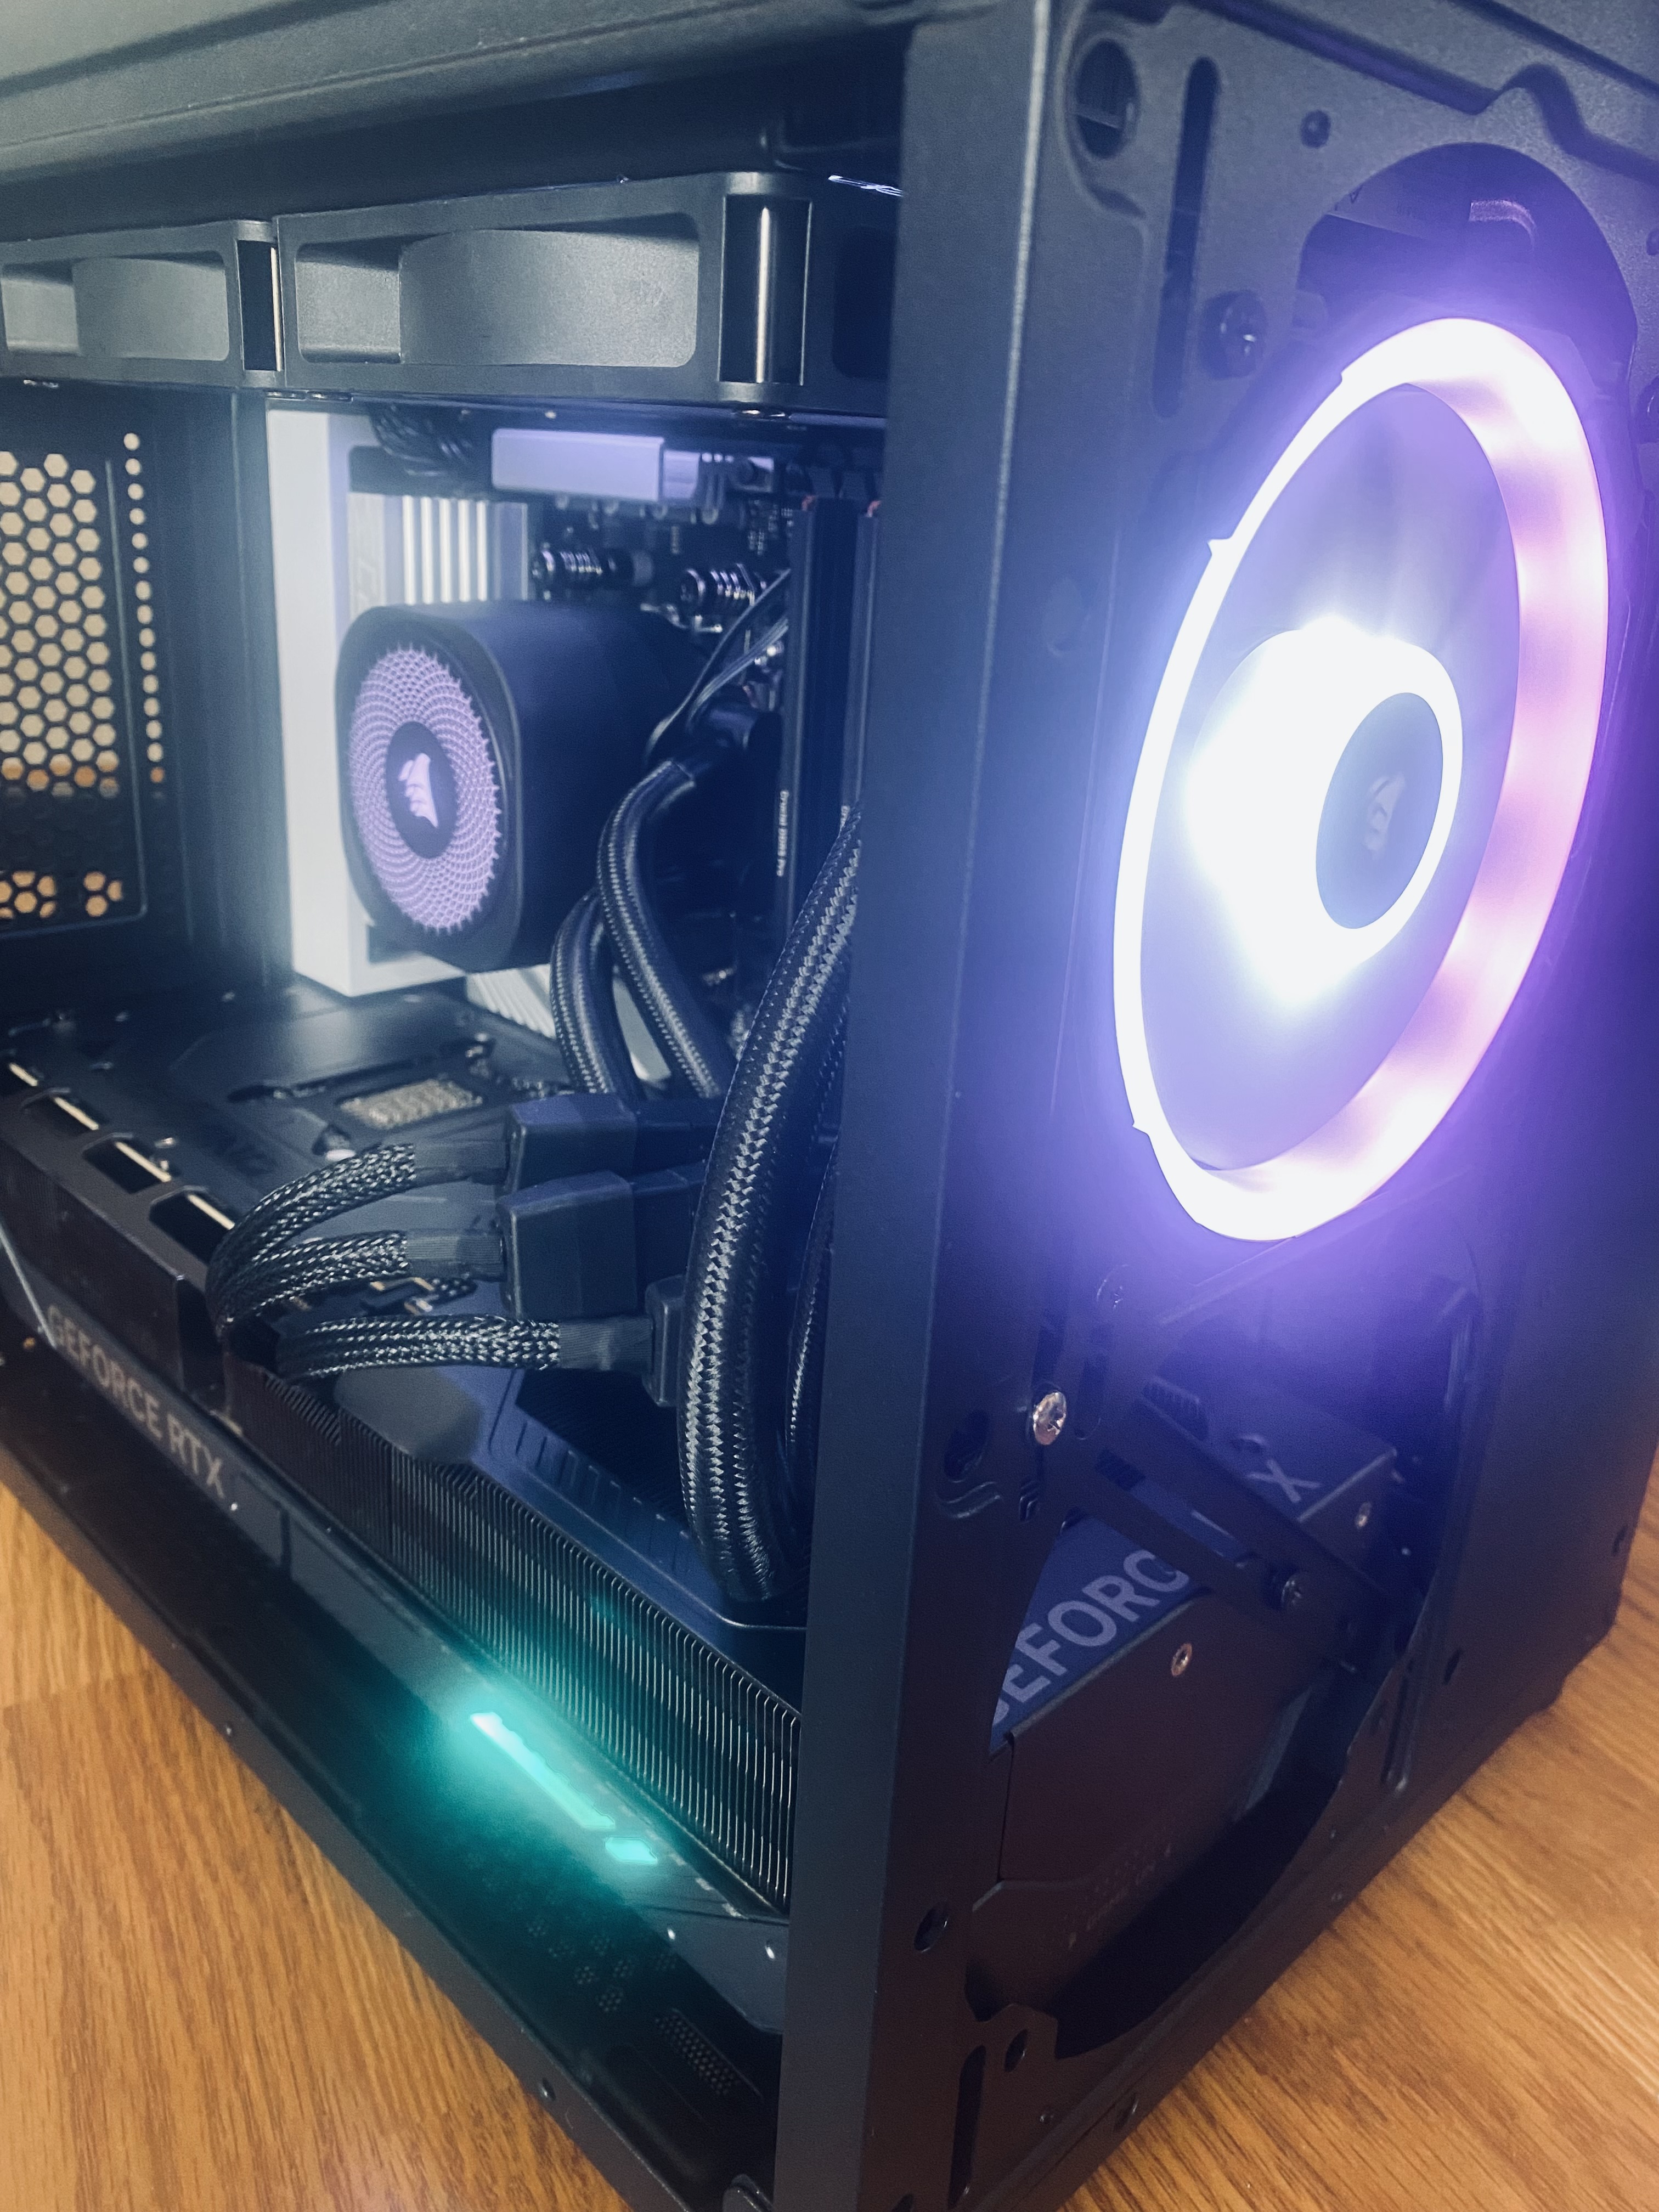
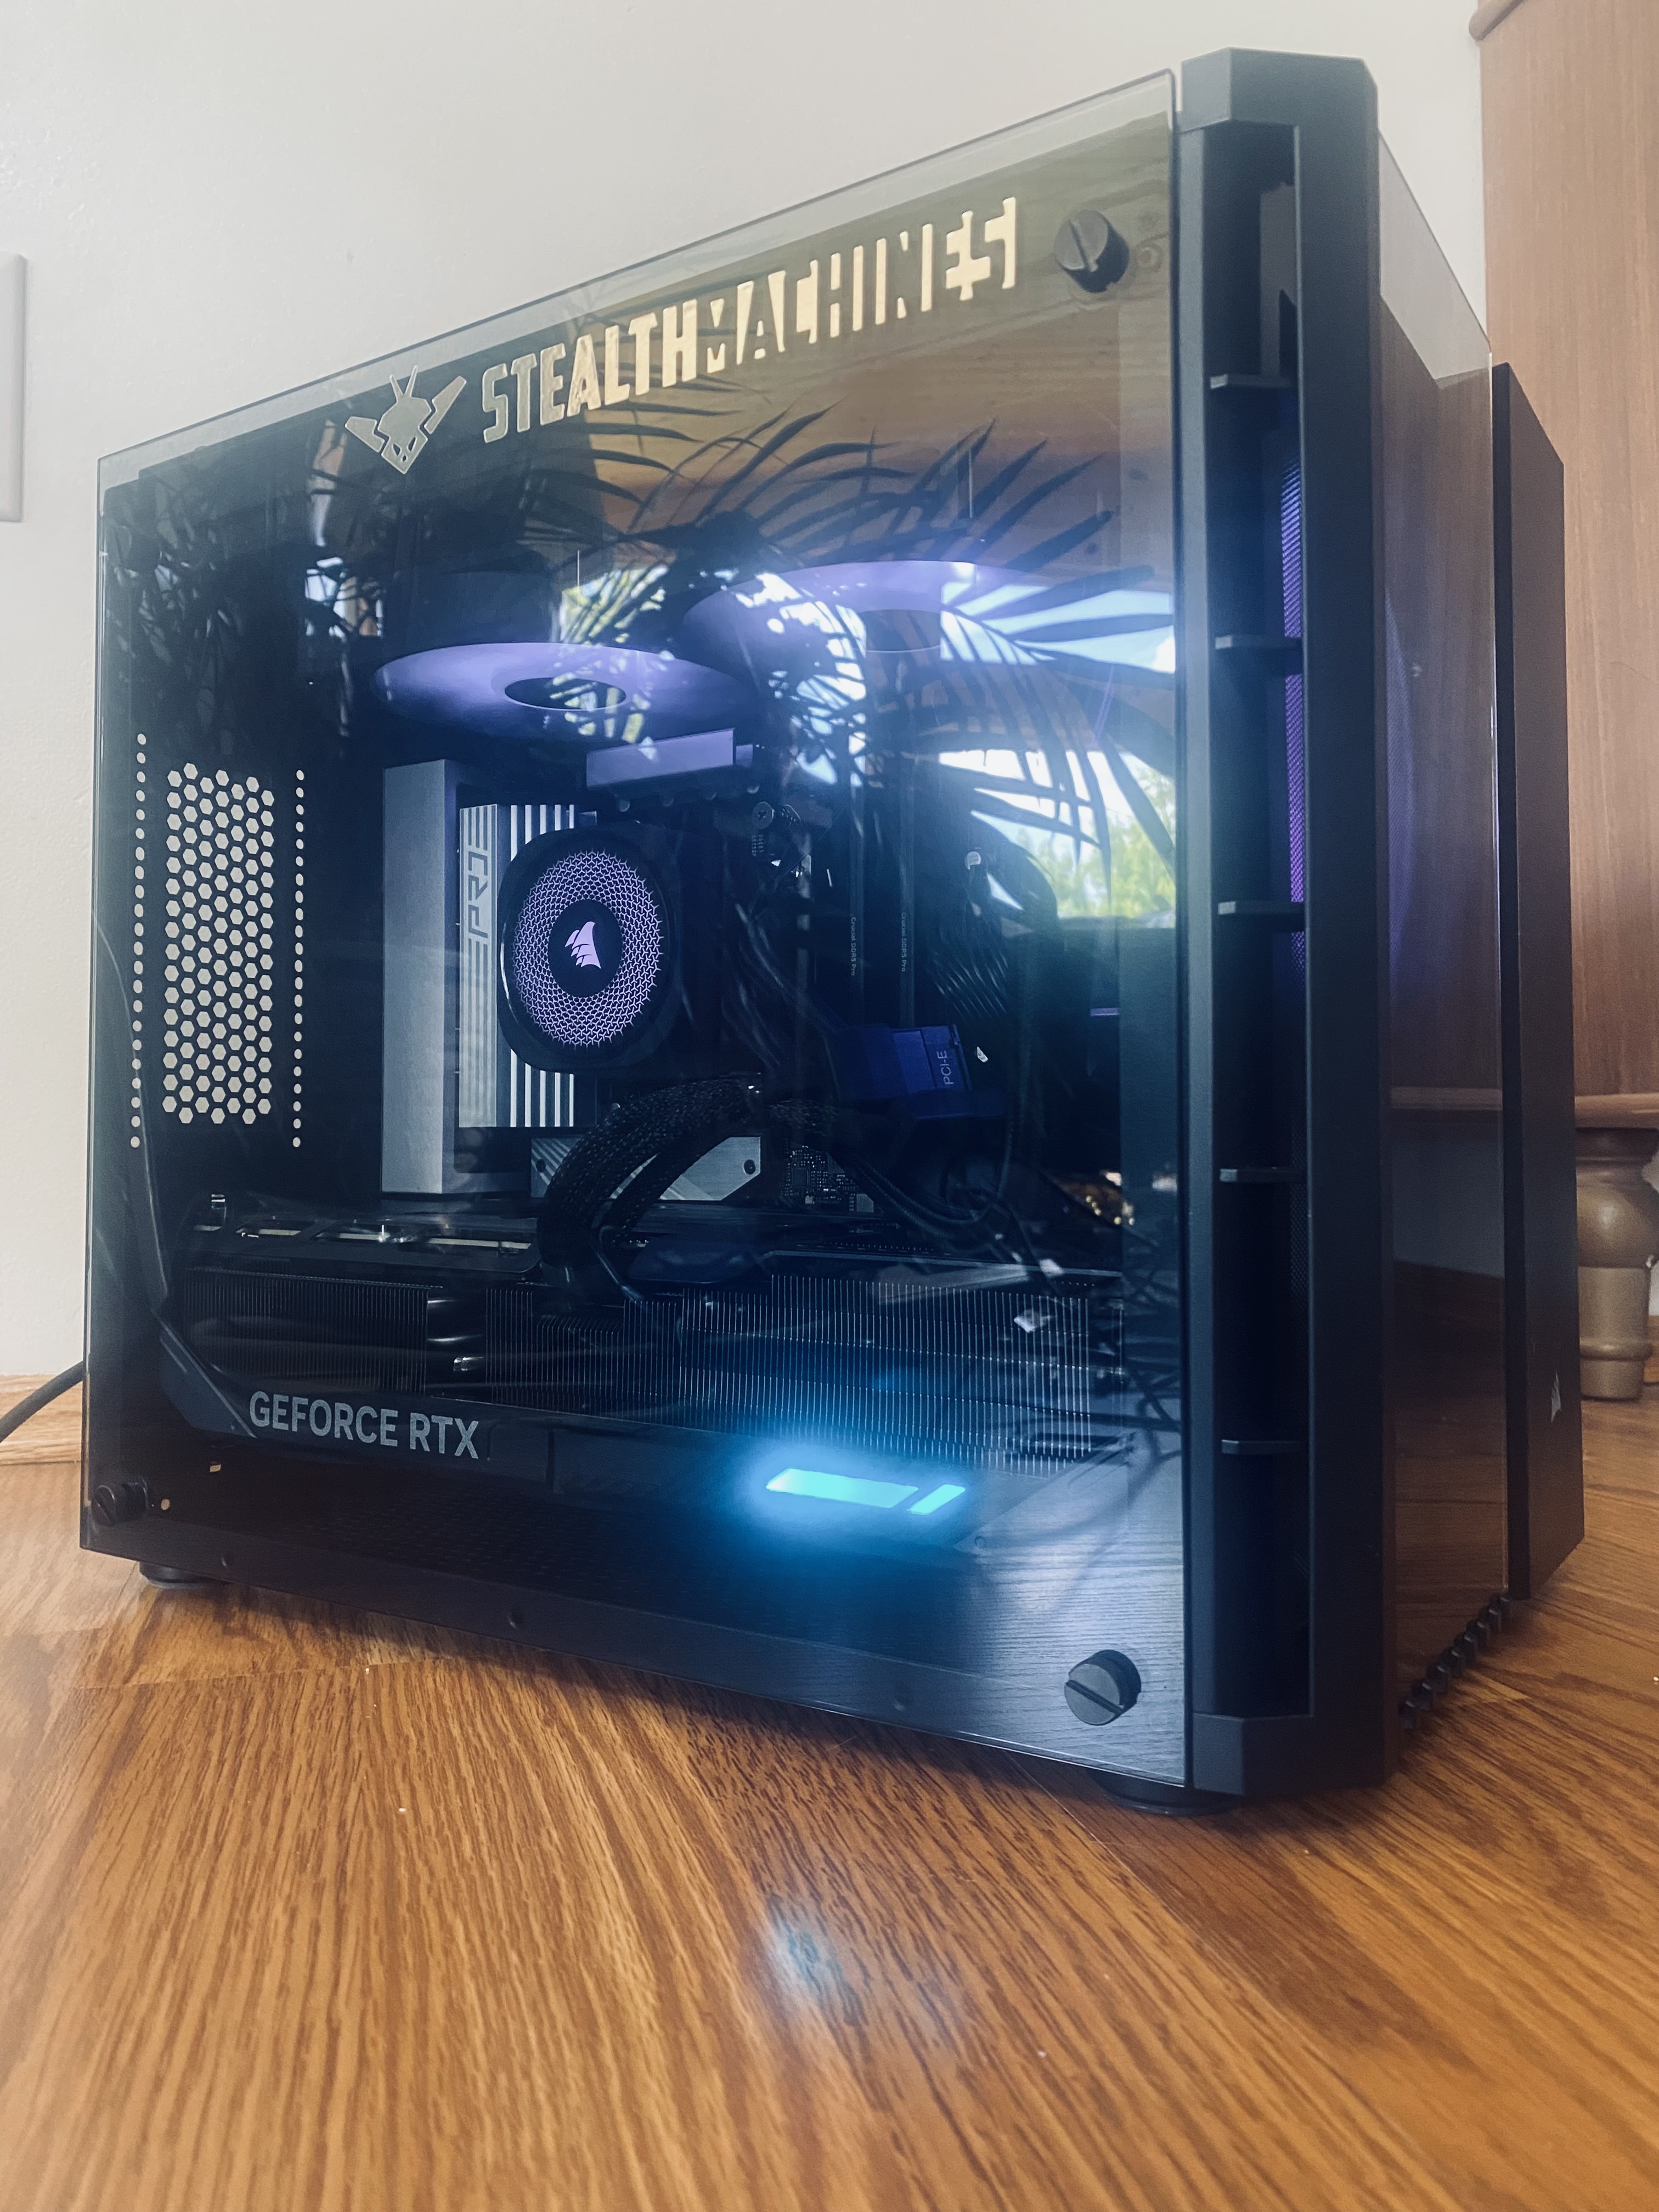
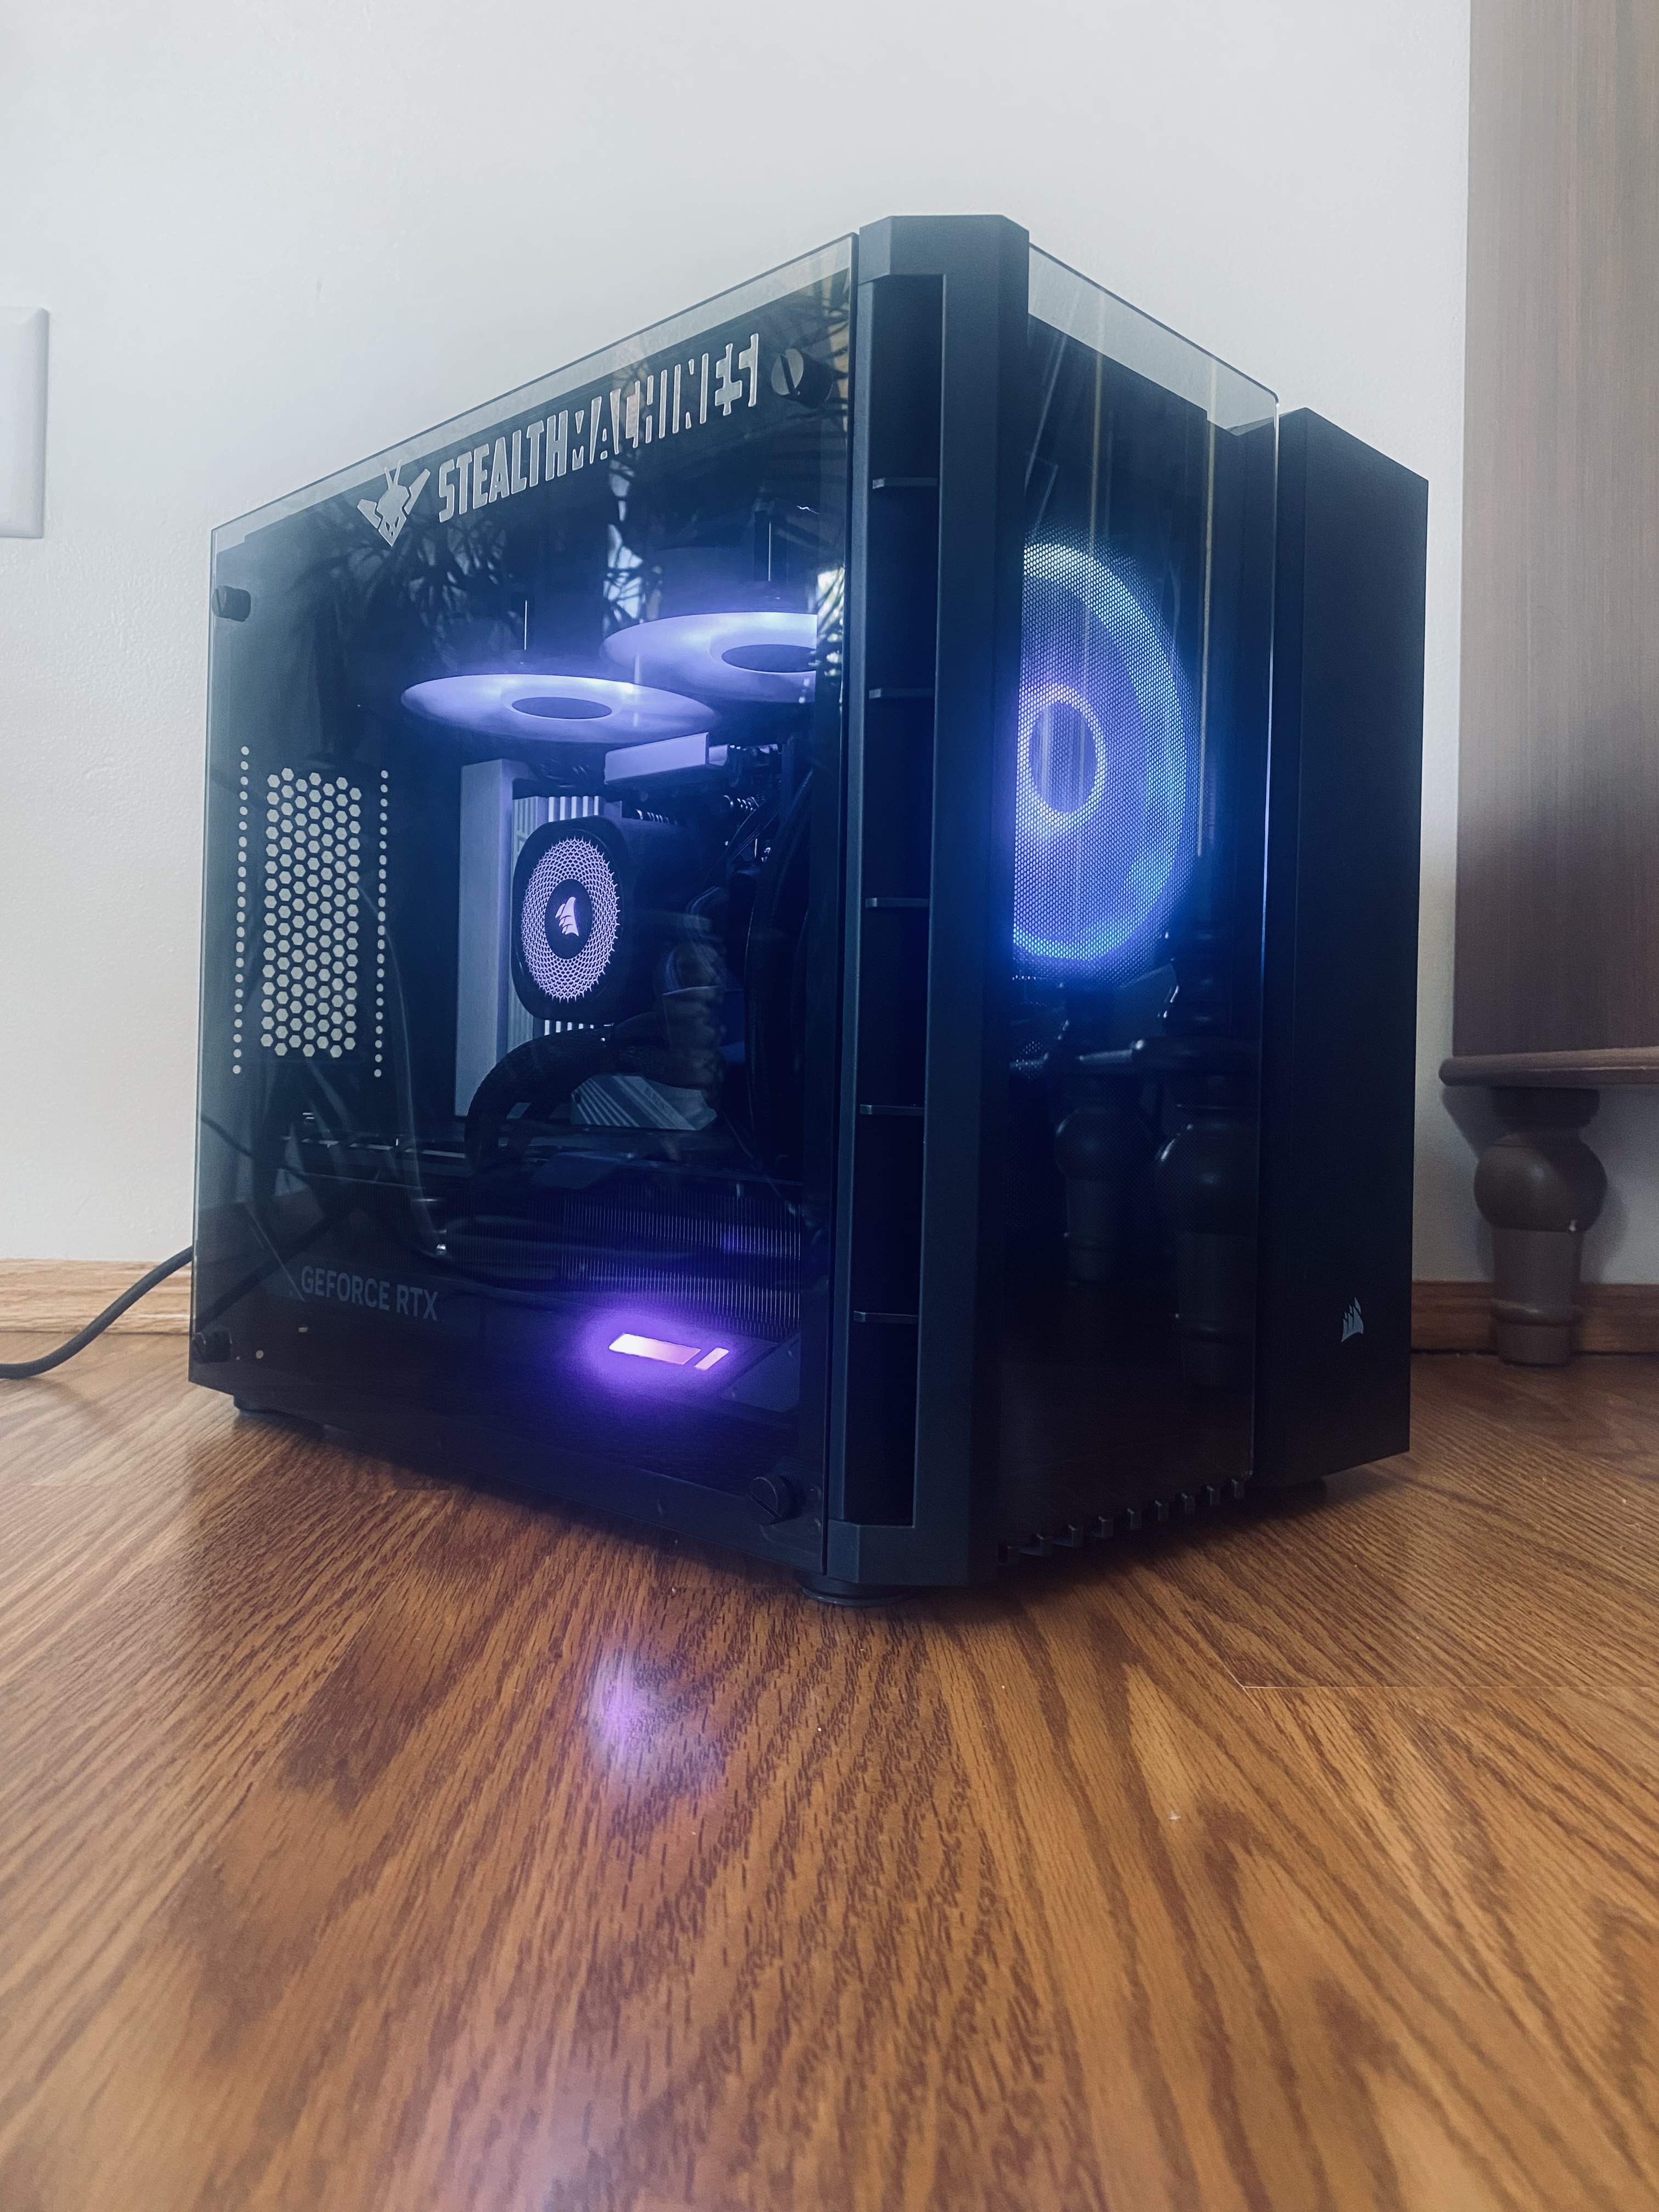
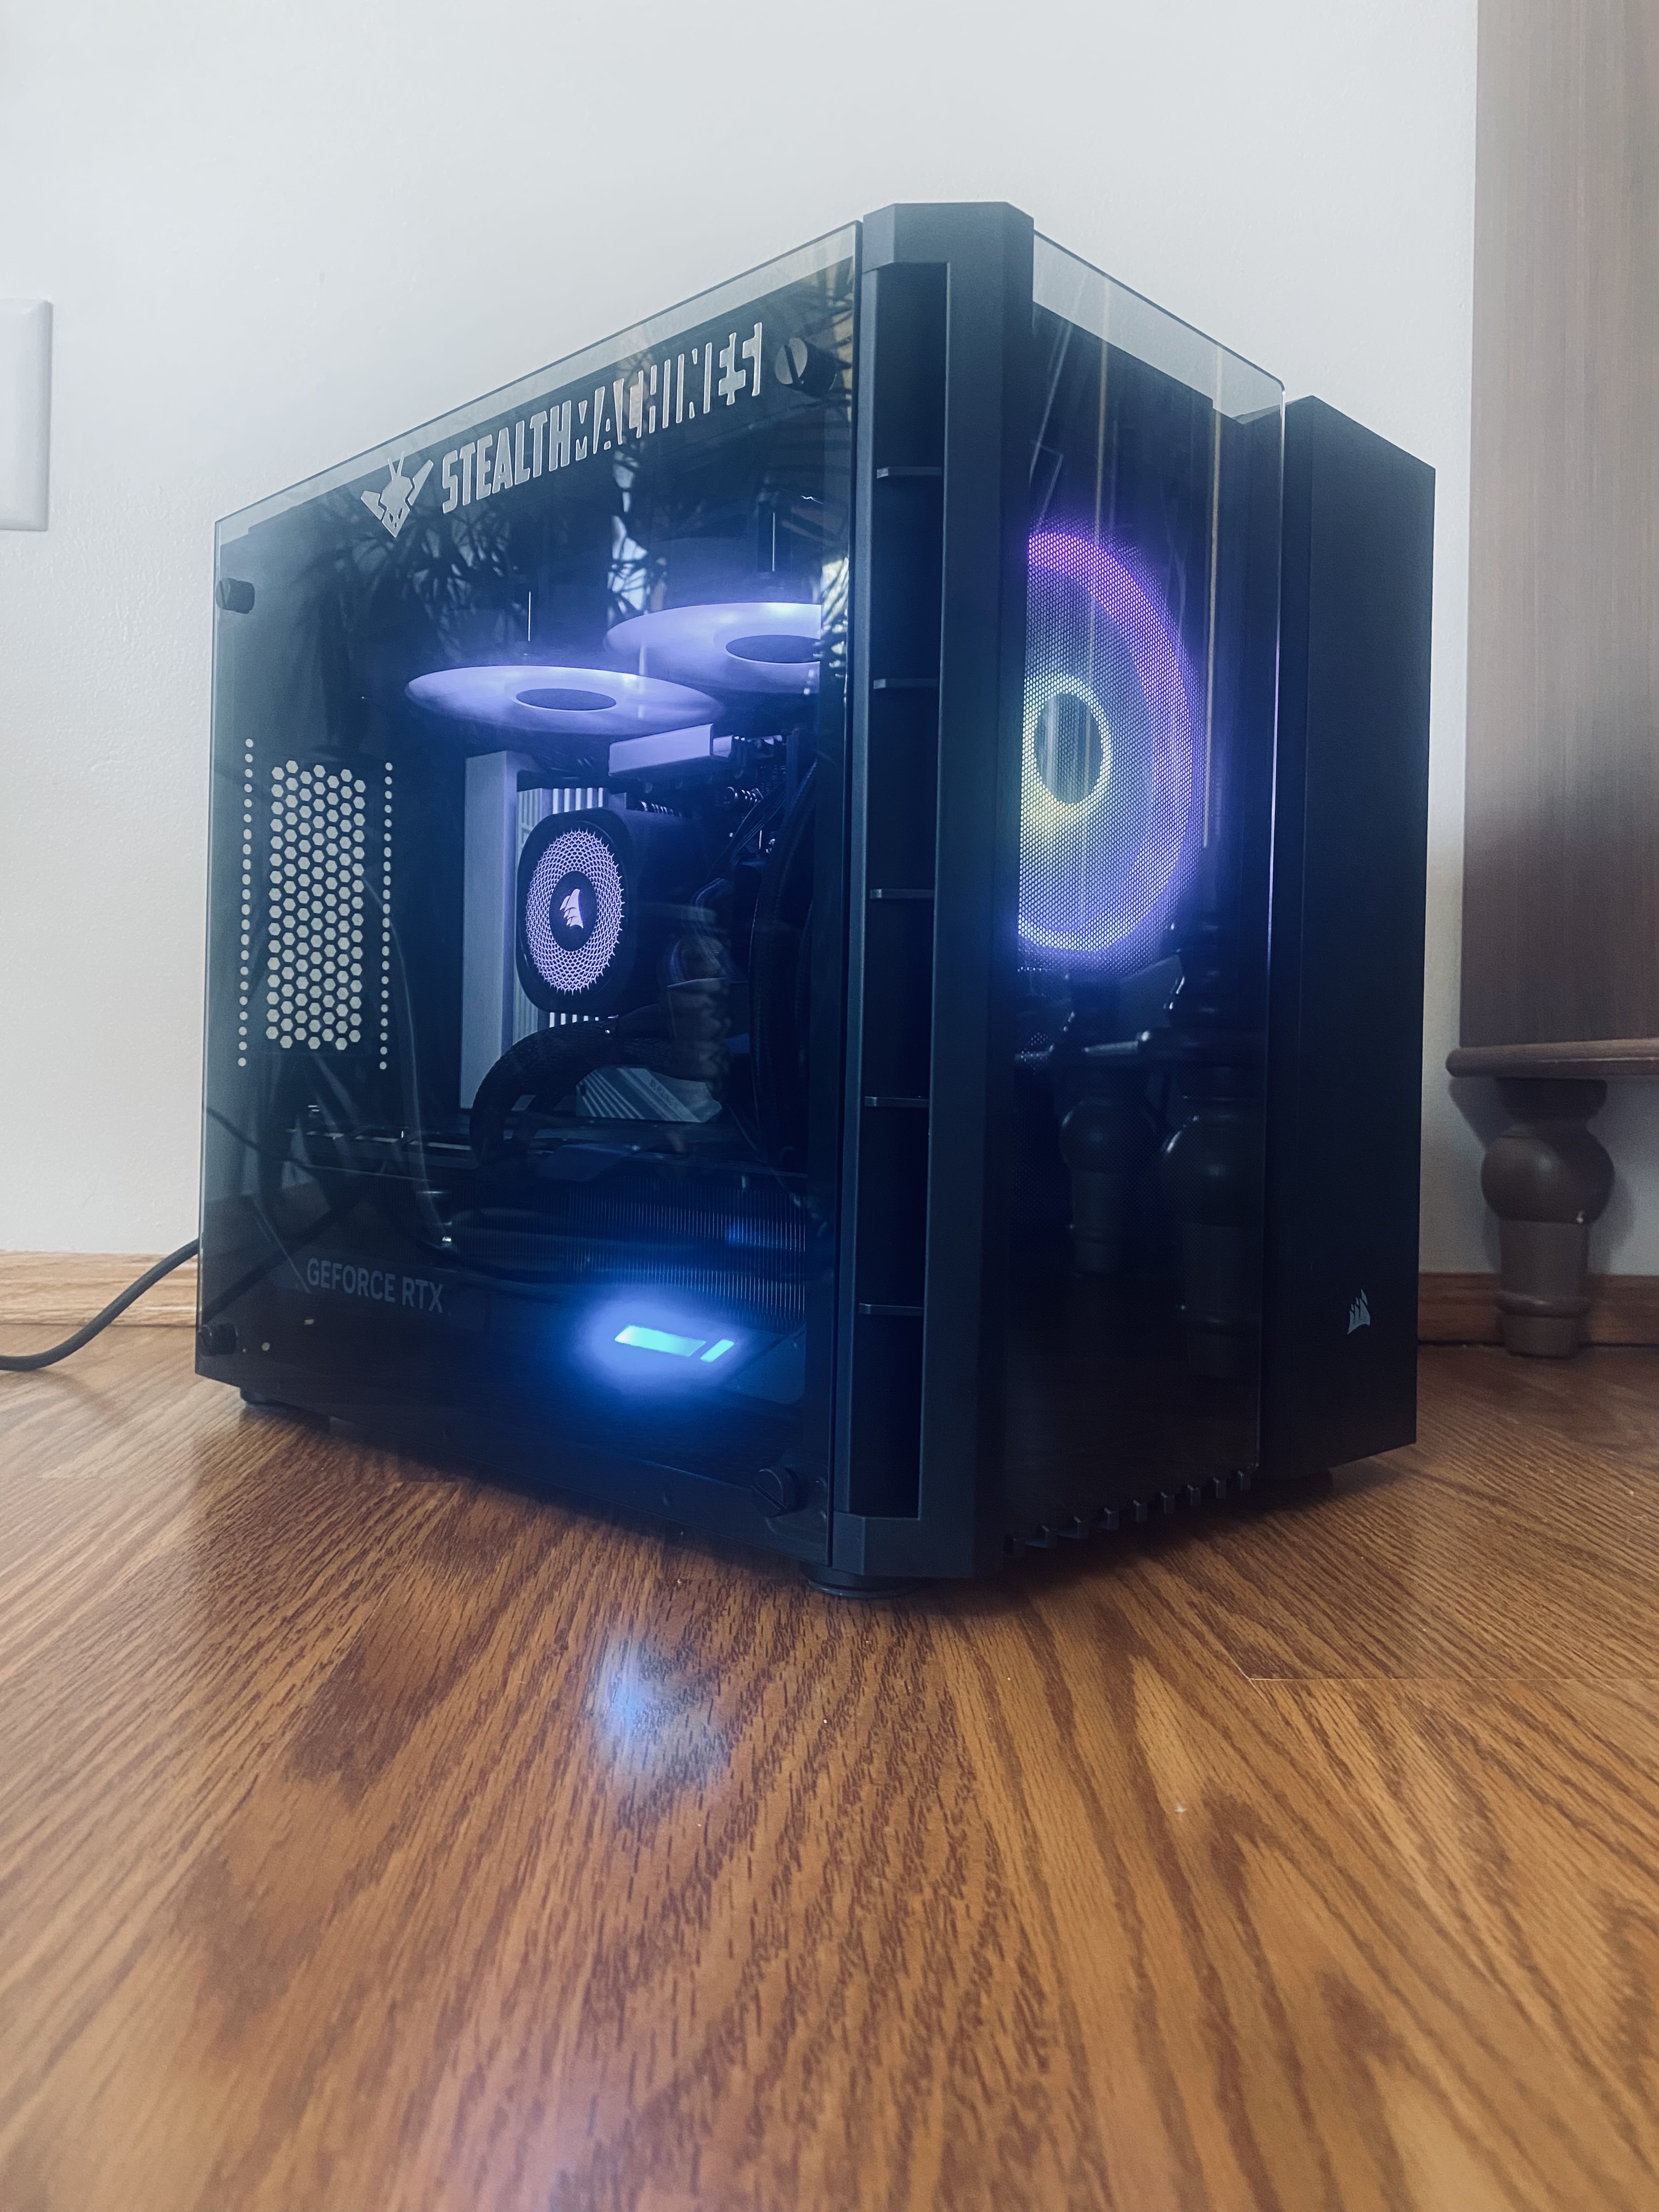
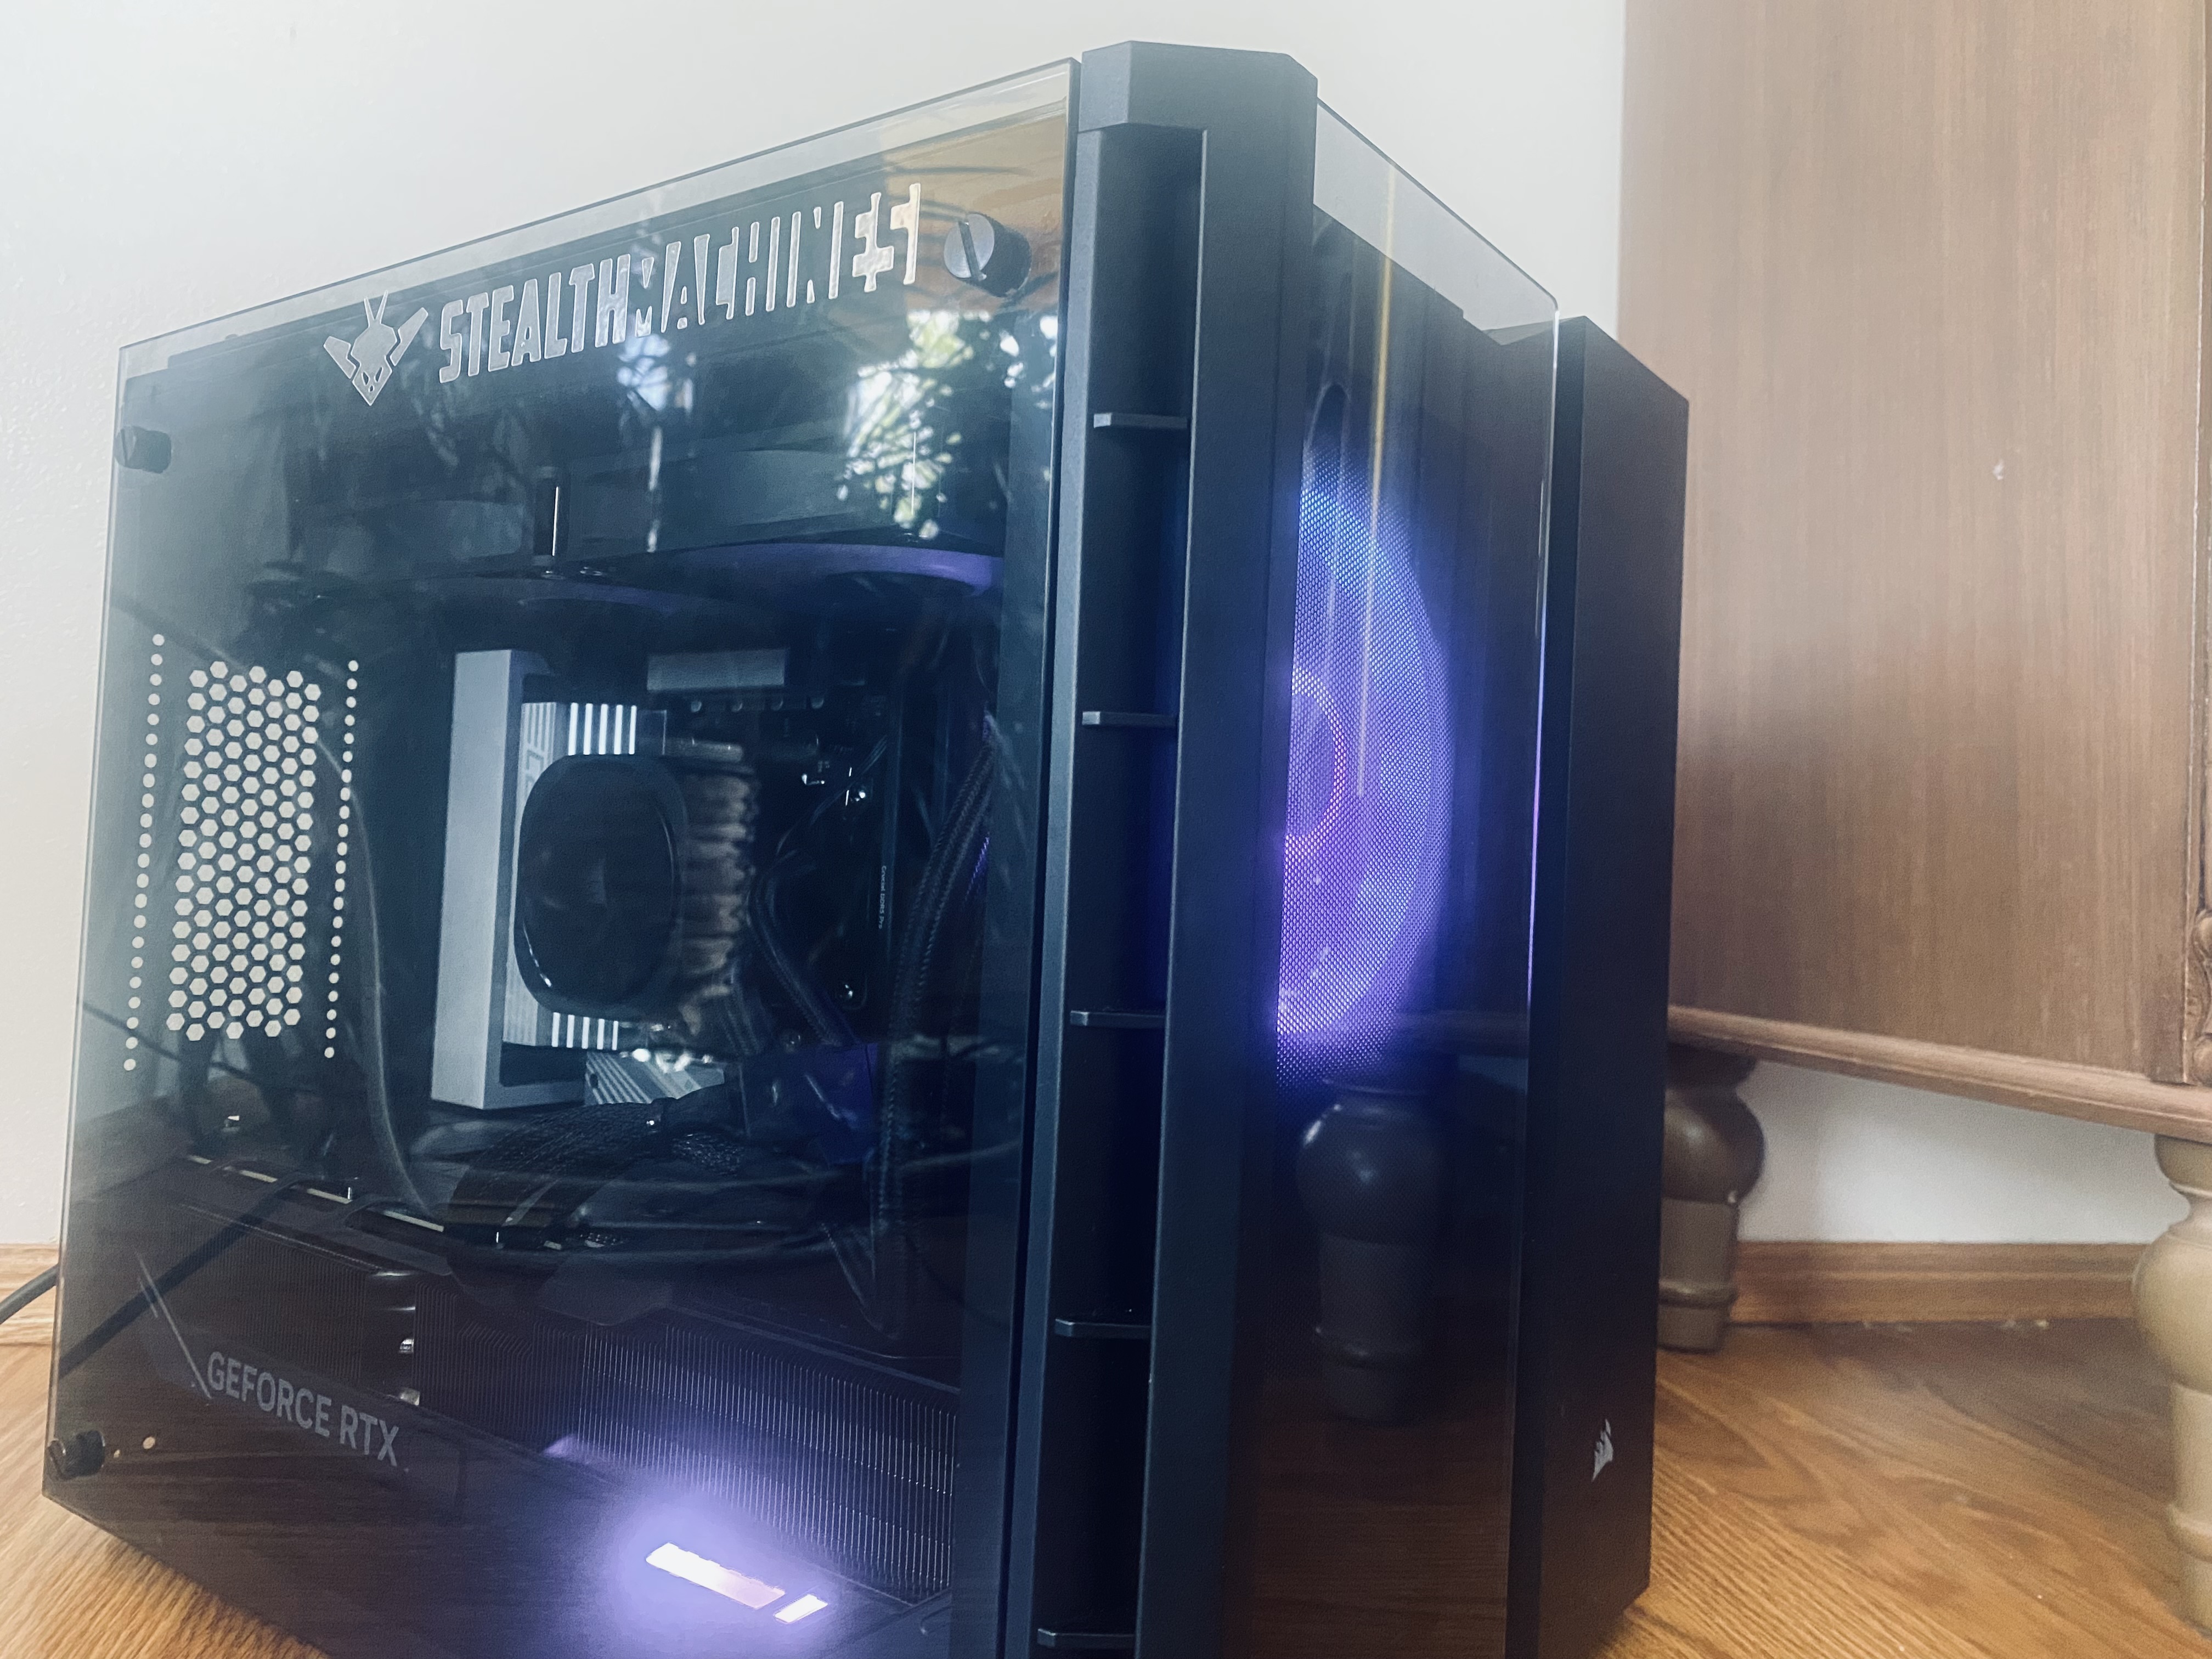
Corsair Crystal Series 280X - Black
Thermaltake 850W Power Supply
ASRock AMD B850 Pro RS WiFi 6E Motherboard
Crucial Pro 128GB Kit (2x64GB) DDR5 RAM, 5600MHz
AMD Ryzen™ 9 9950X 16-Core, 32-Thread
2 x Silicon Power 4TB US75 Nvme PCIe Gen4 M.2 2280 SSD R/W Up to 7,000/6,500 MB/s
Gigabyte NVIDIA RTX 5070 Ti 16GB Graphics Card
CORSAIR Nautilus 240 RS ARGB Liquid CPU Cooler
Windows 11 Pro
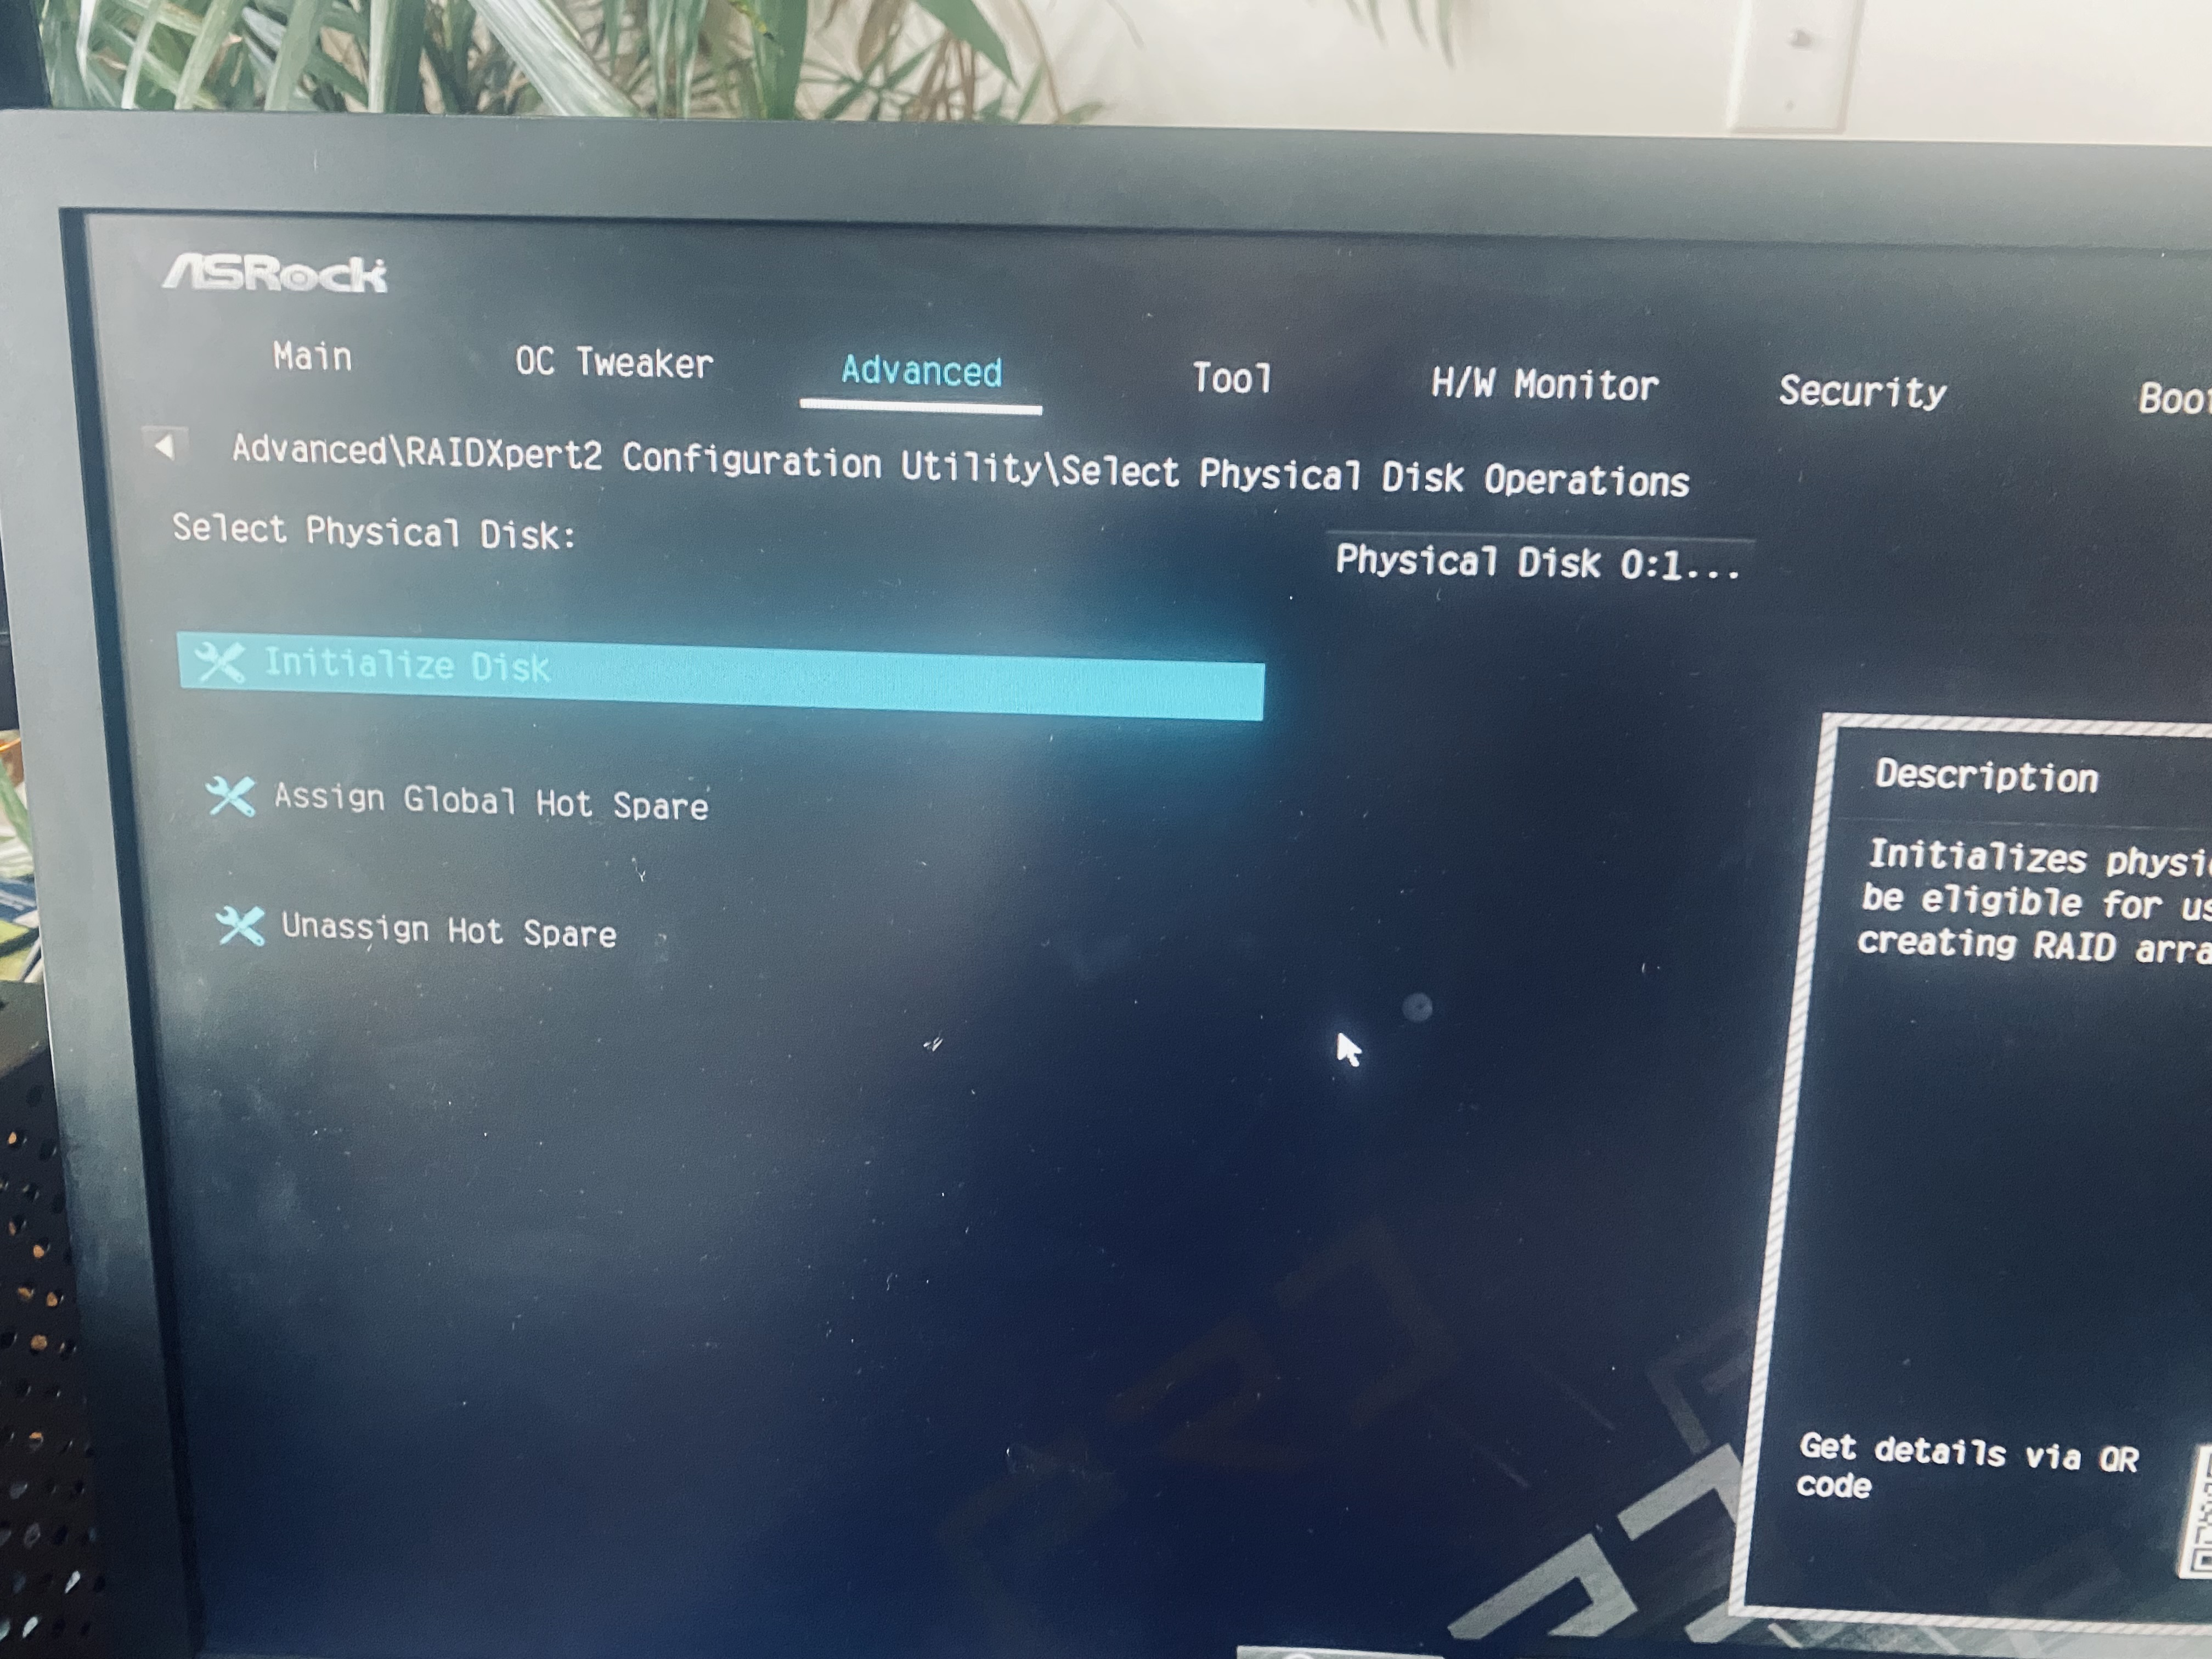
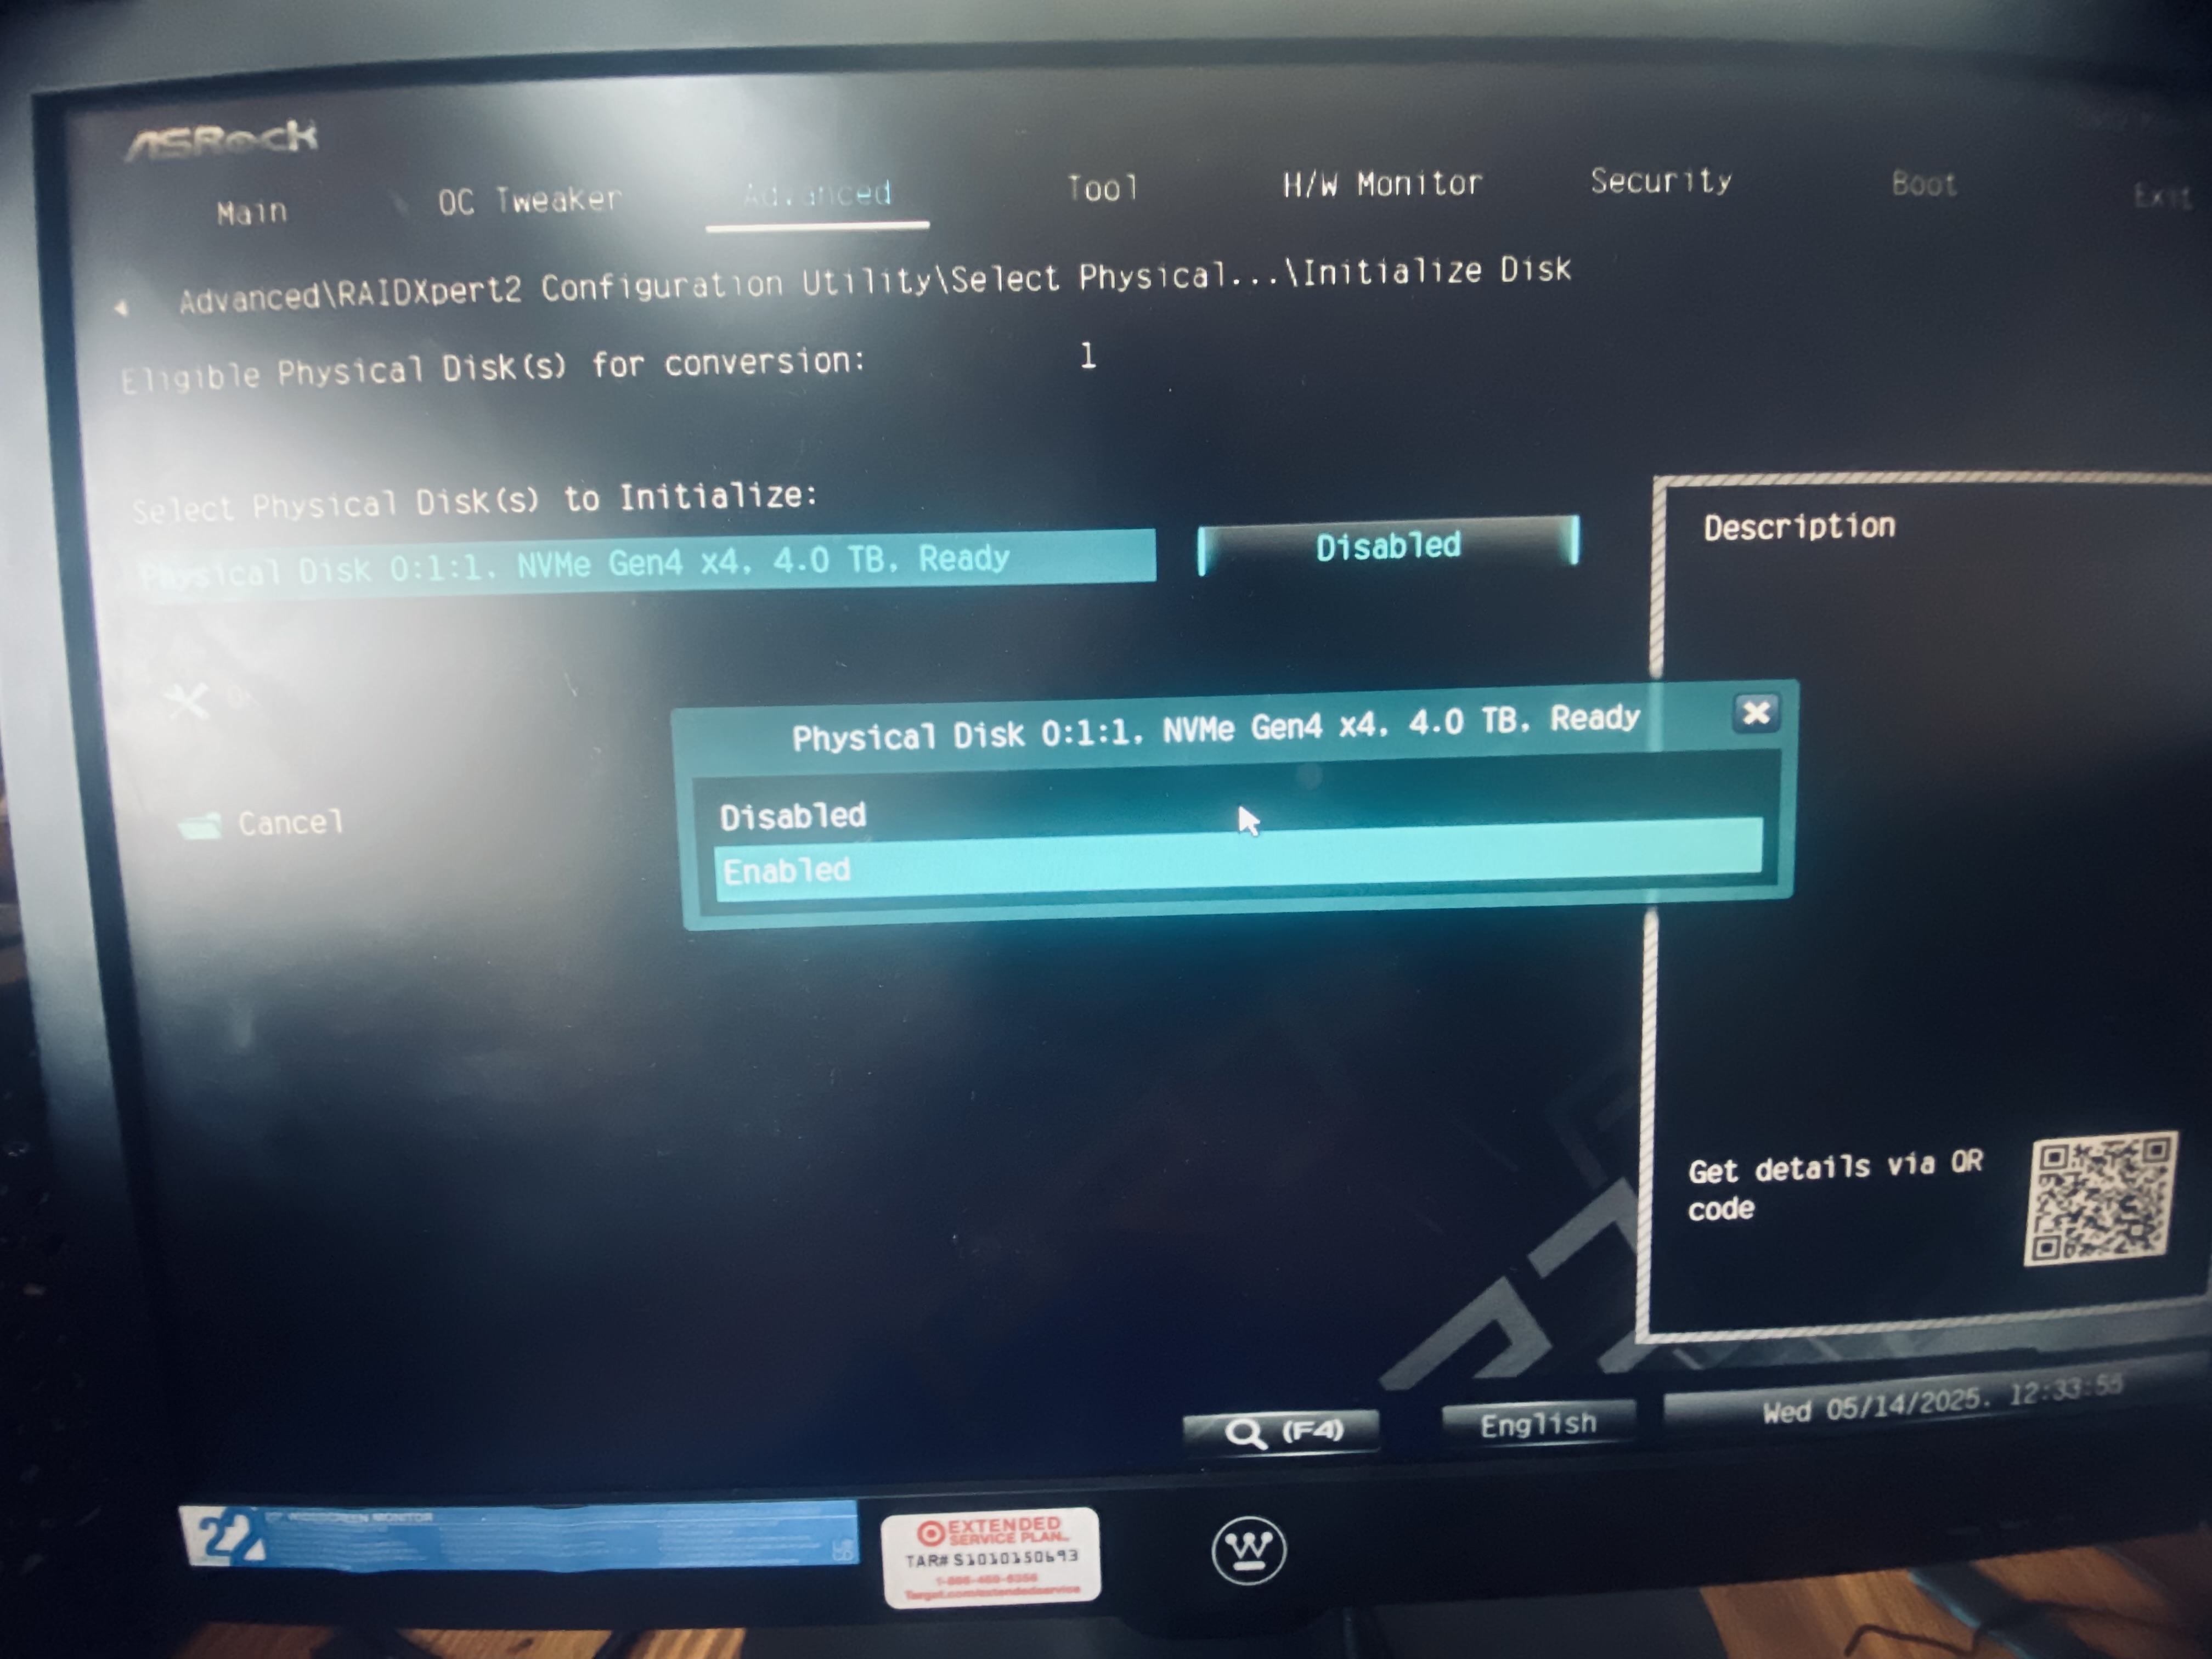
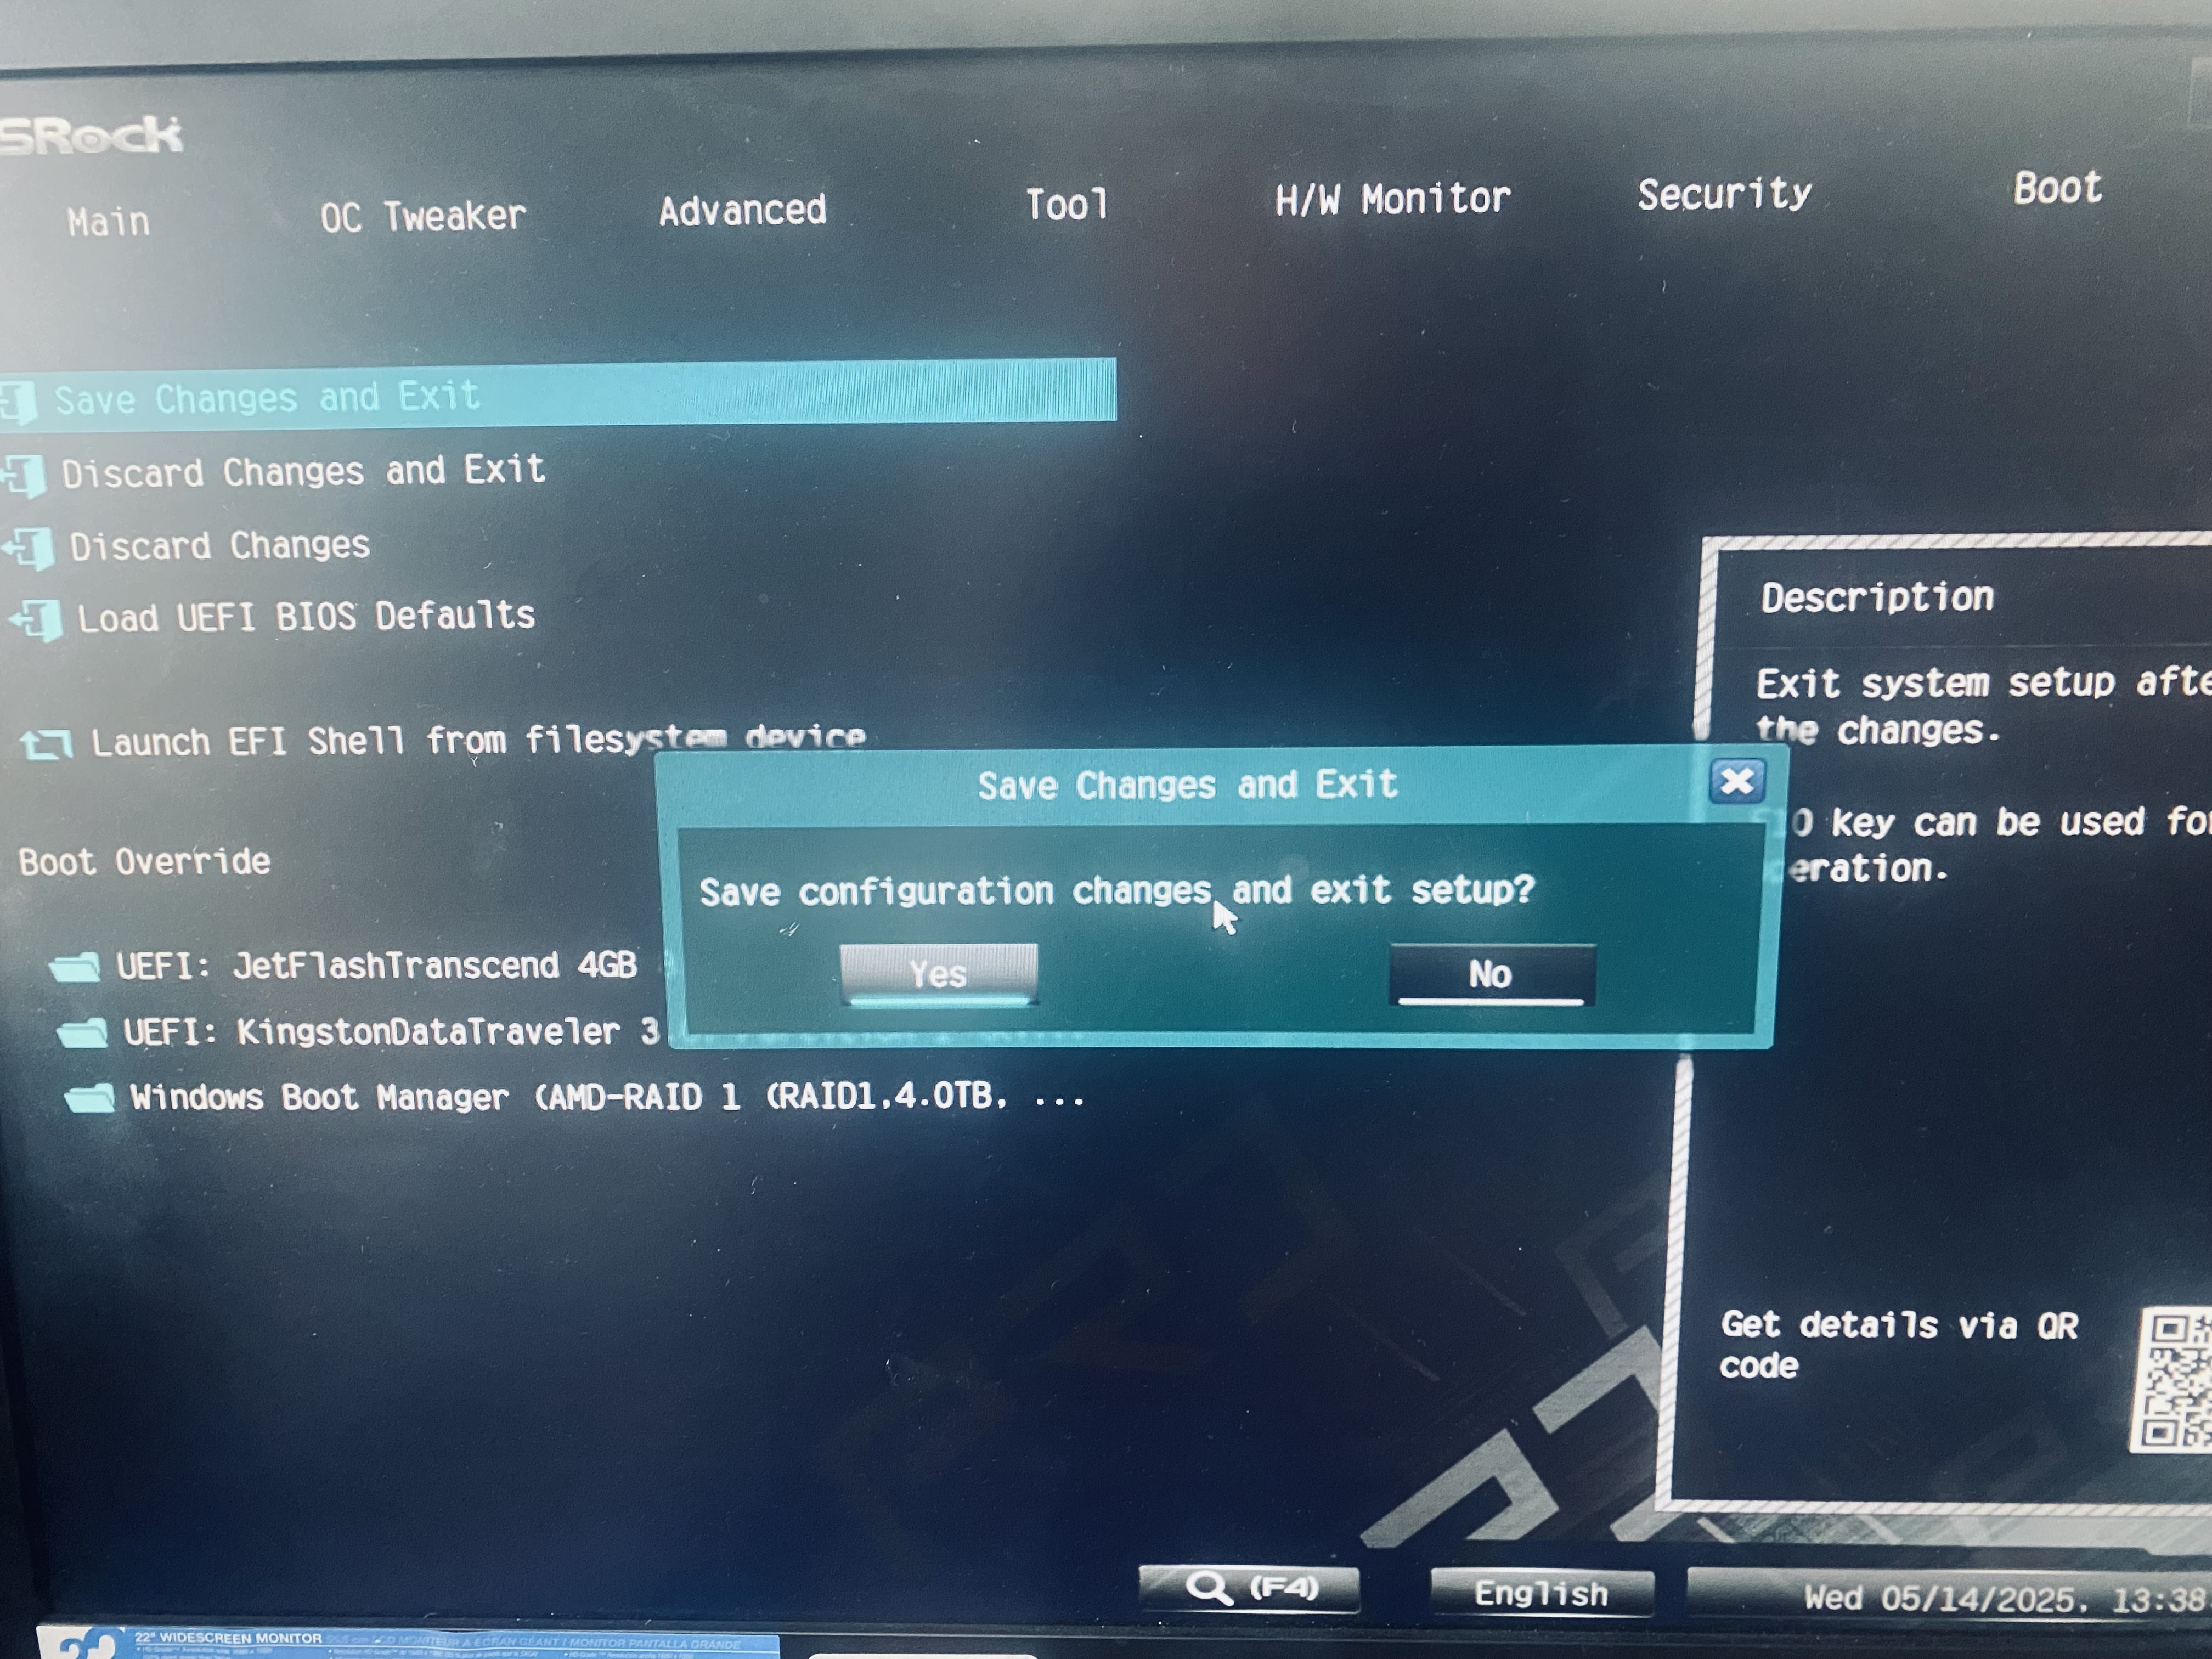
Step 1: Set up your array in Bios
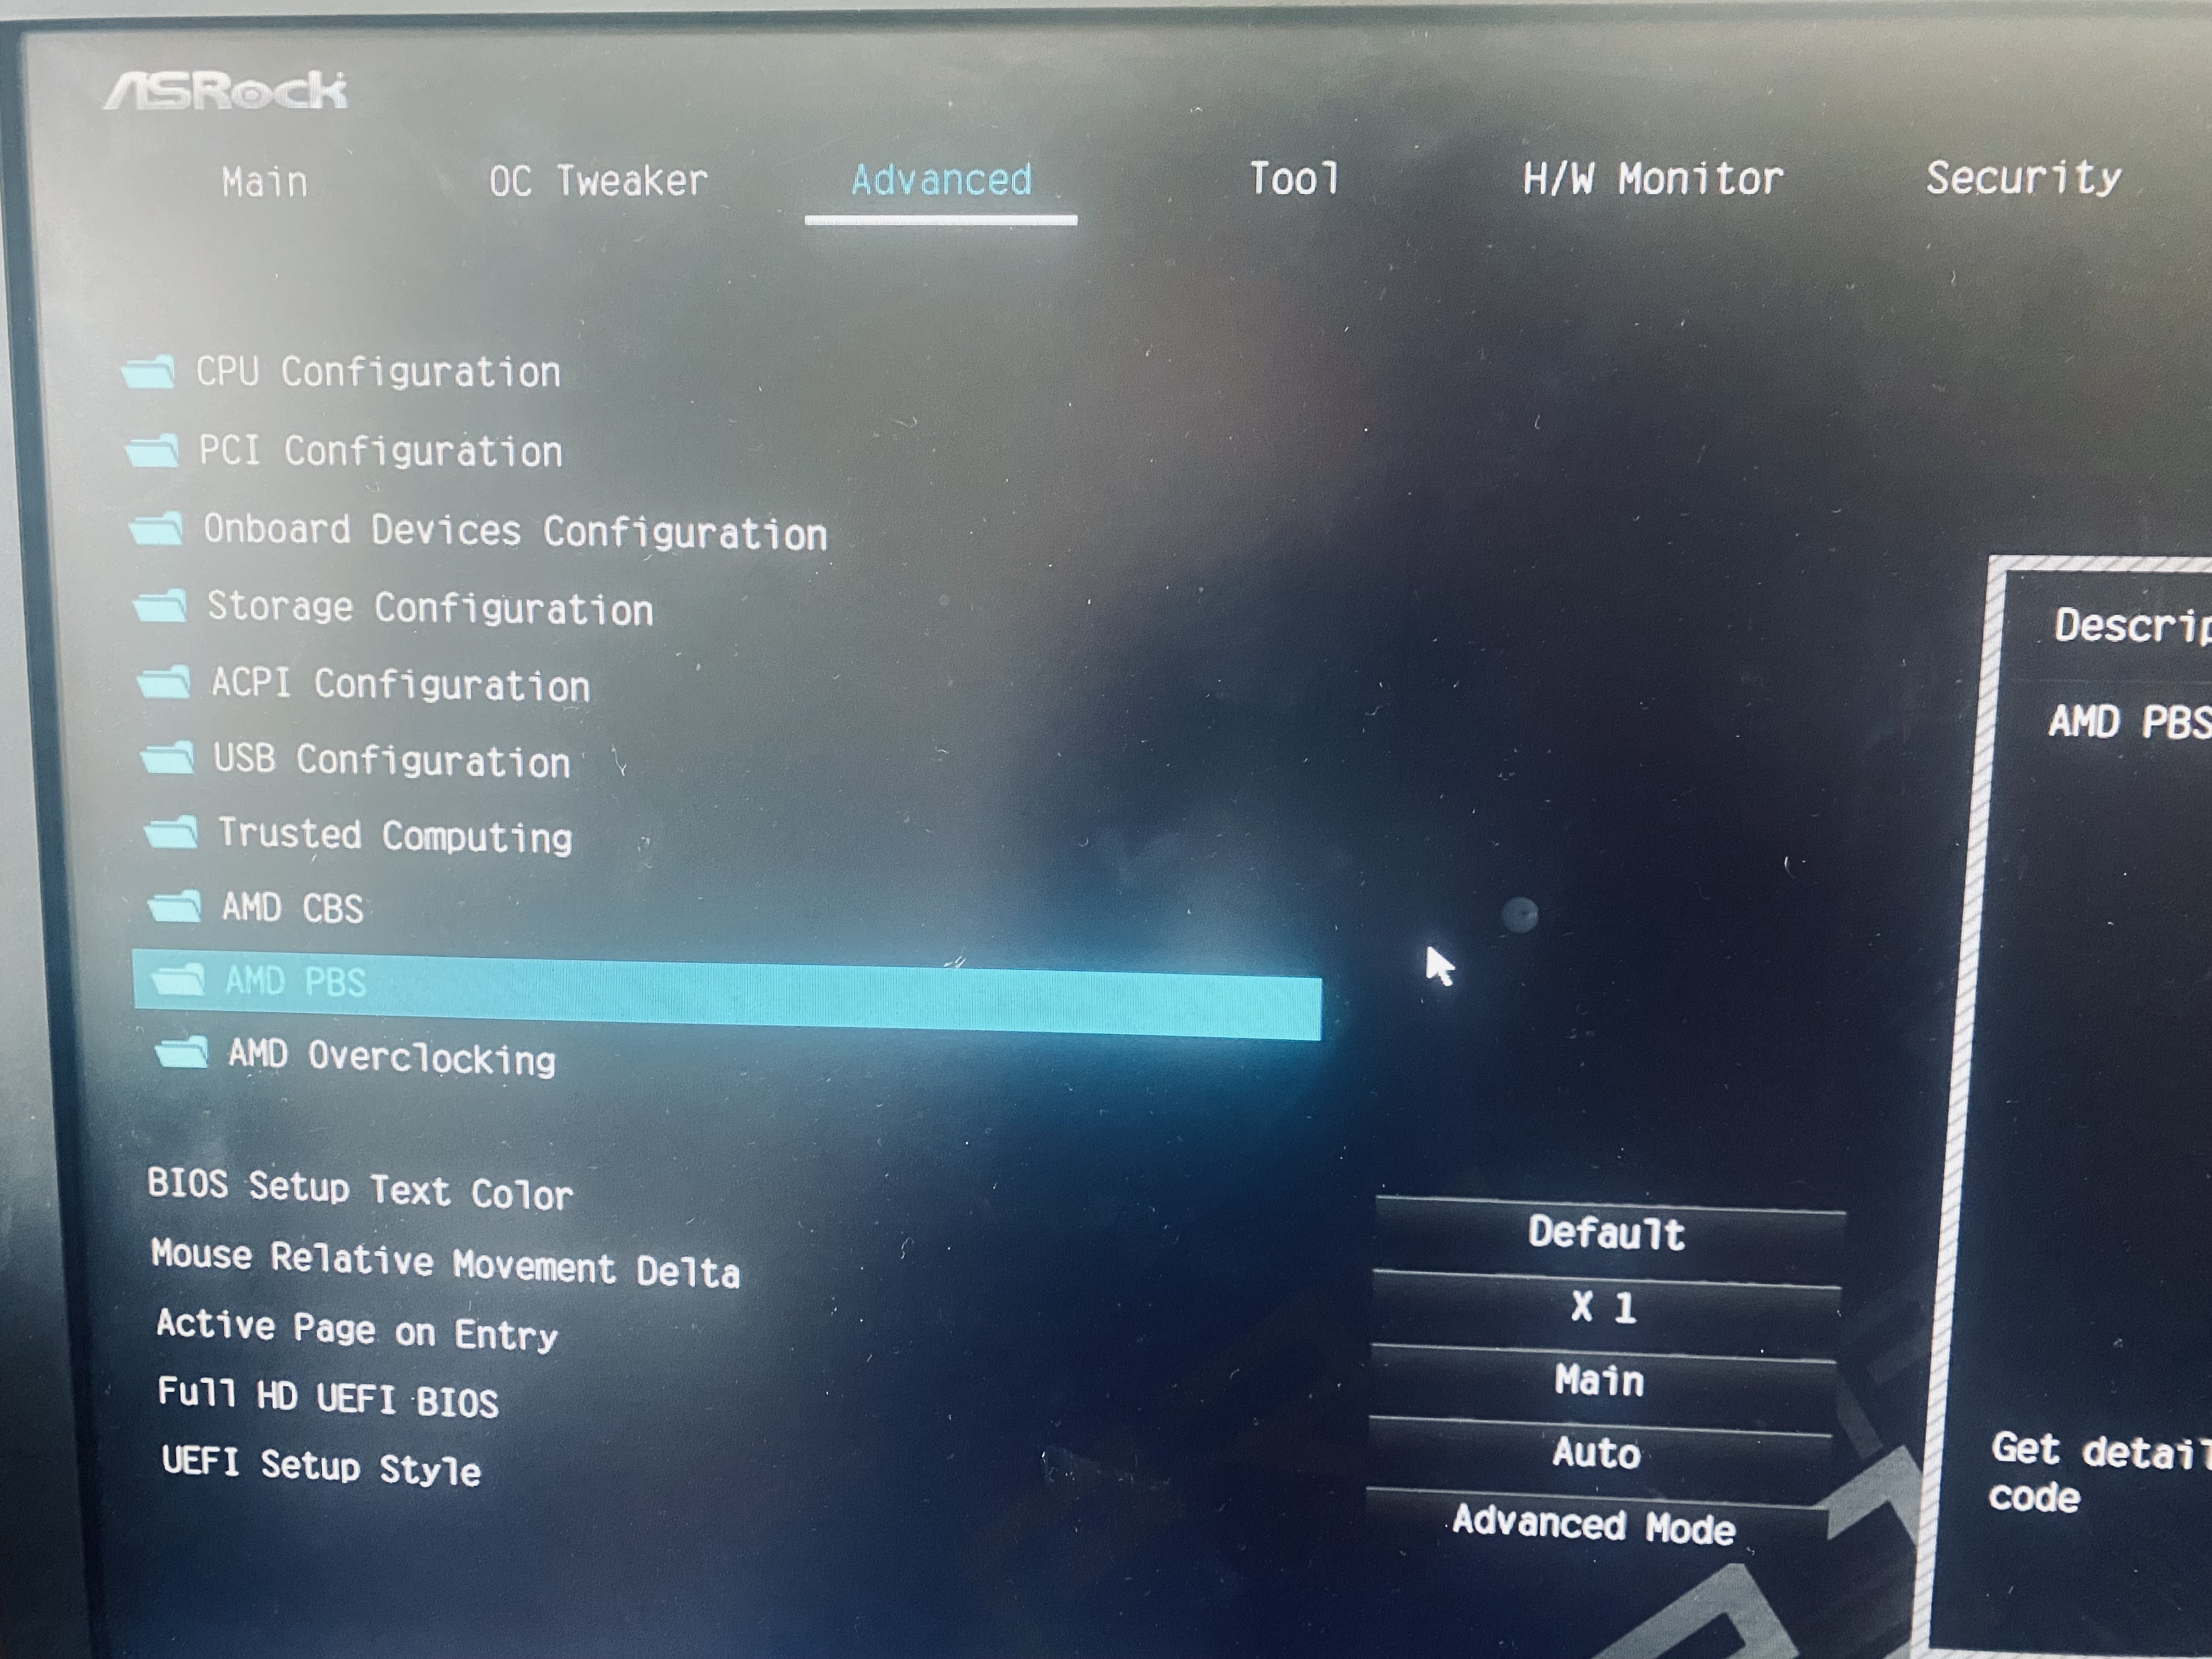
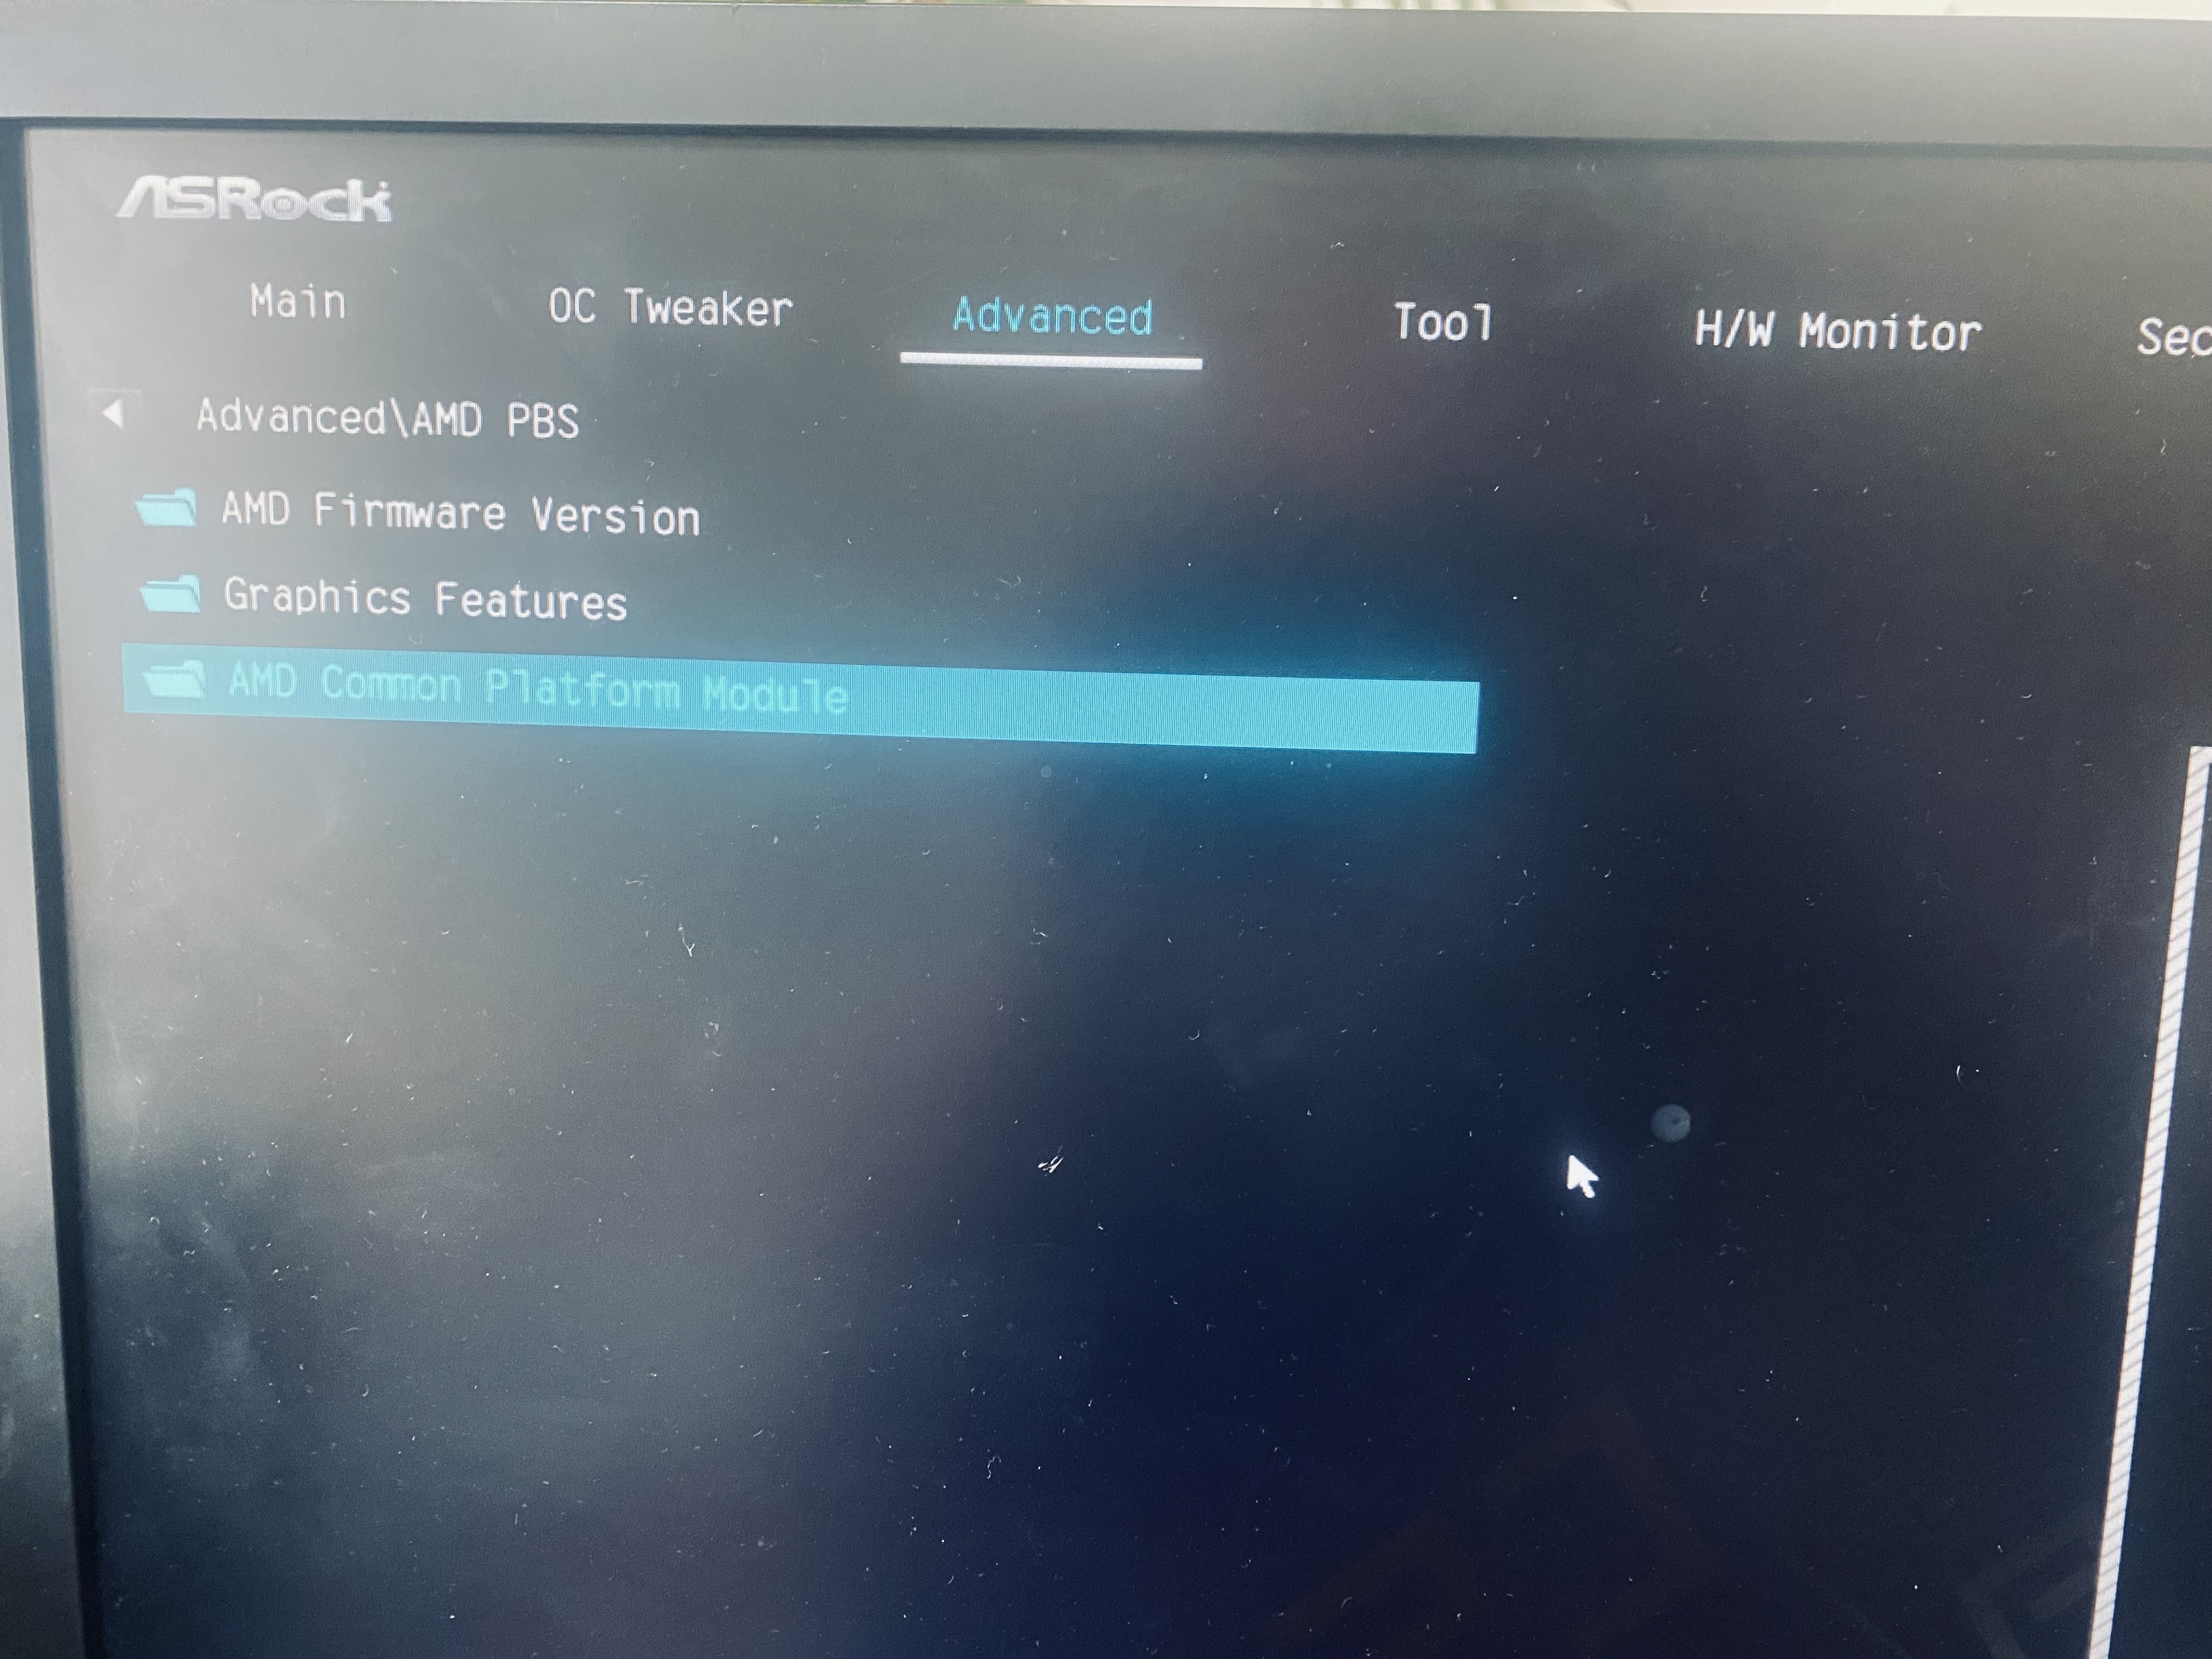
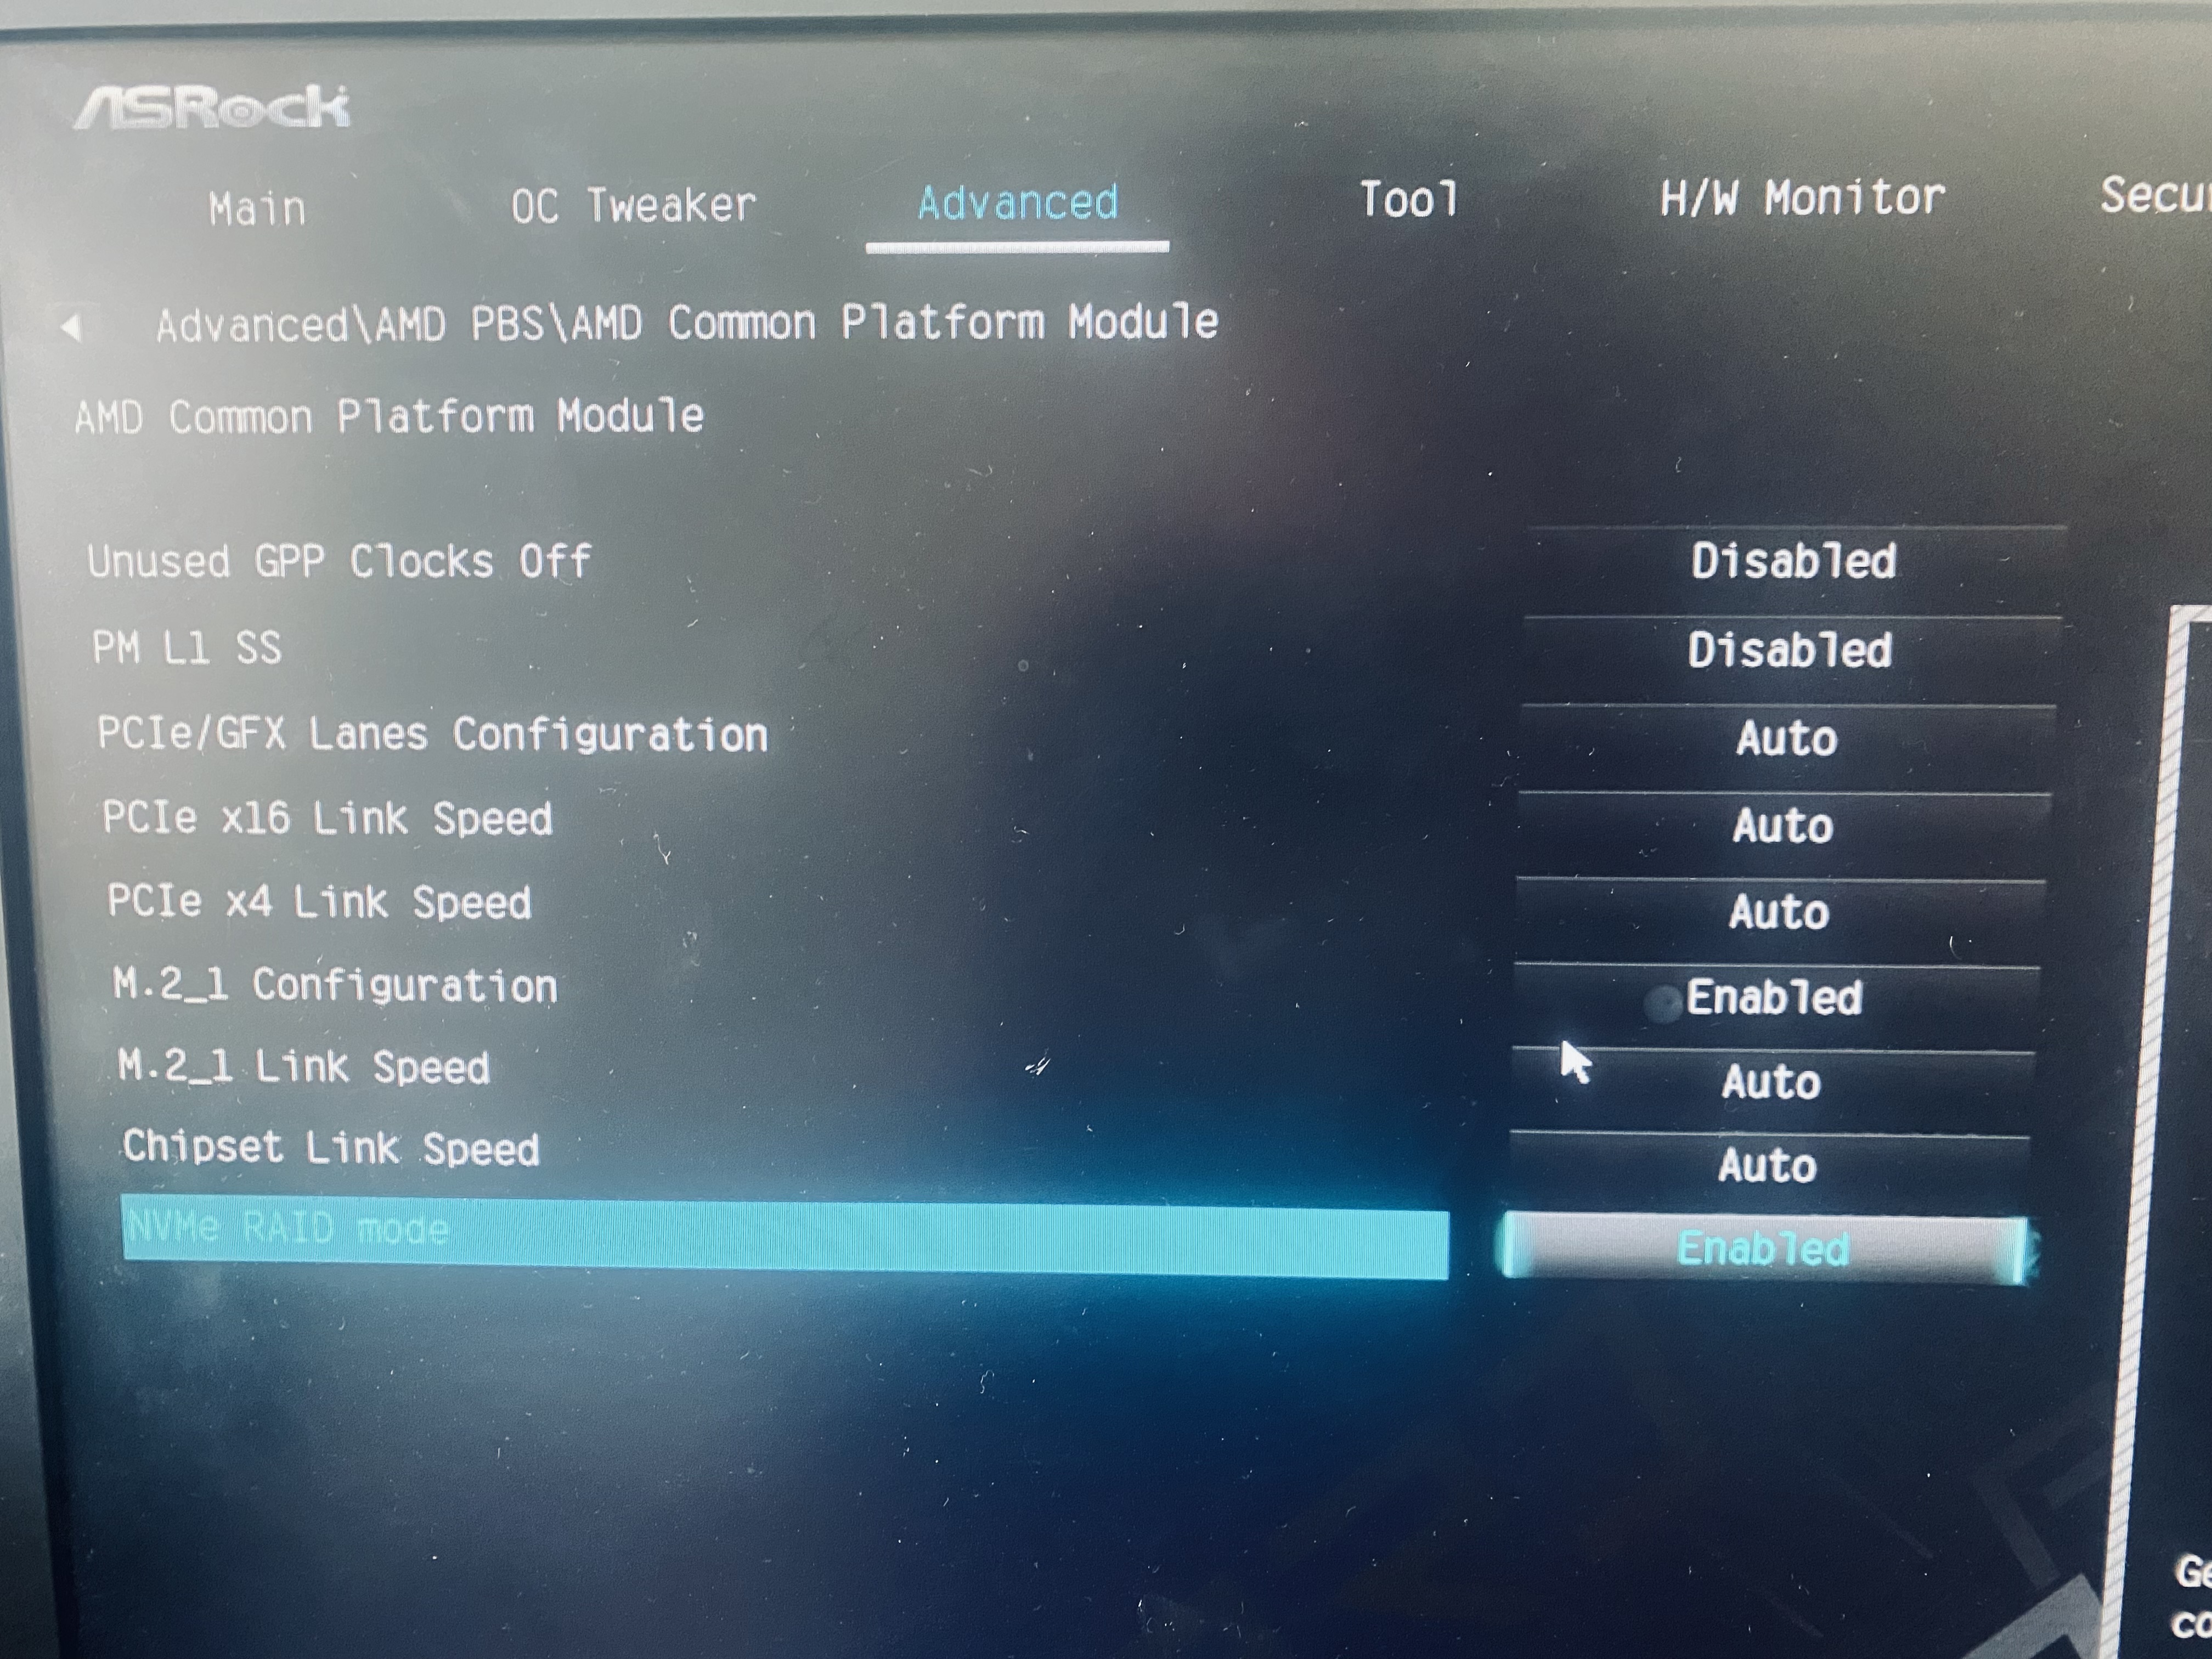

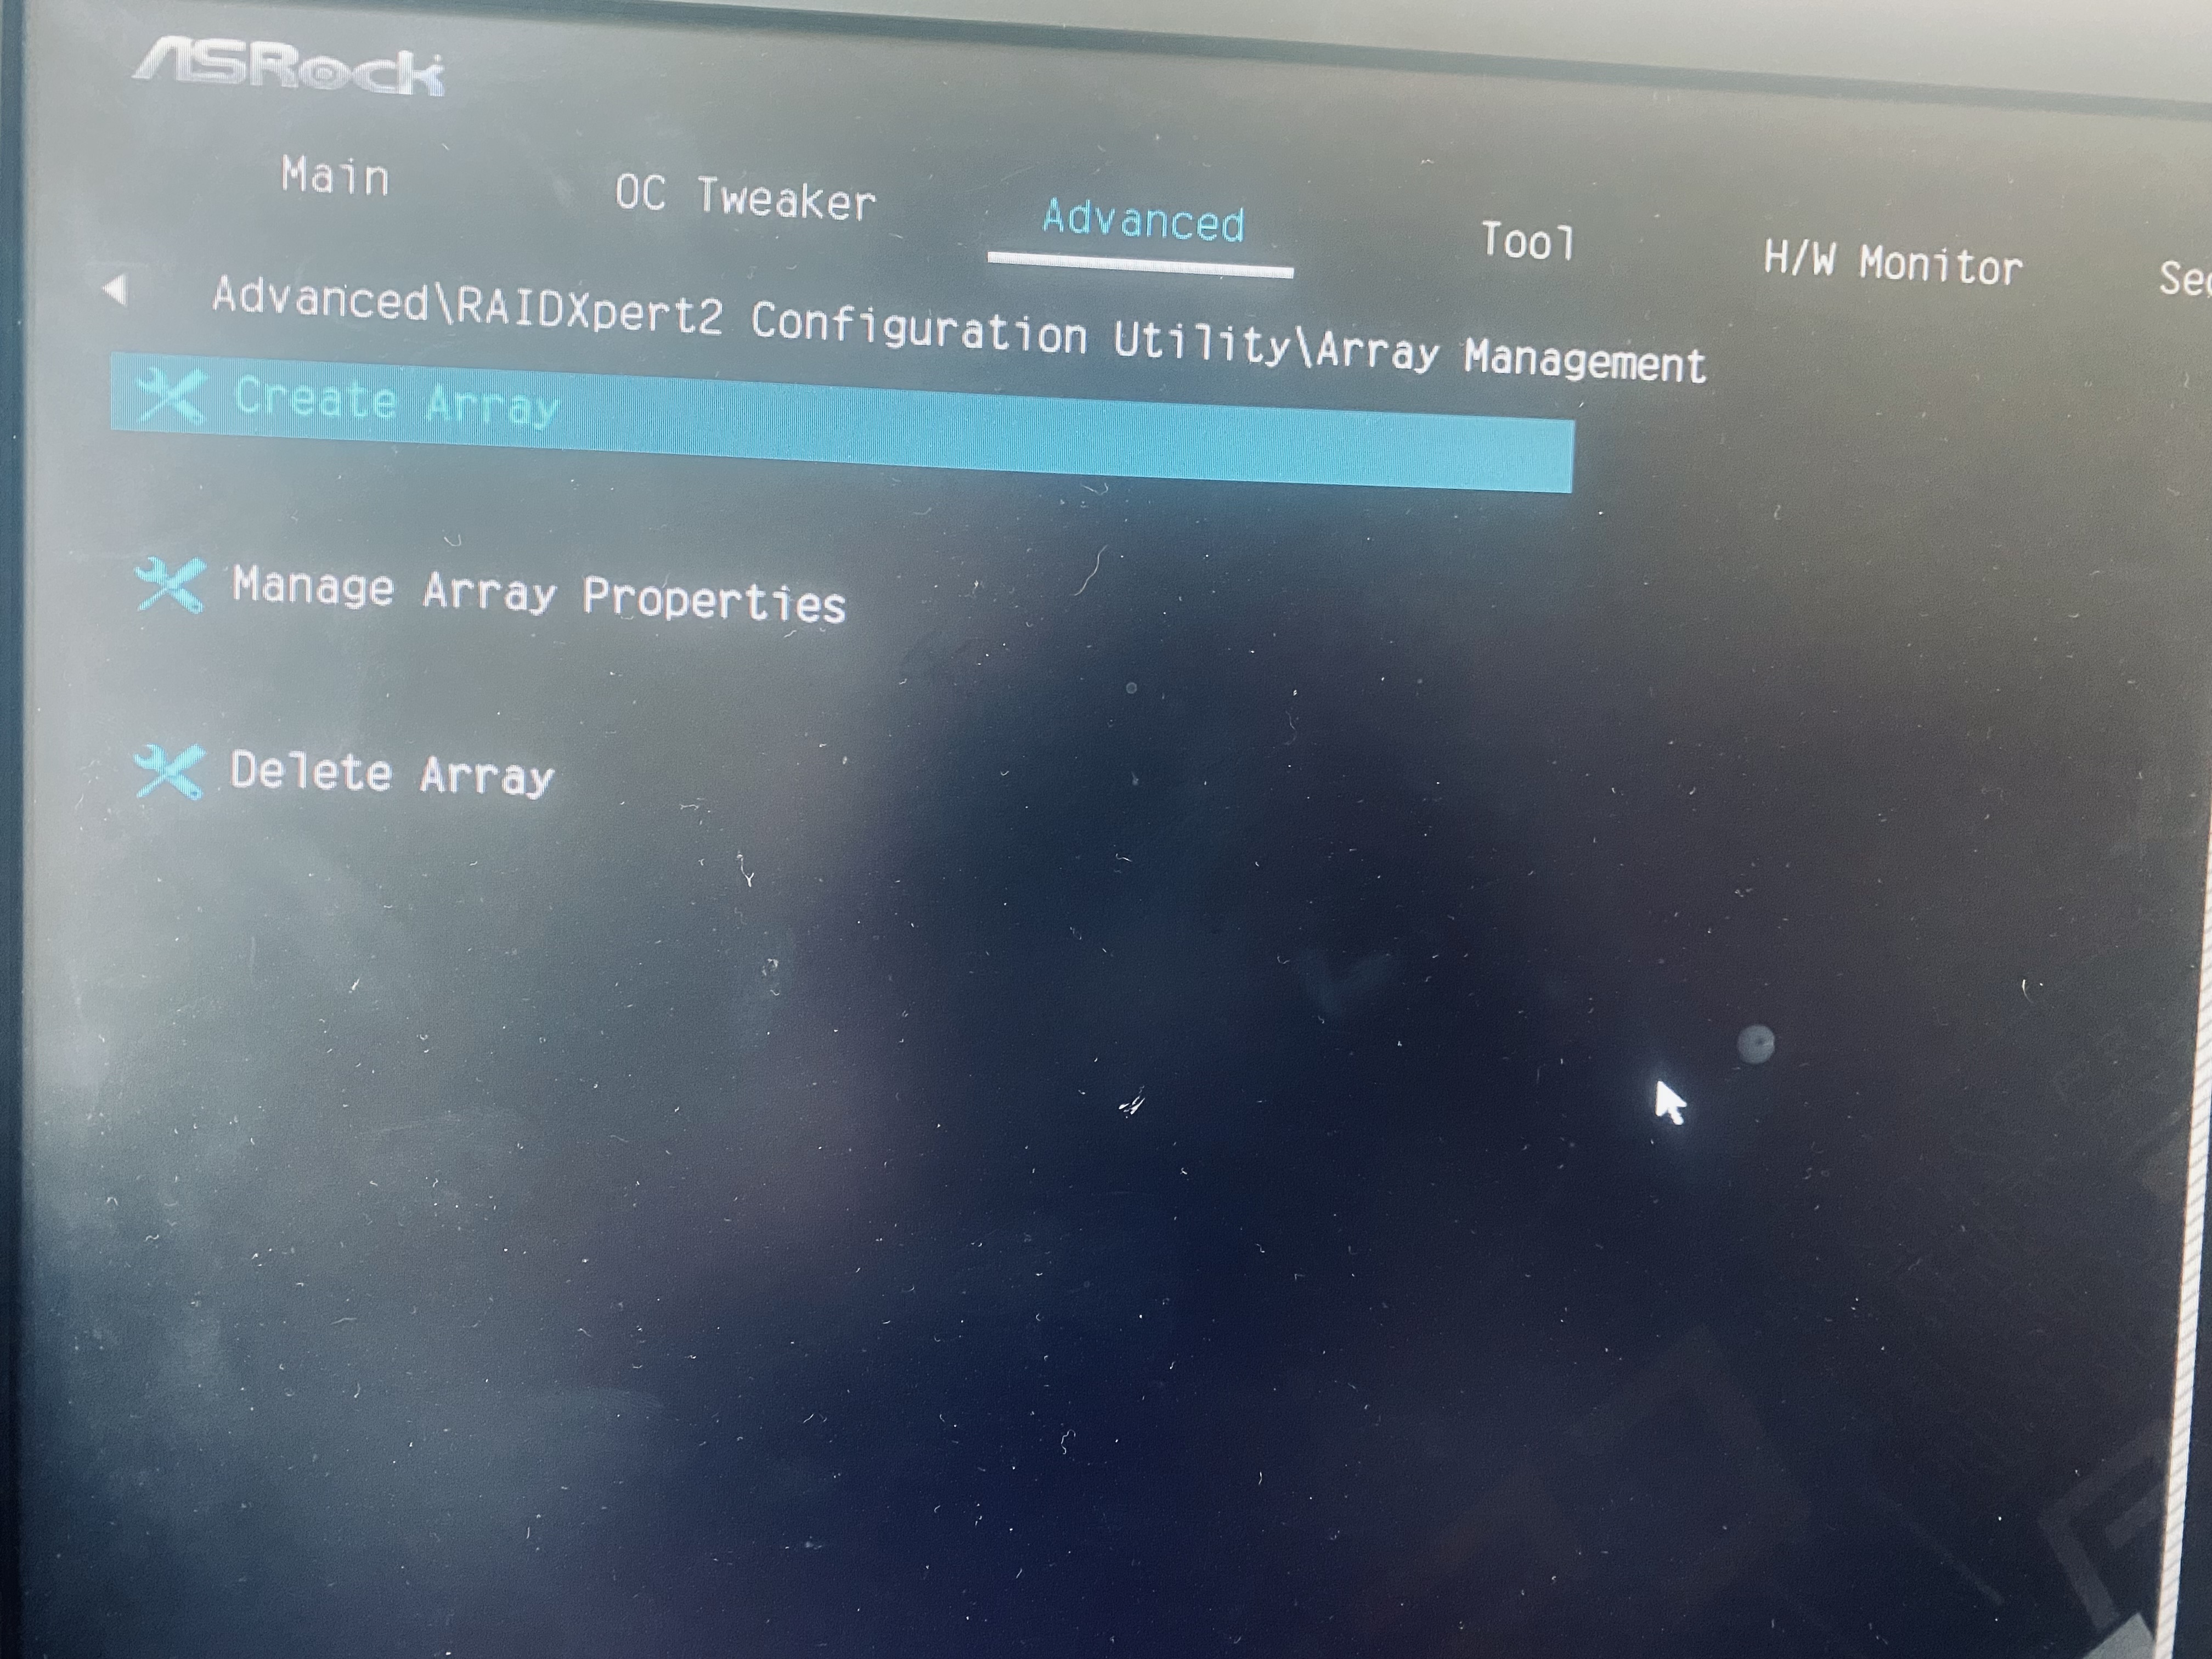
To create your array, you will probably be fine to select all defaults, only you will need to choose: Raid0 or Raid1. Raid0 is faster but a failure is disaster, Raid1 is only faster for reads, and per our test results a bit slower for writes than a stand-alone drive in this context.
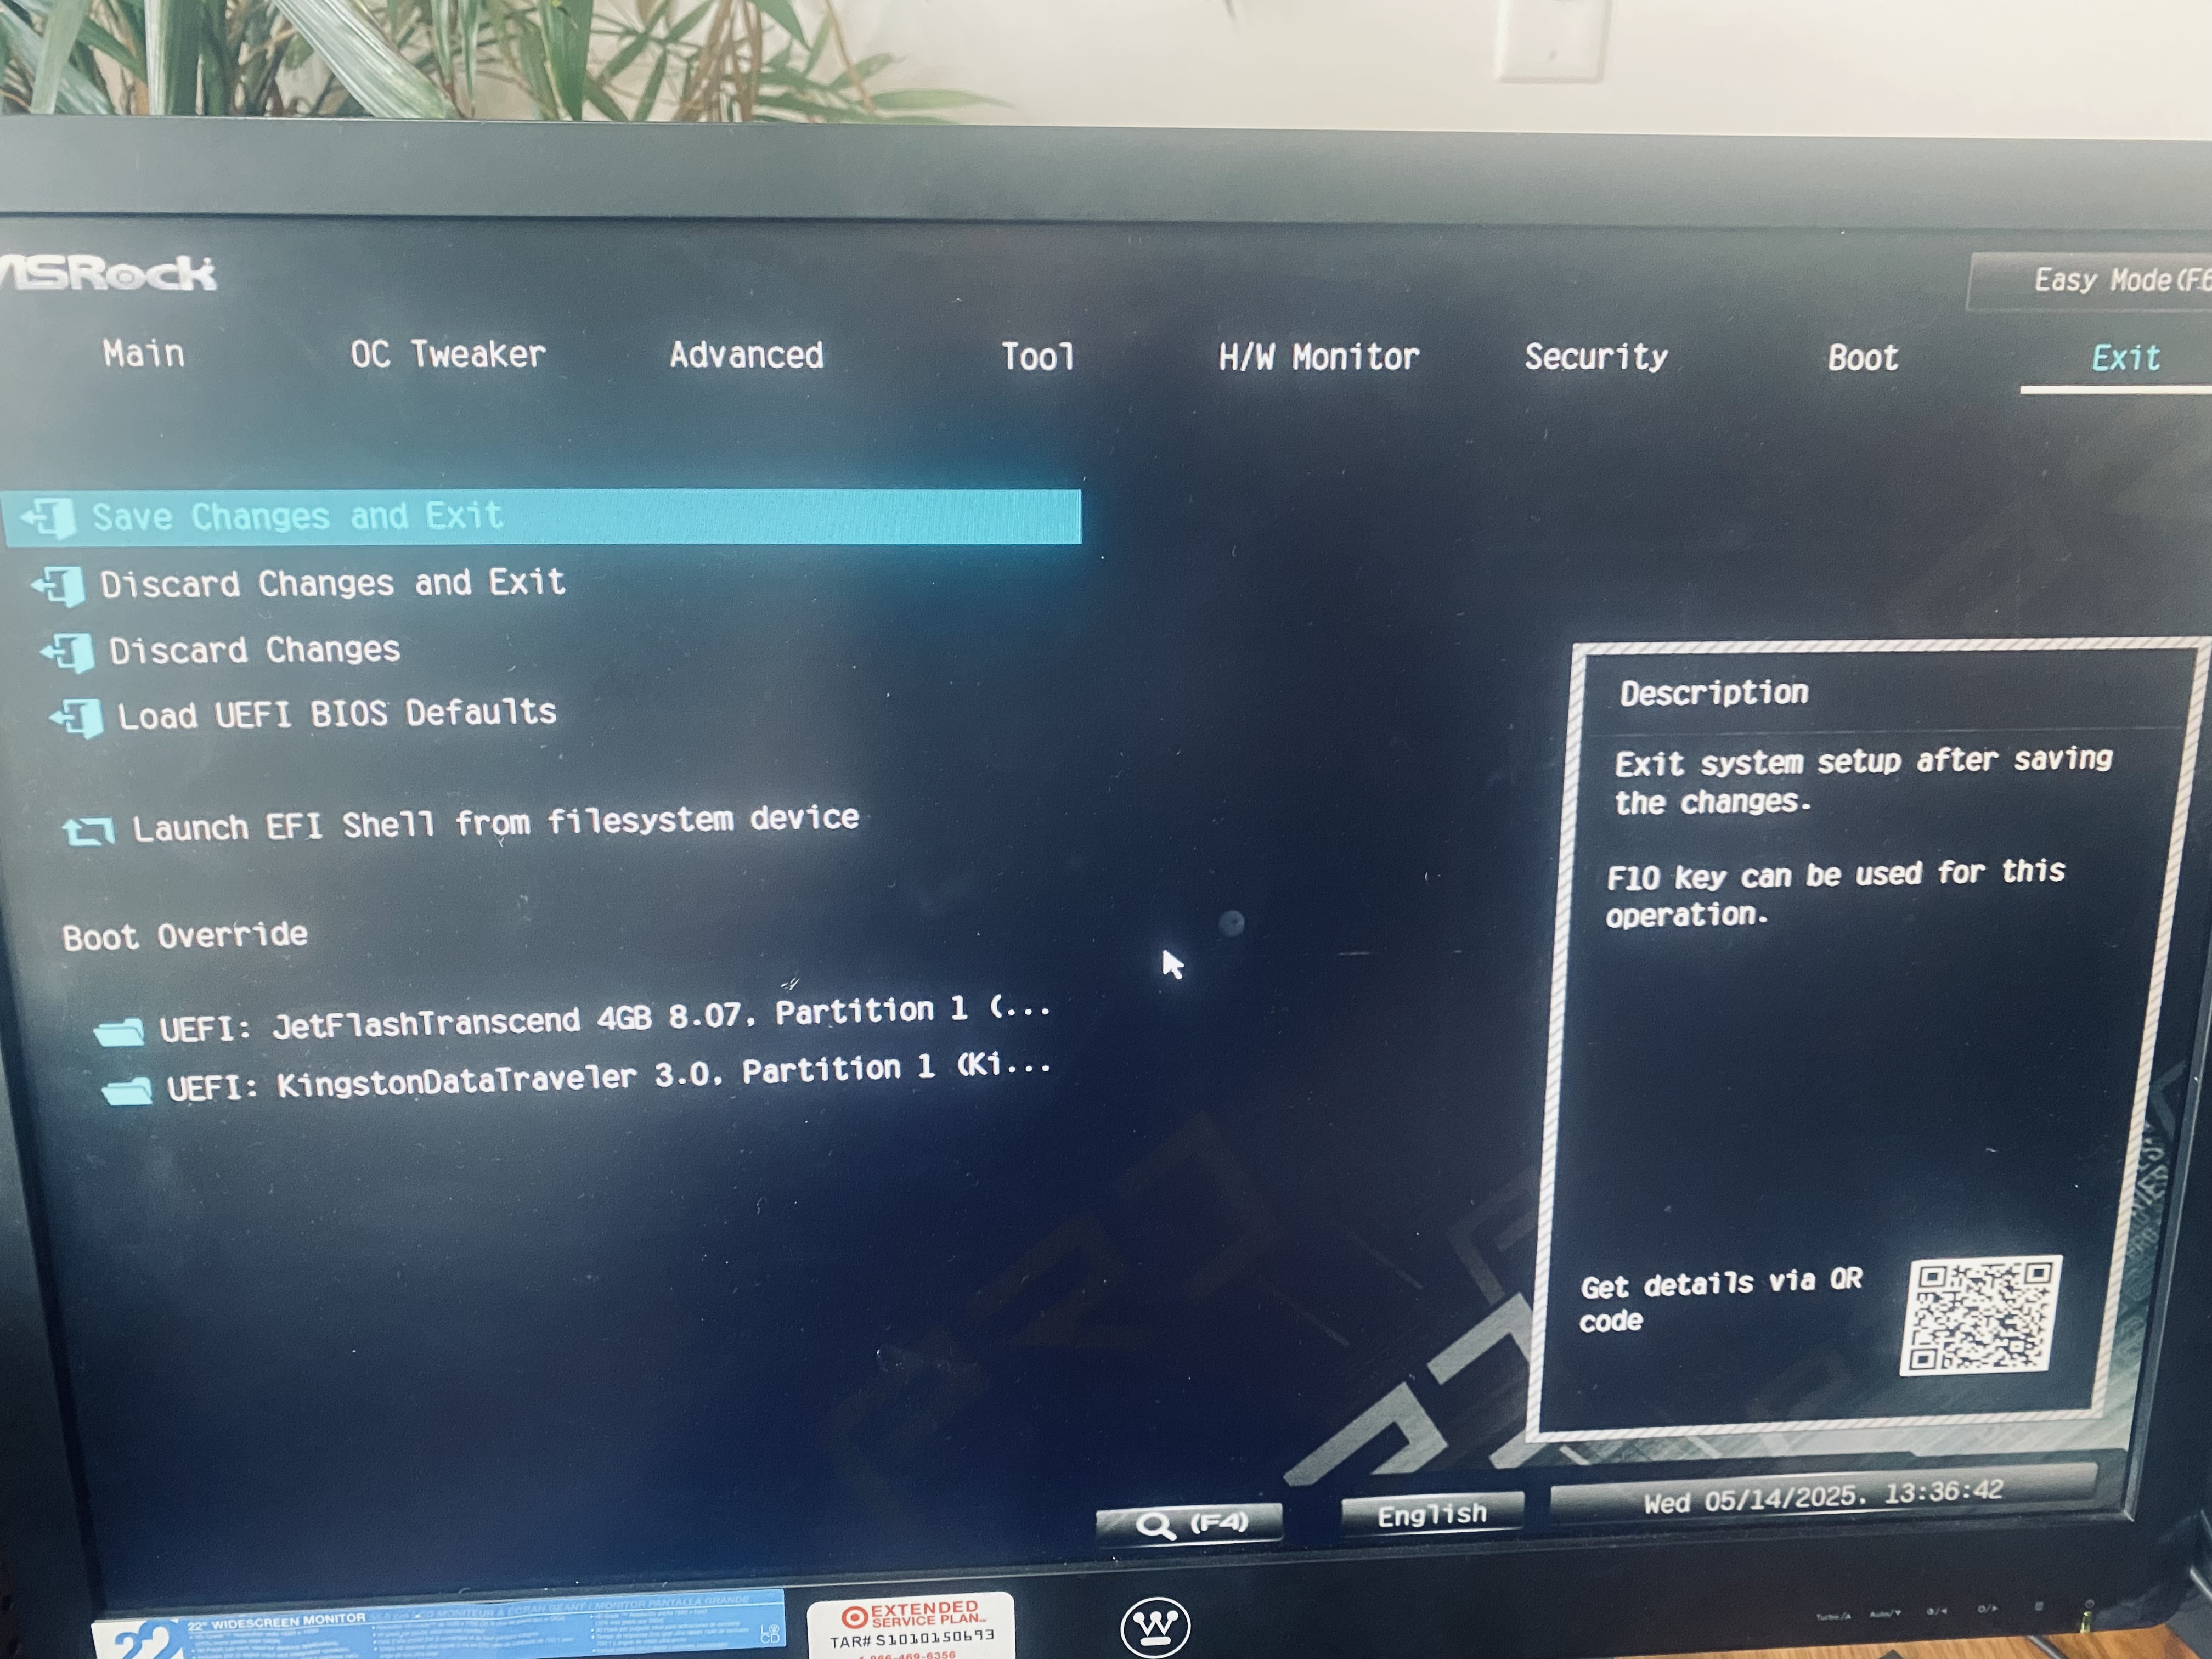
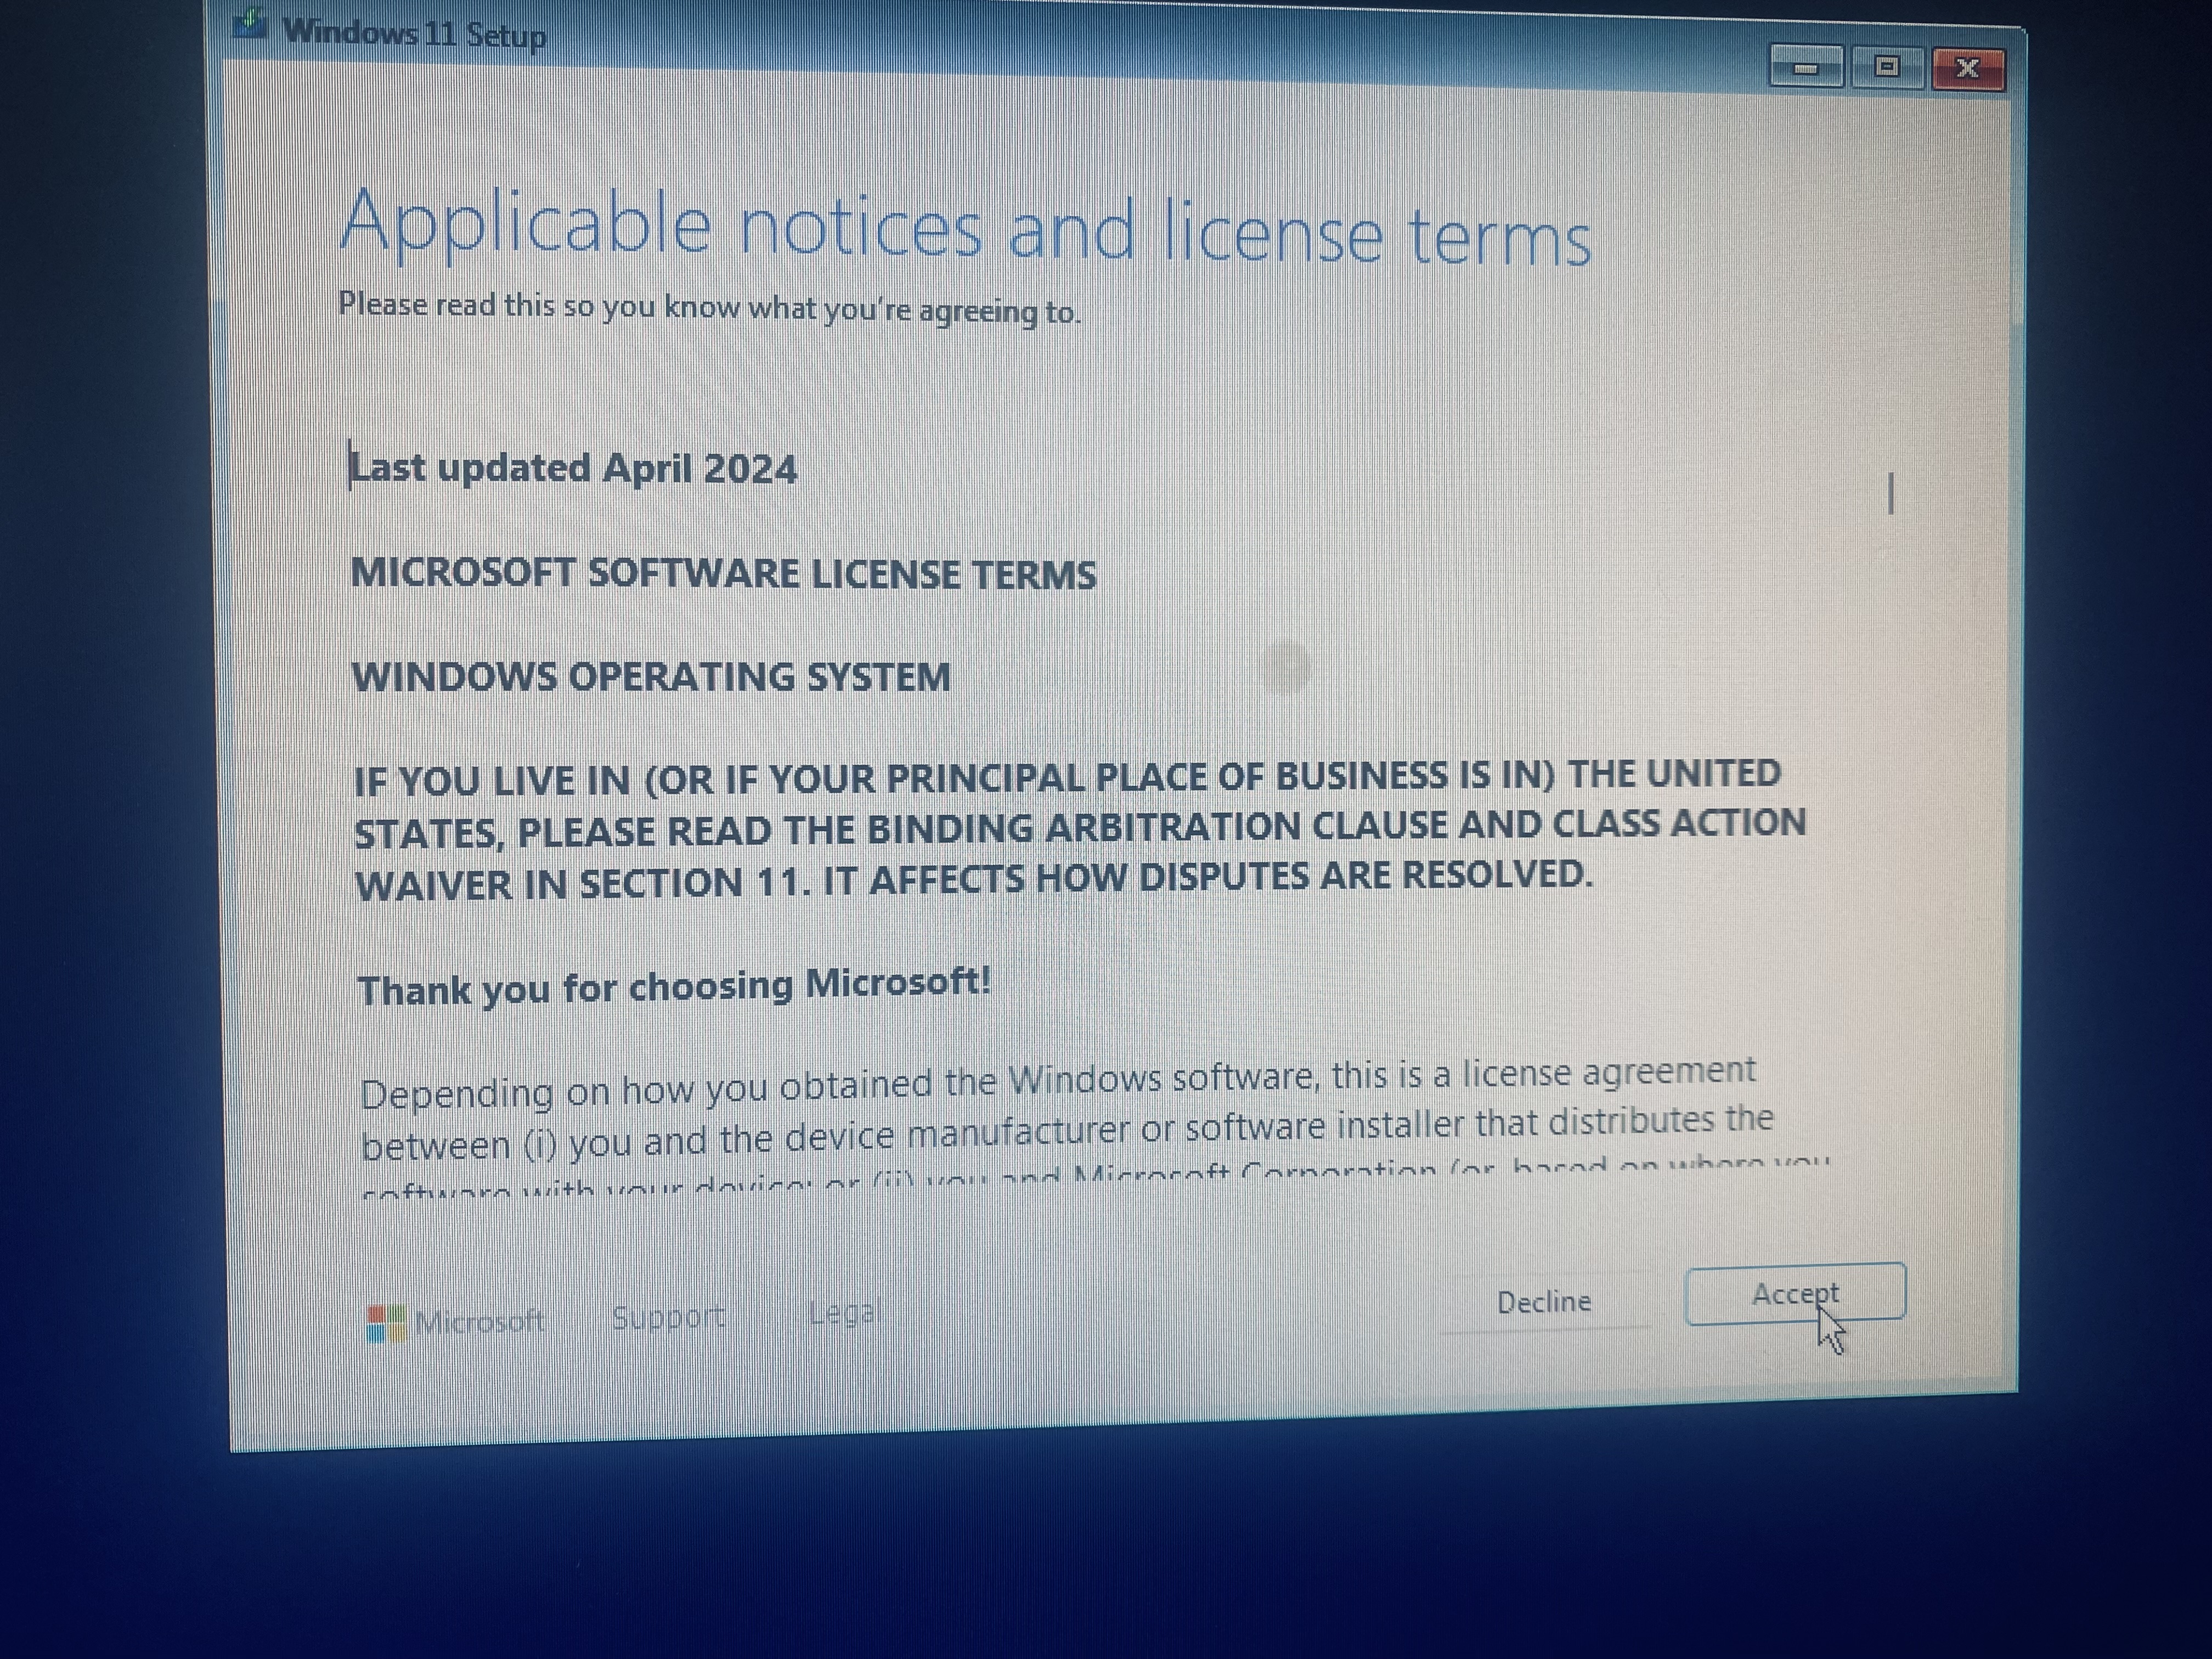
Step 2: Install Windows
Scroll down to bottom “Bonus” for secret trick to install windows without providing your email address to Microsoft. This is useful for system builders, people who don’t want to feel quite so violated in the preservation of privacy, and freedom lovers who don’t believe in registering themselves like cattle.
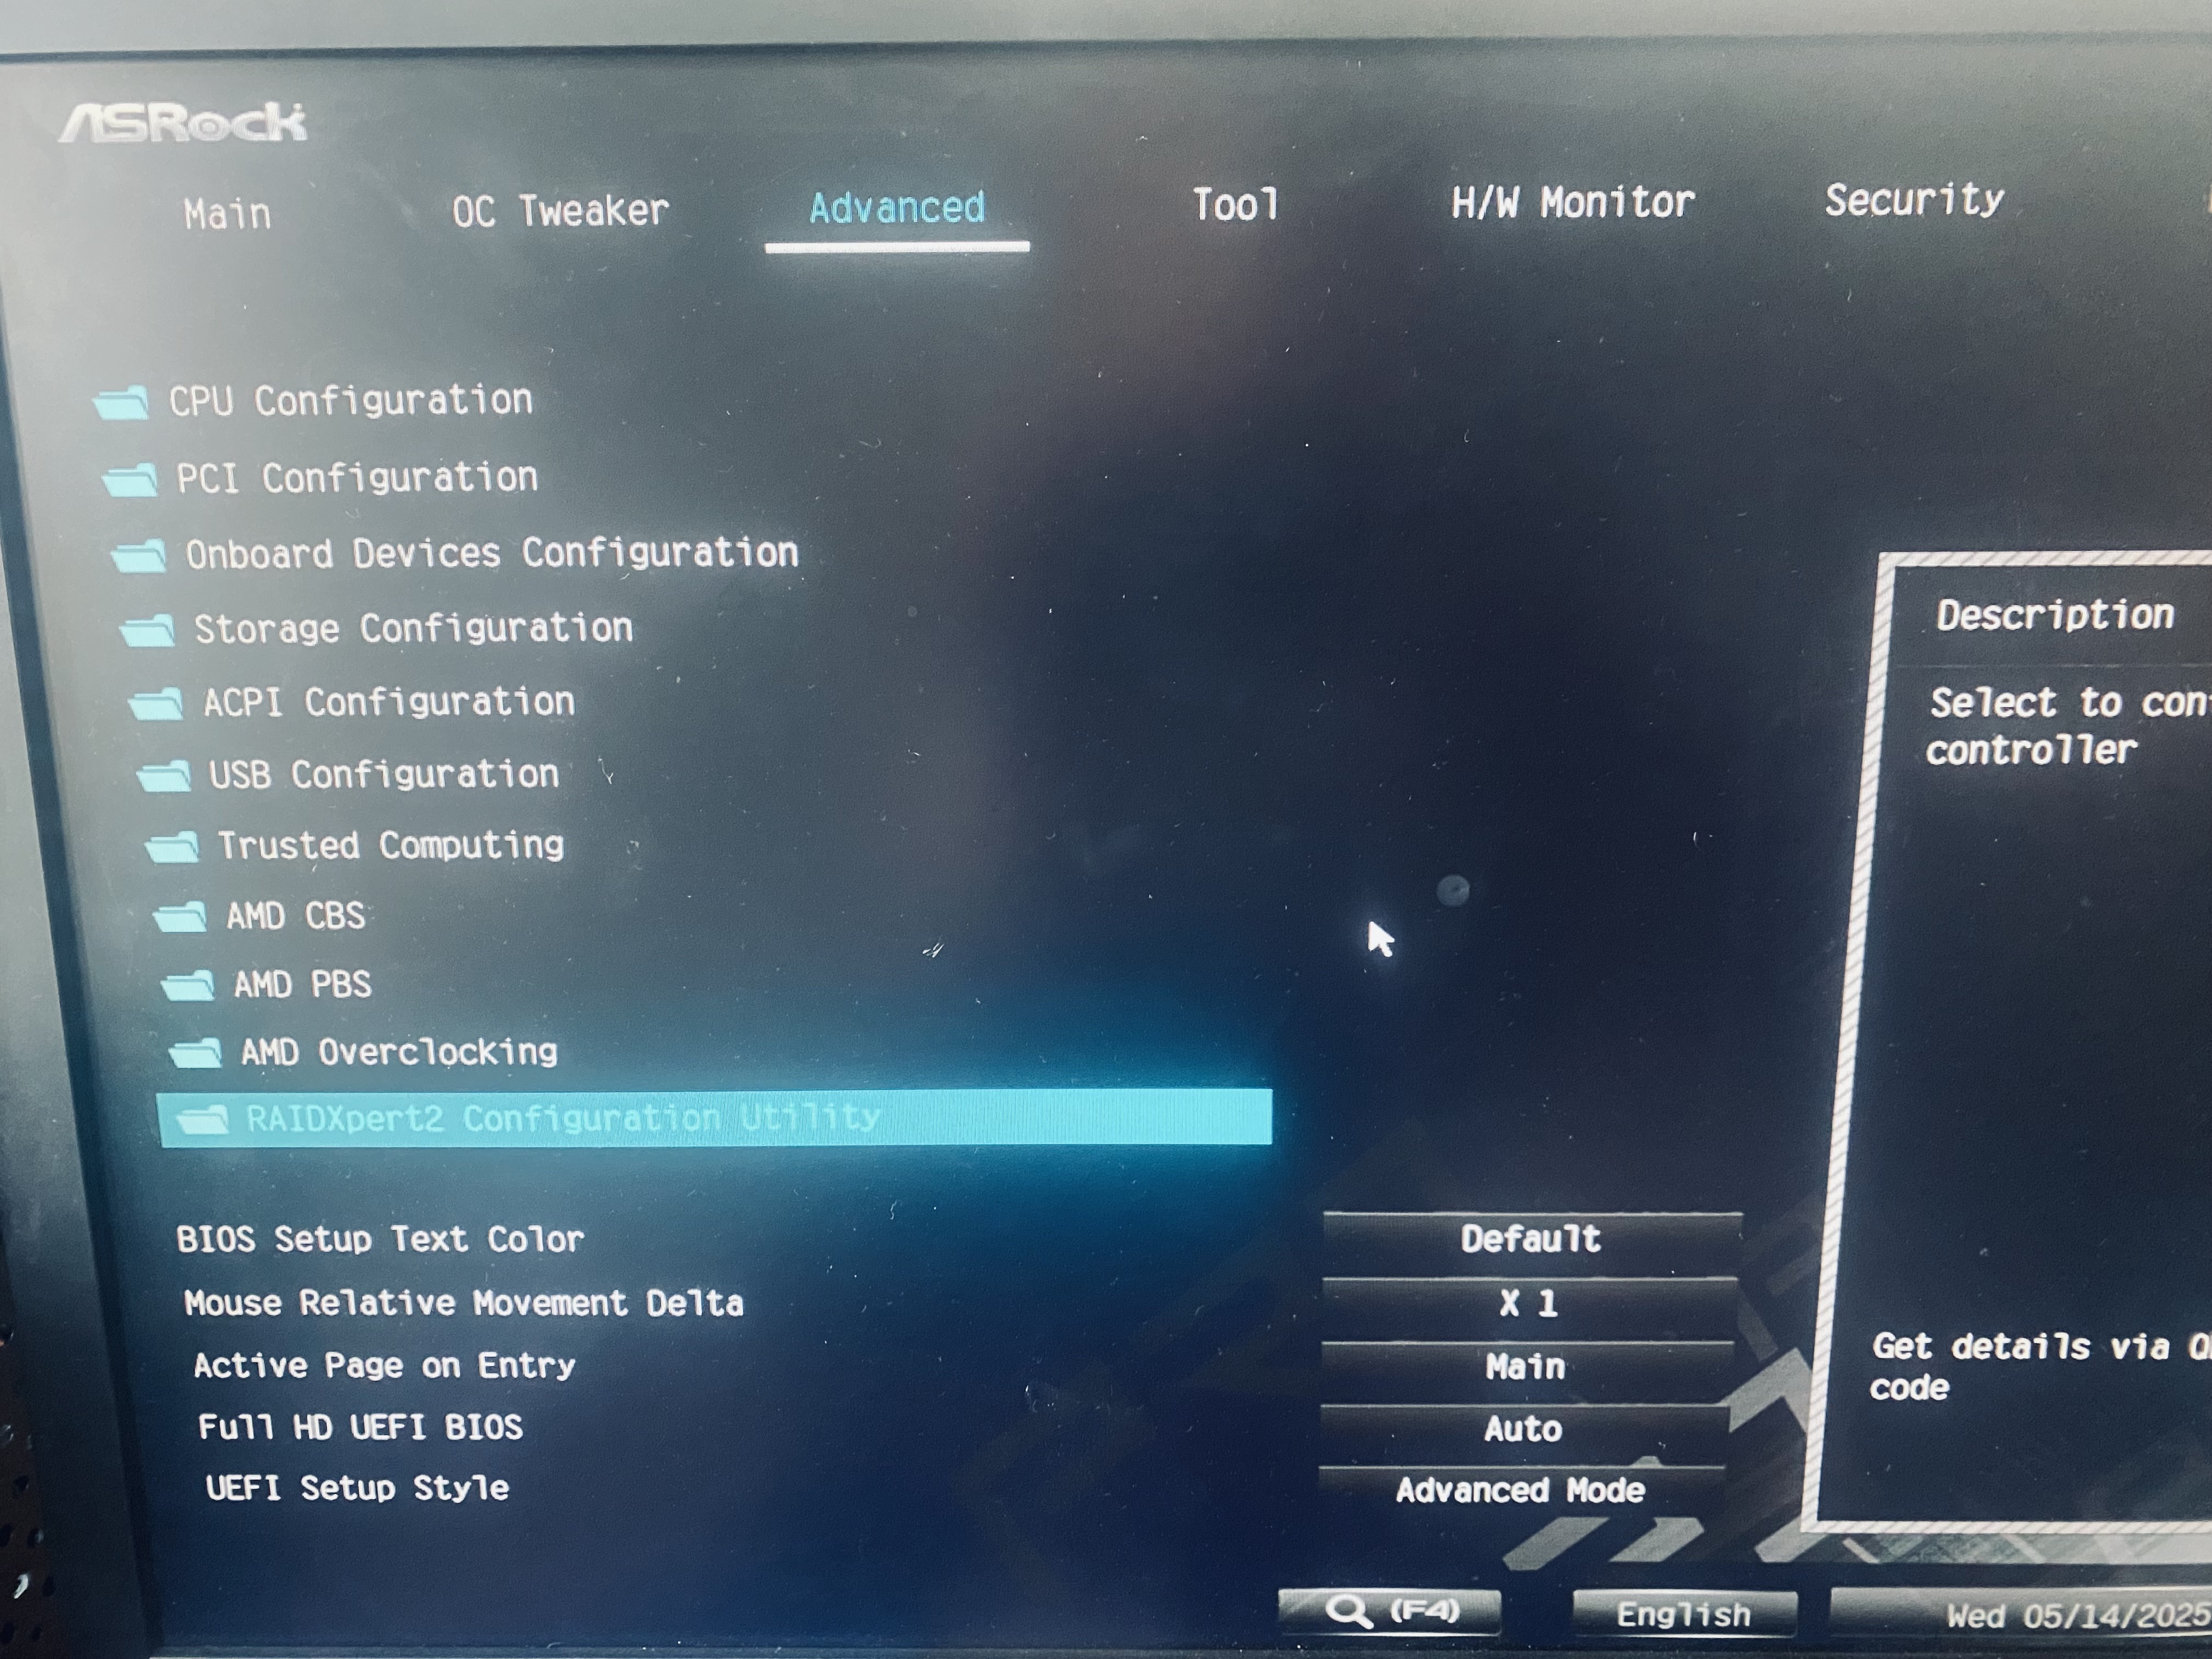
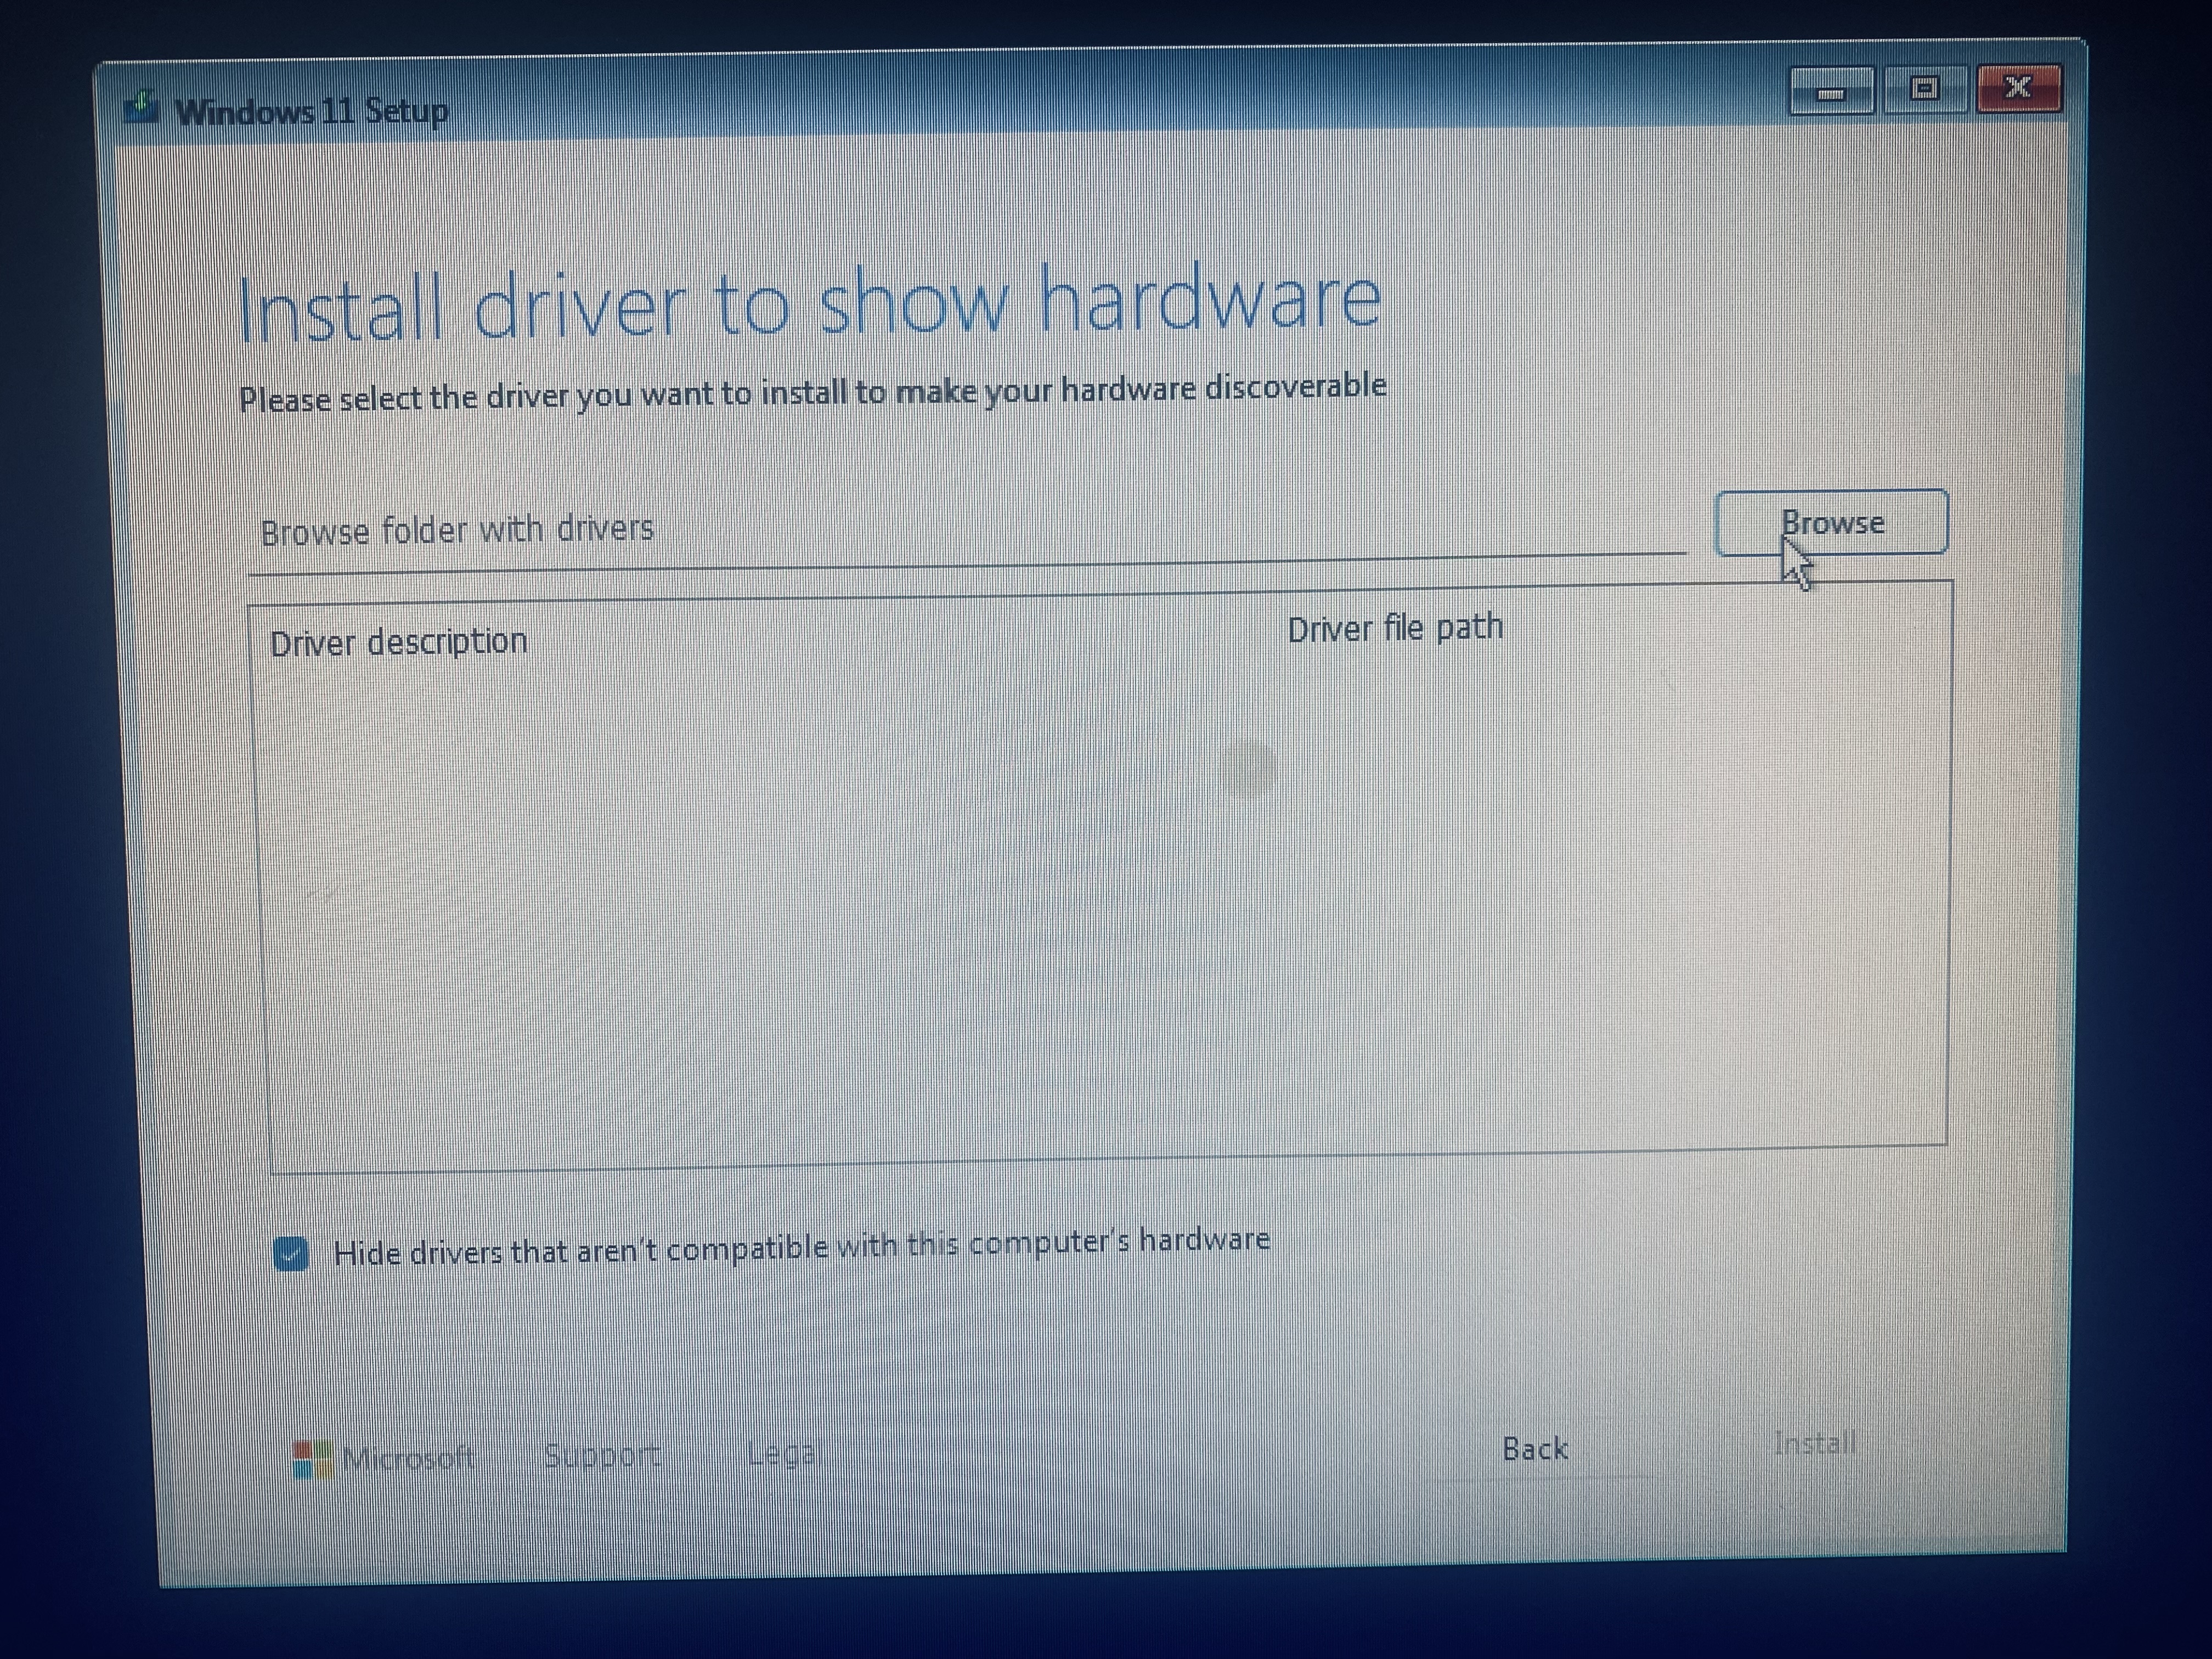
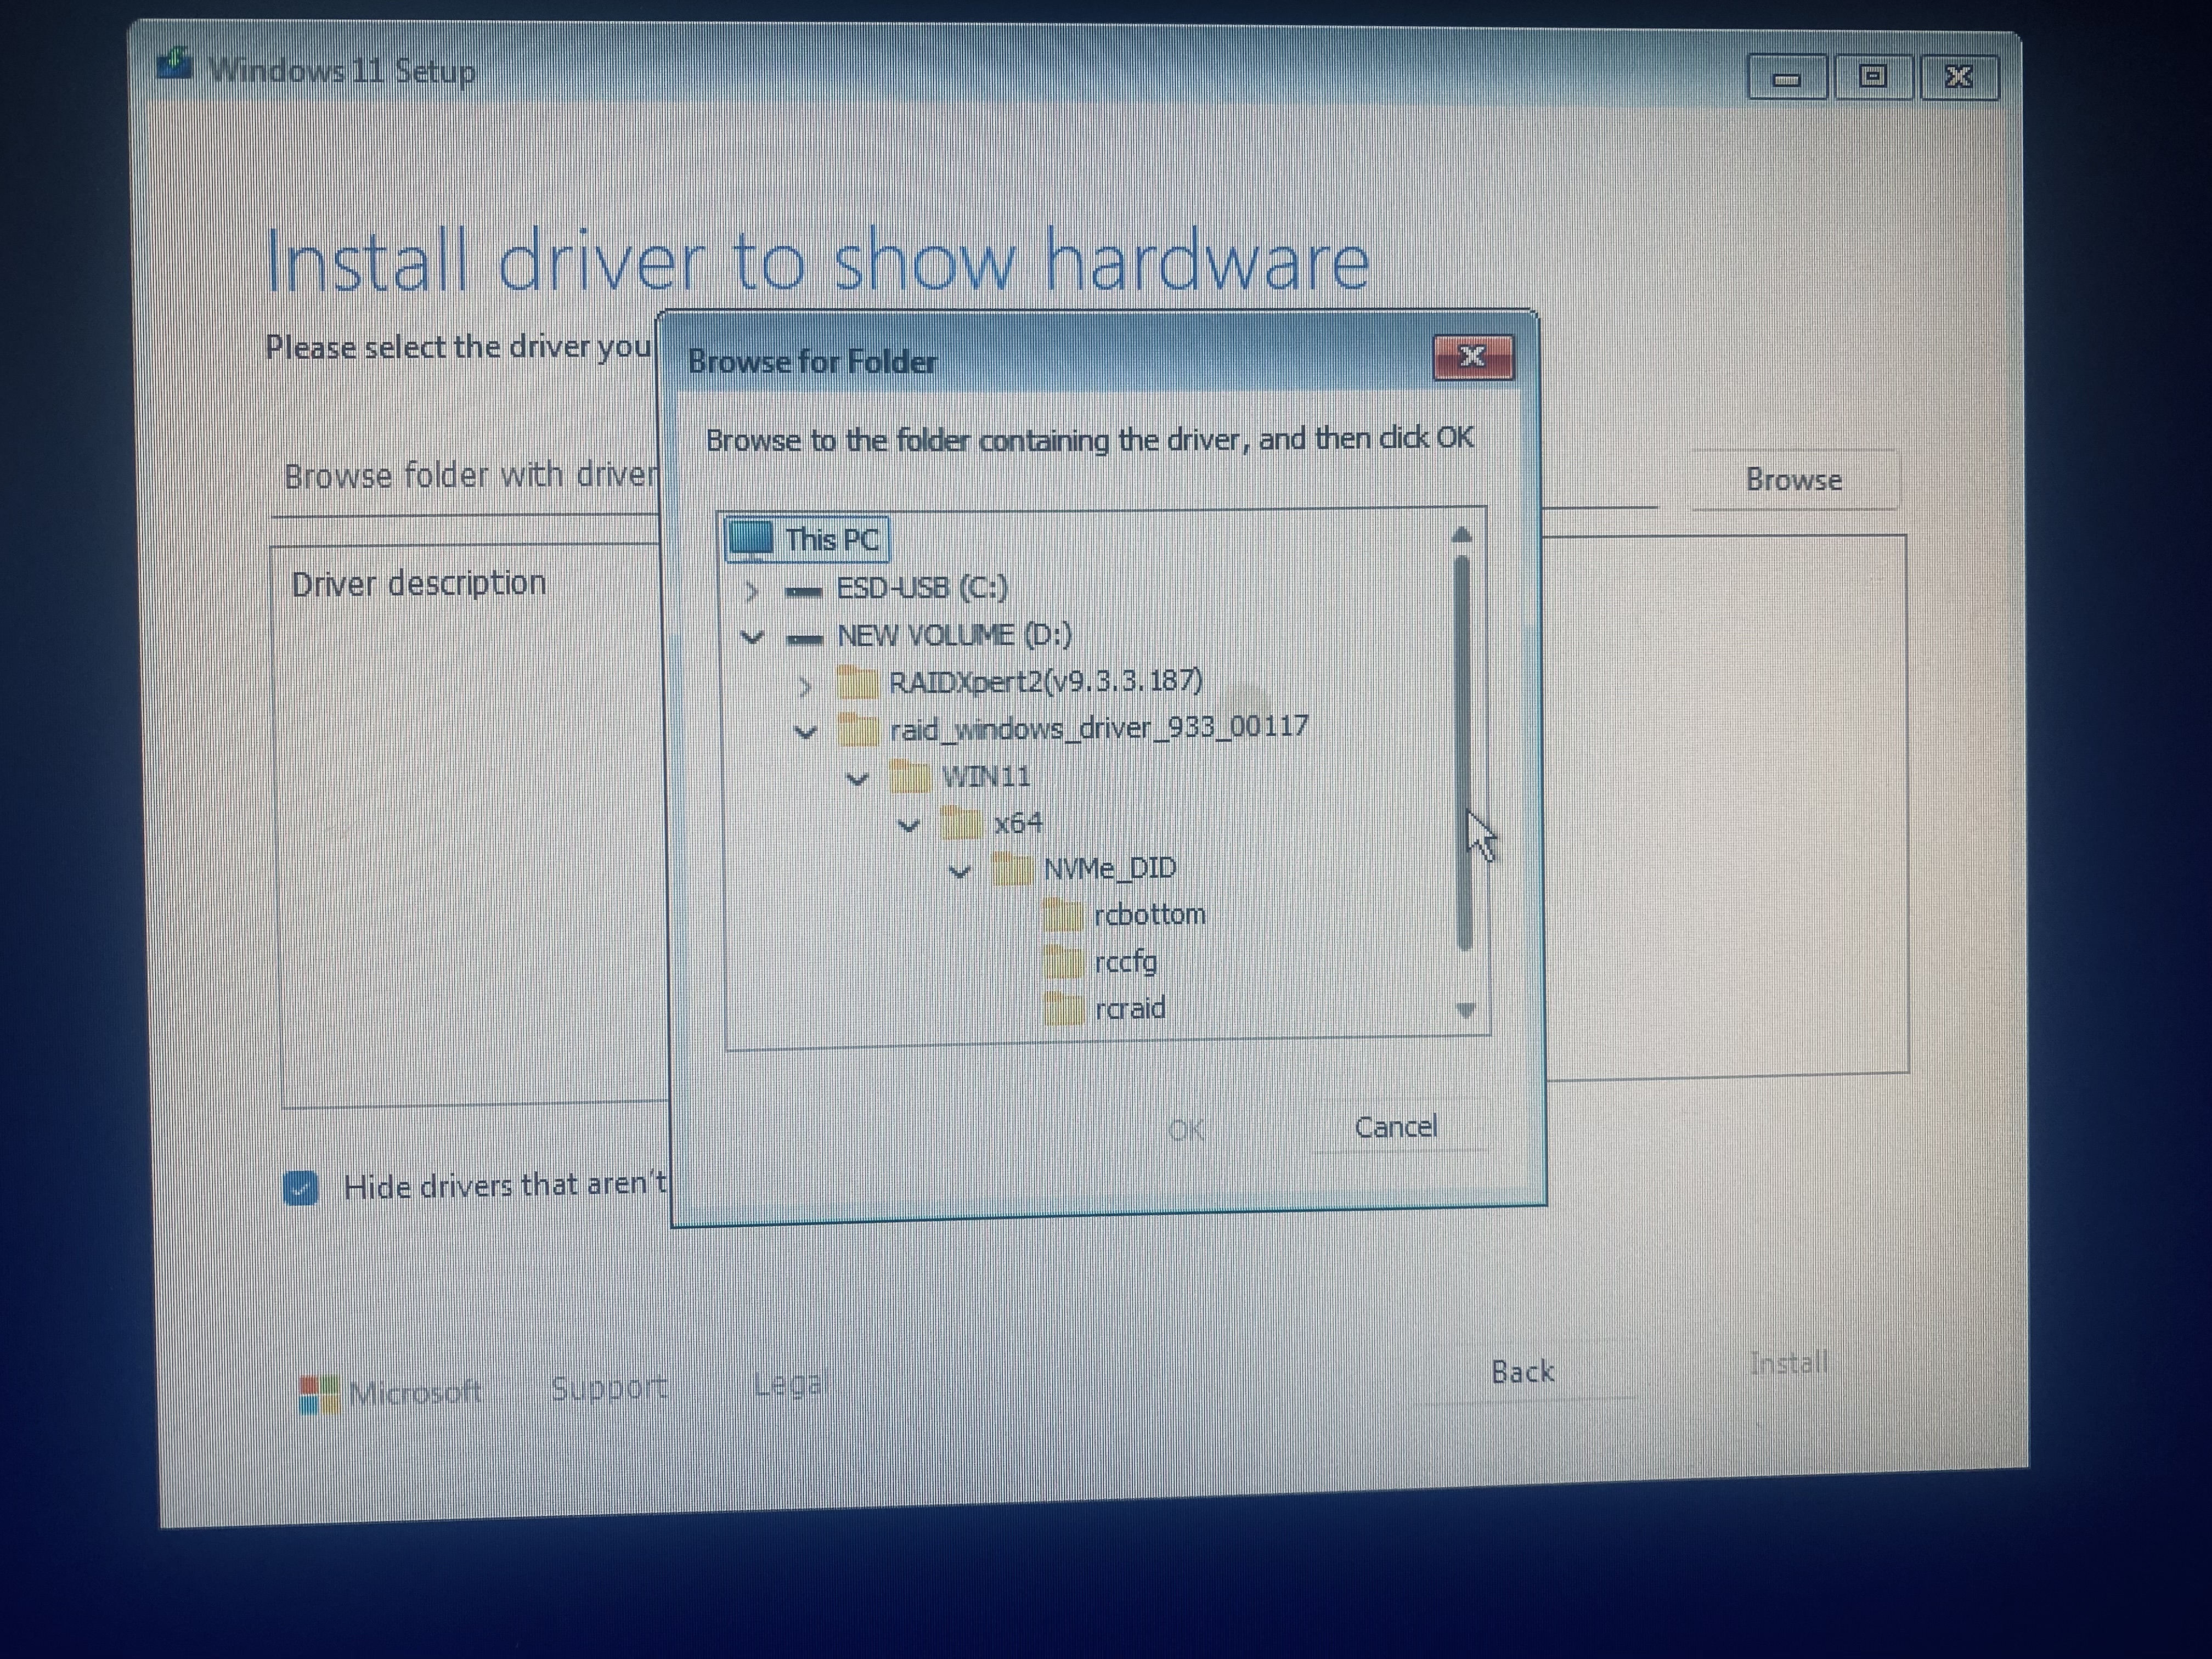
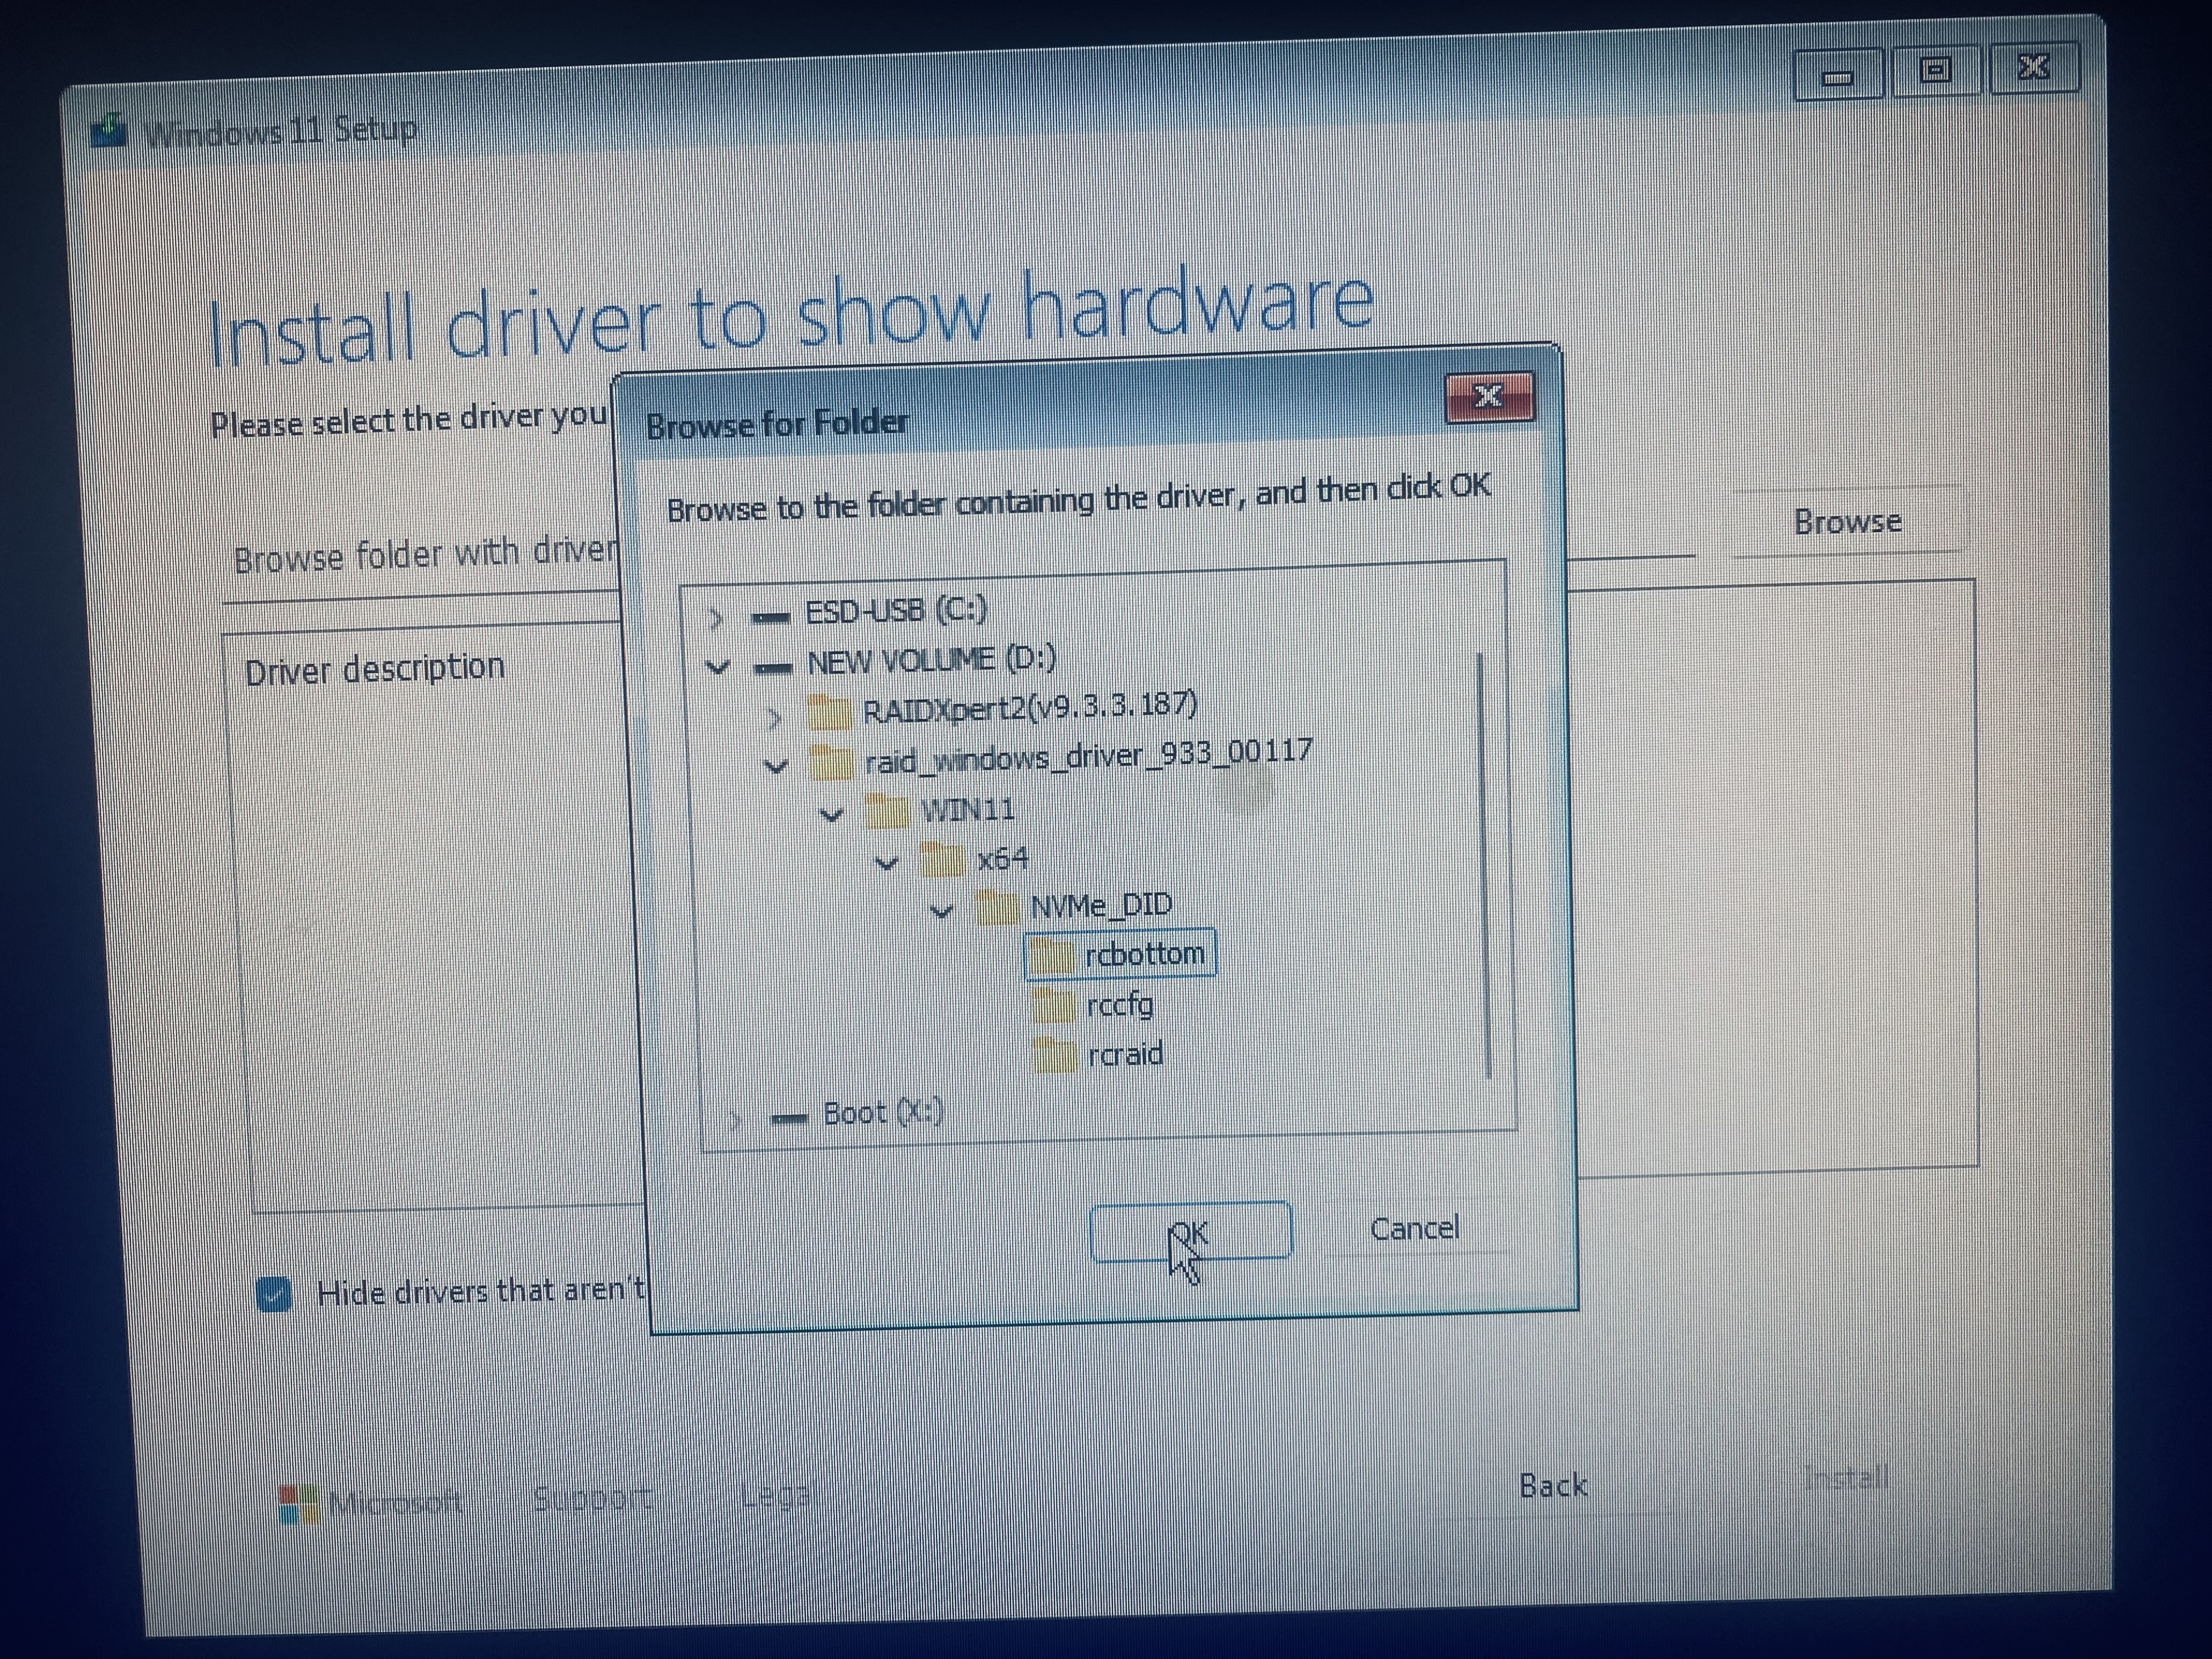
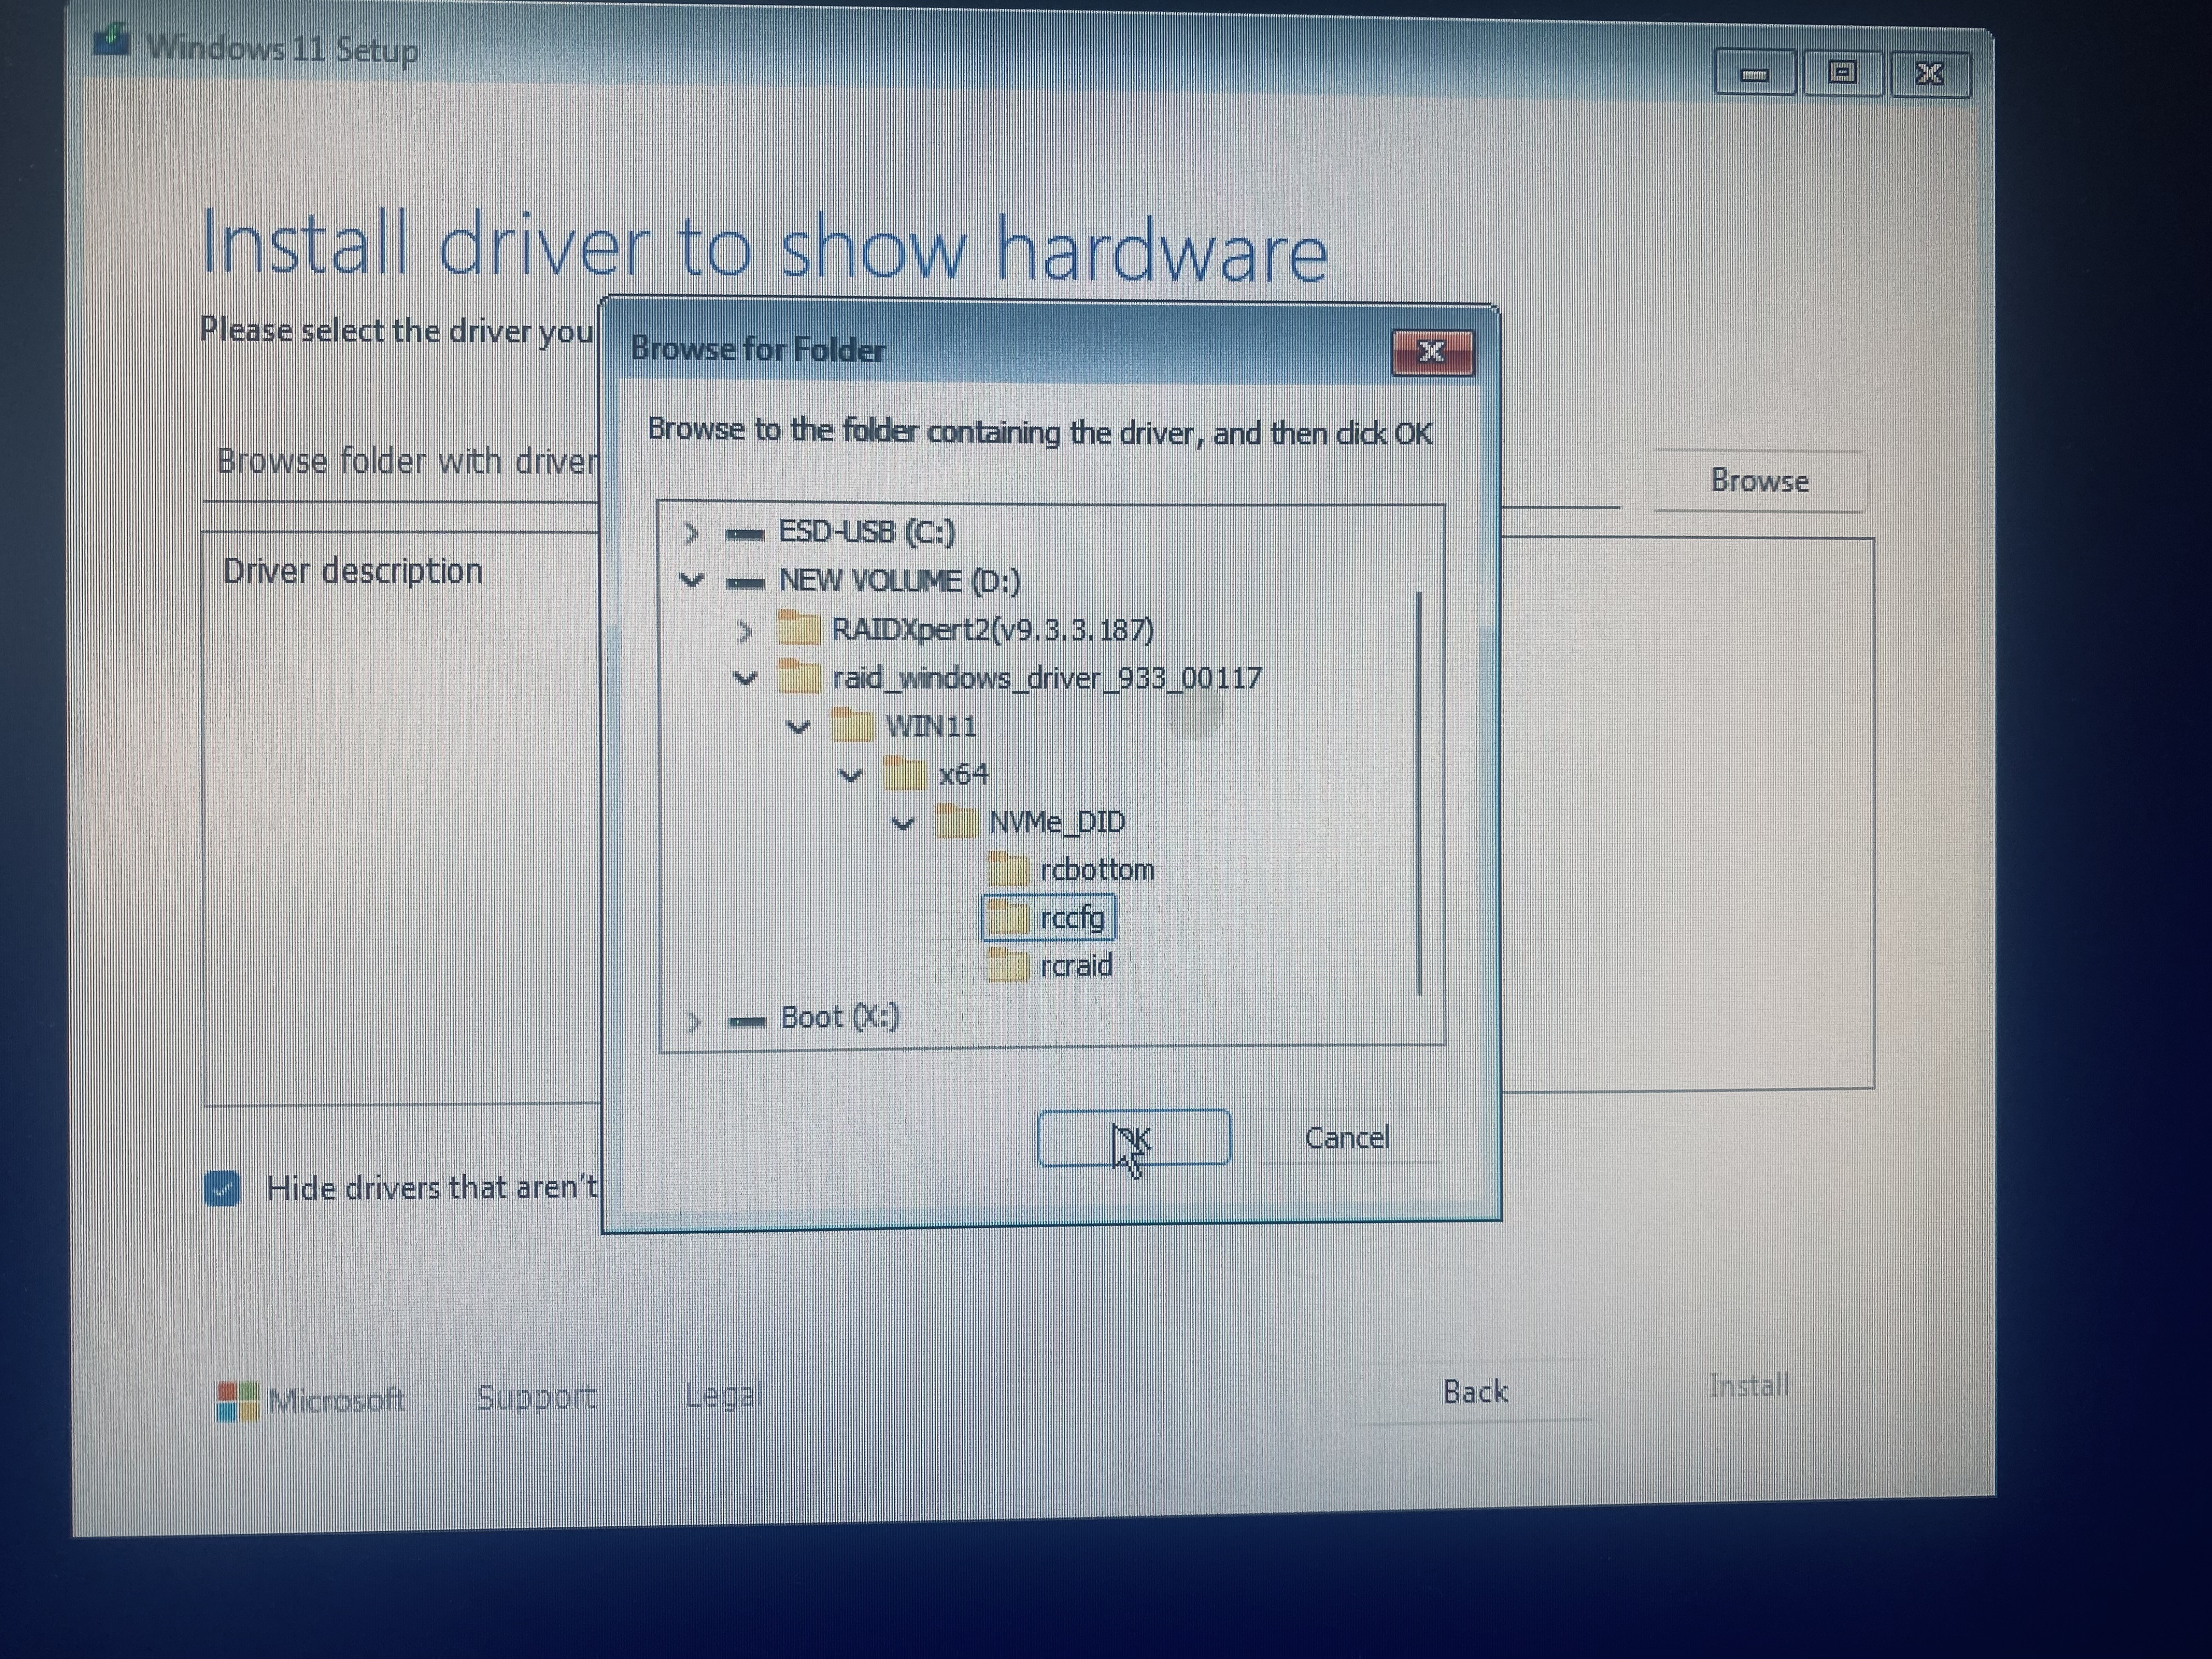
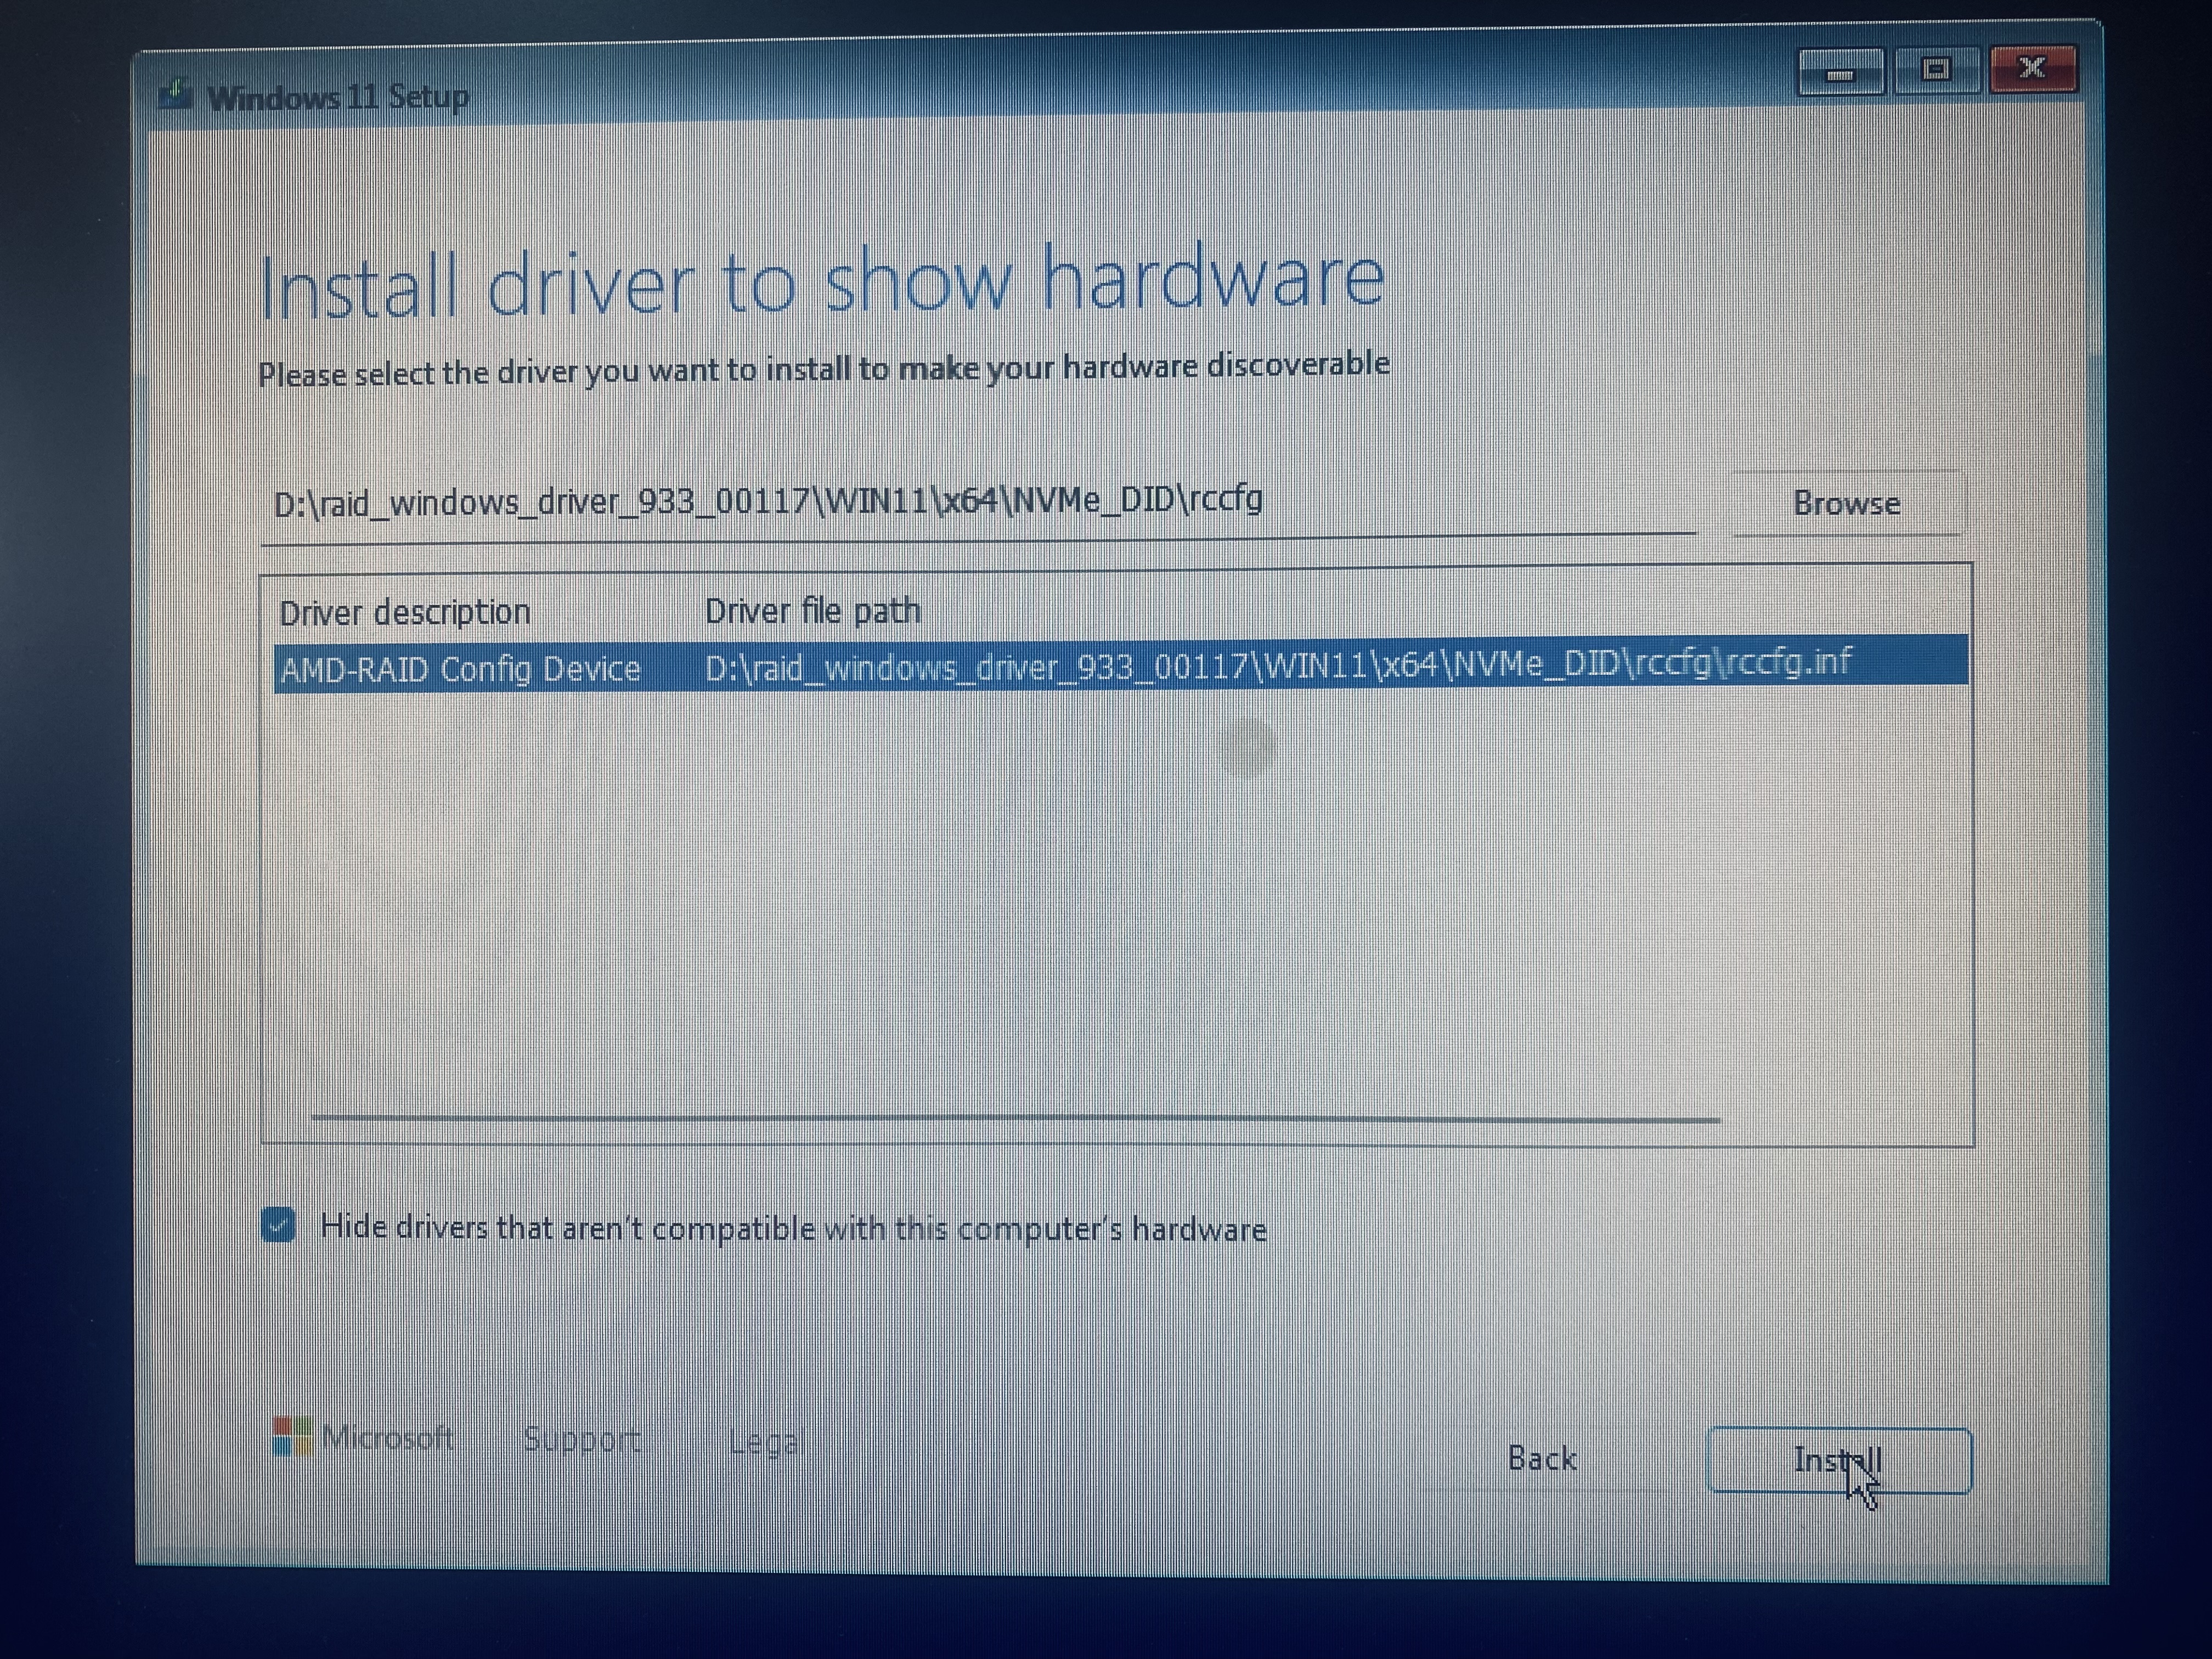
Step 3: Manually Install AMD RAID drivers
Windows, in its infinite wisdom, being the self-described 11th iteration, still hasn’t embedded the necessary files during install. So we have to use that clunky old install drivers manually button, whereby we put the necessary files, after unzipping, onto a USB stick and install THREE drivers manually. FUN!!! Here’s the driver file you need:
https://www.amd.com/en/support/downloads/drivers.html/chipsets/am5/x870.html
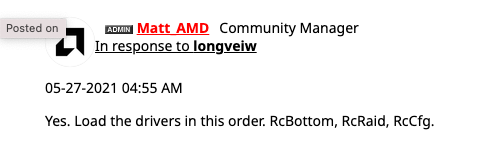
Only it’s not as simple as we would like. From the following guide, we have to install the drivers in the exact order of: RcBottom, RcRaid, RcCfg. Isn’t this fun? In my case, the 1st driver for RcBottom caused Windows Installer to crash, ergo I tried again with the second one, and it worked. So be patient. The other drivers worked as the 1st on the list, which is well, because I was very close to giving up and switching to convincing my customer to virtualize Windows or ditch Raid. So don’t give up, not until you’ve tried the suggestions. Source:
AMD Community Updates
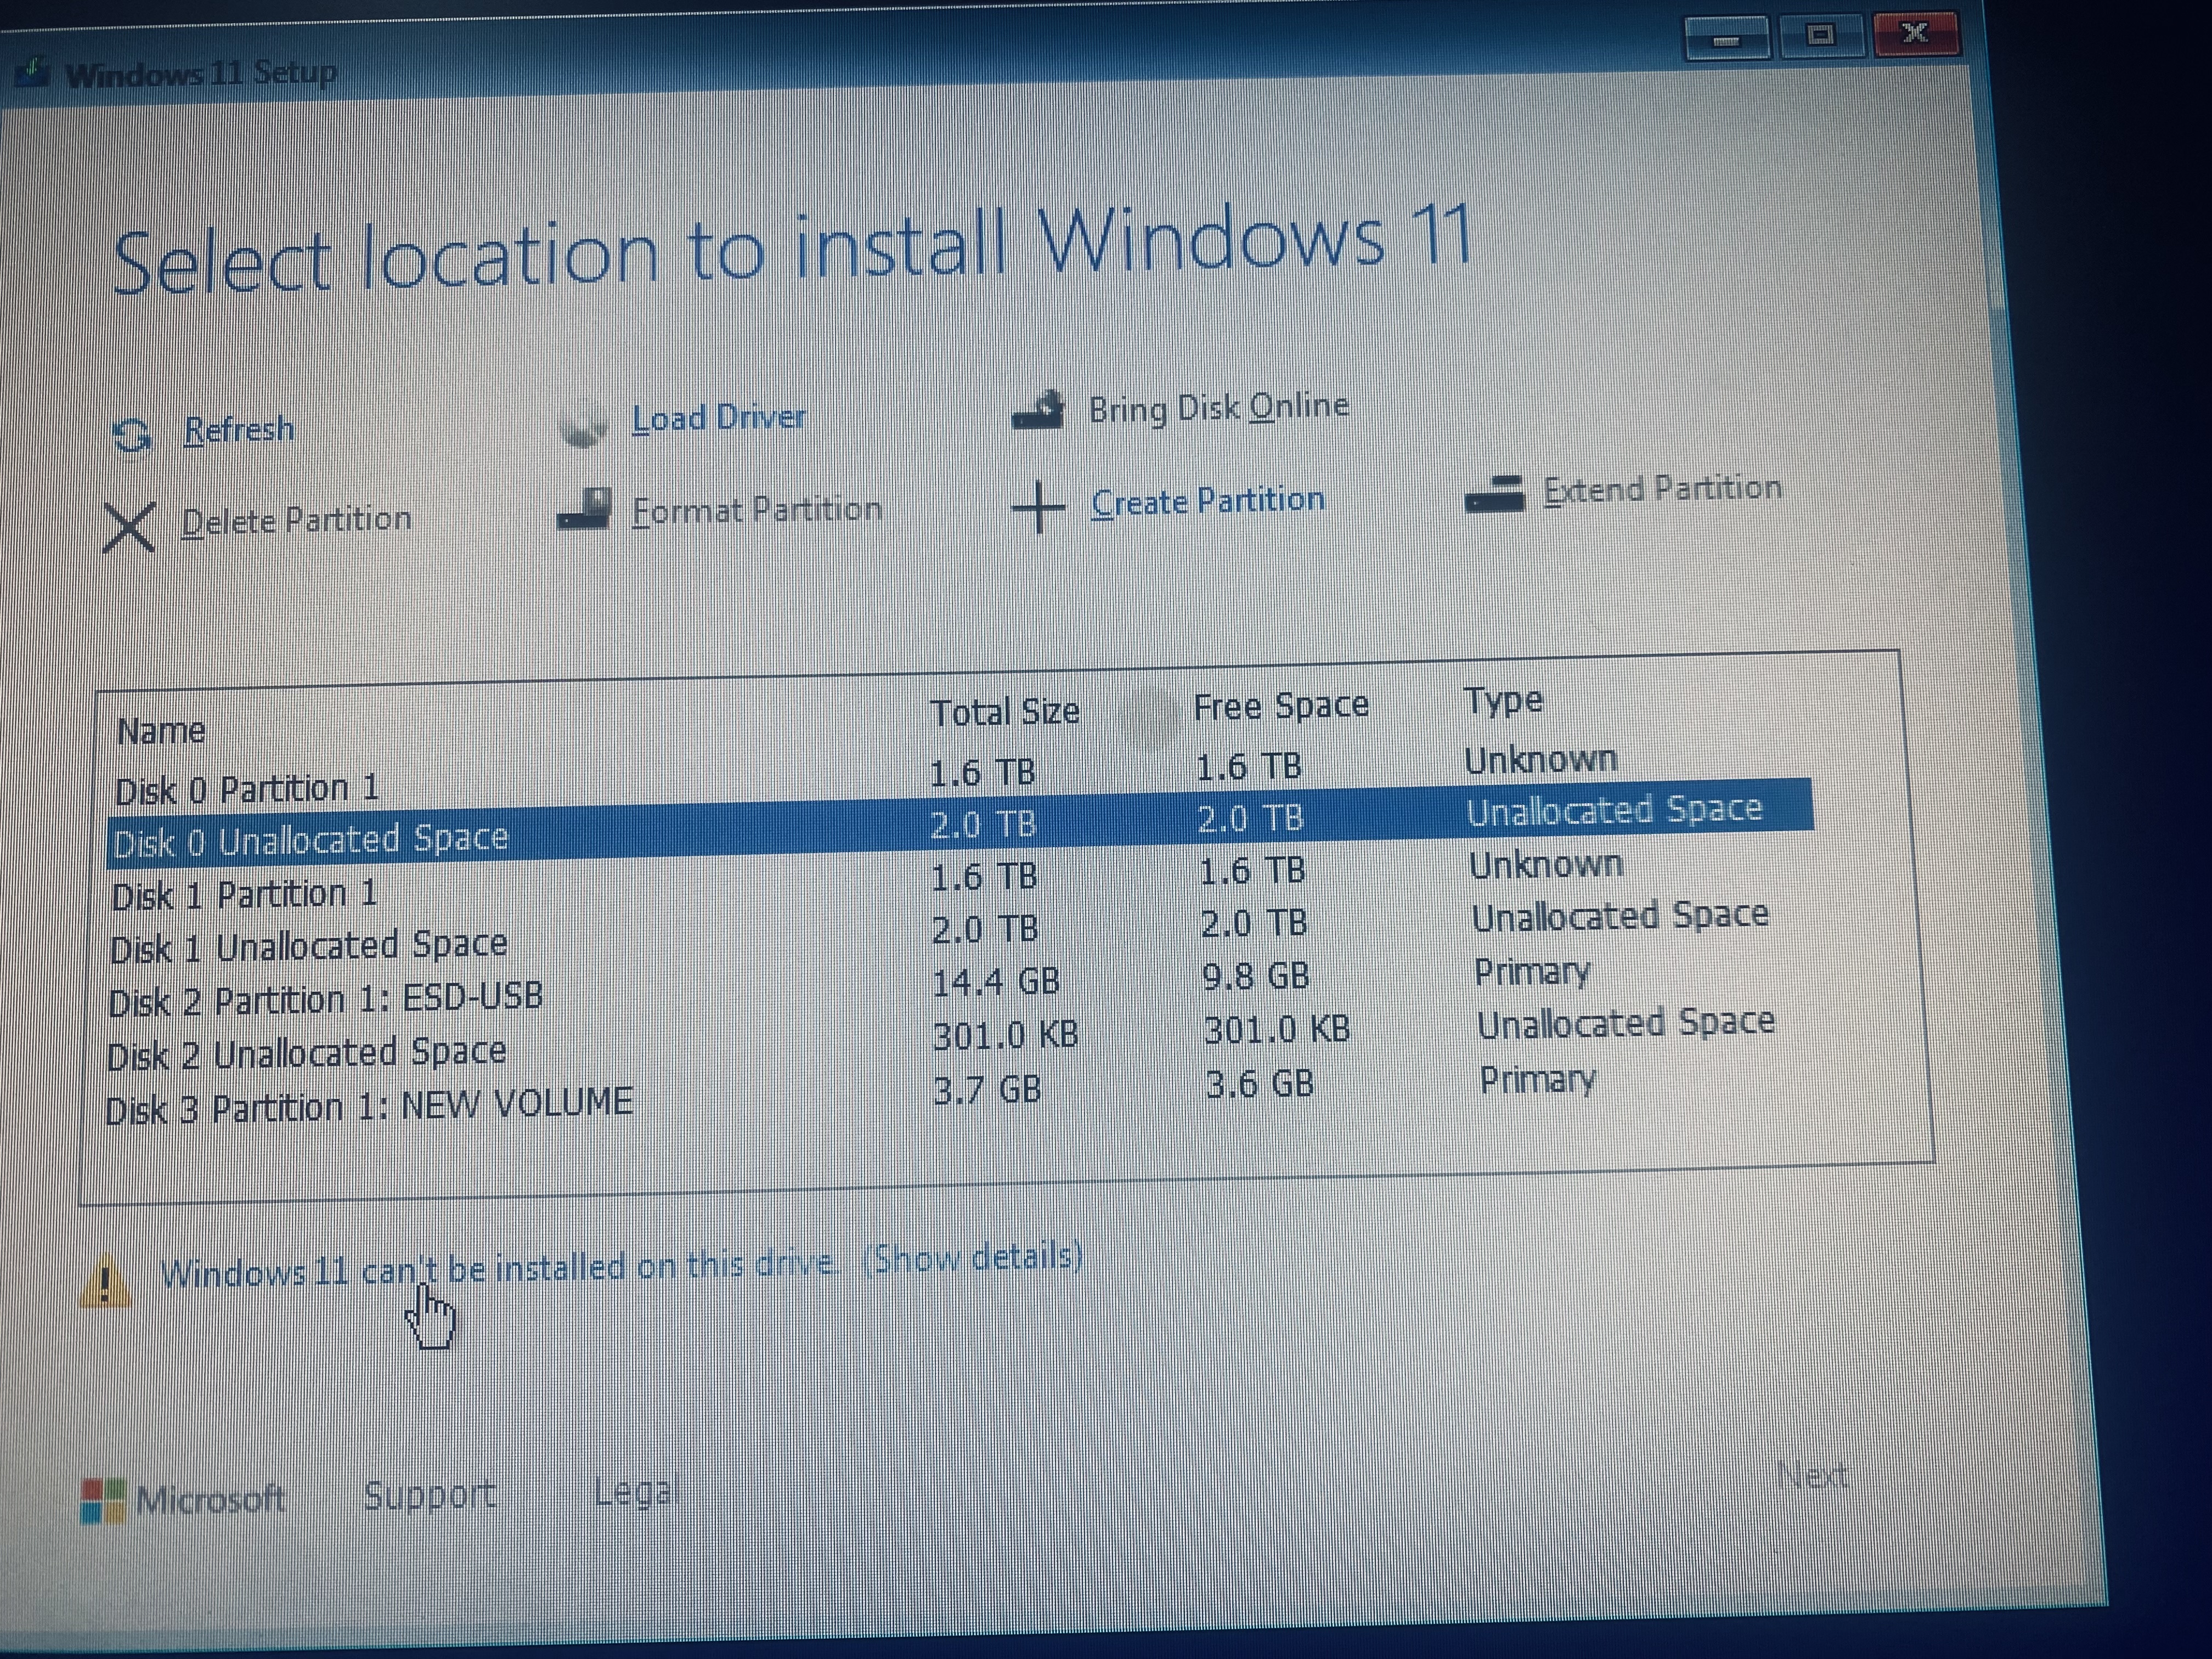
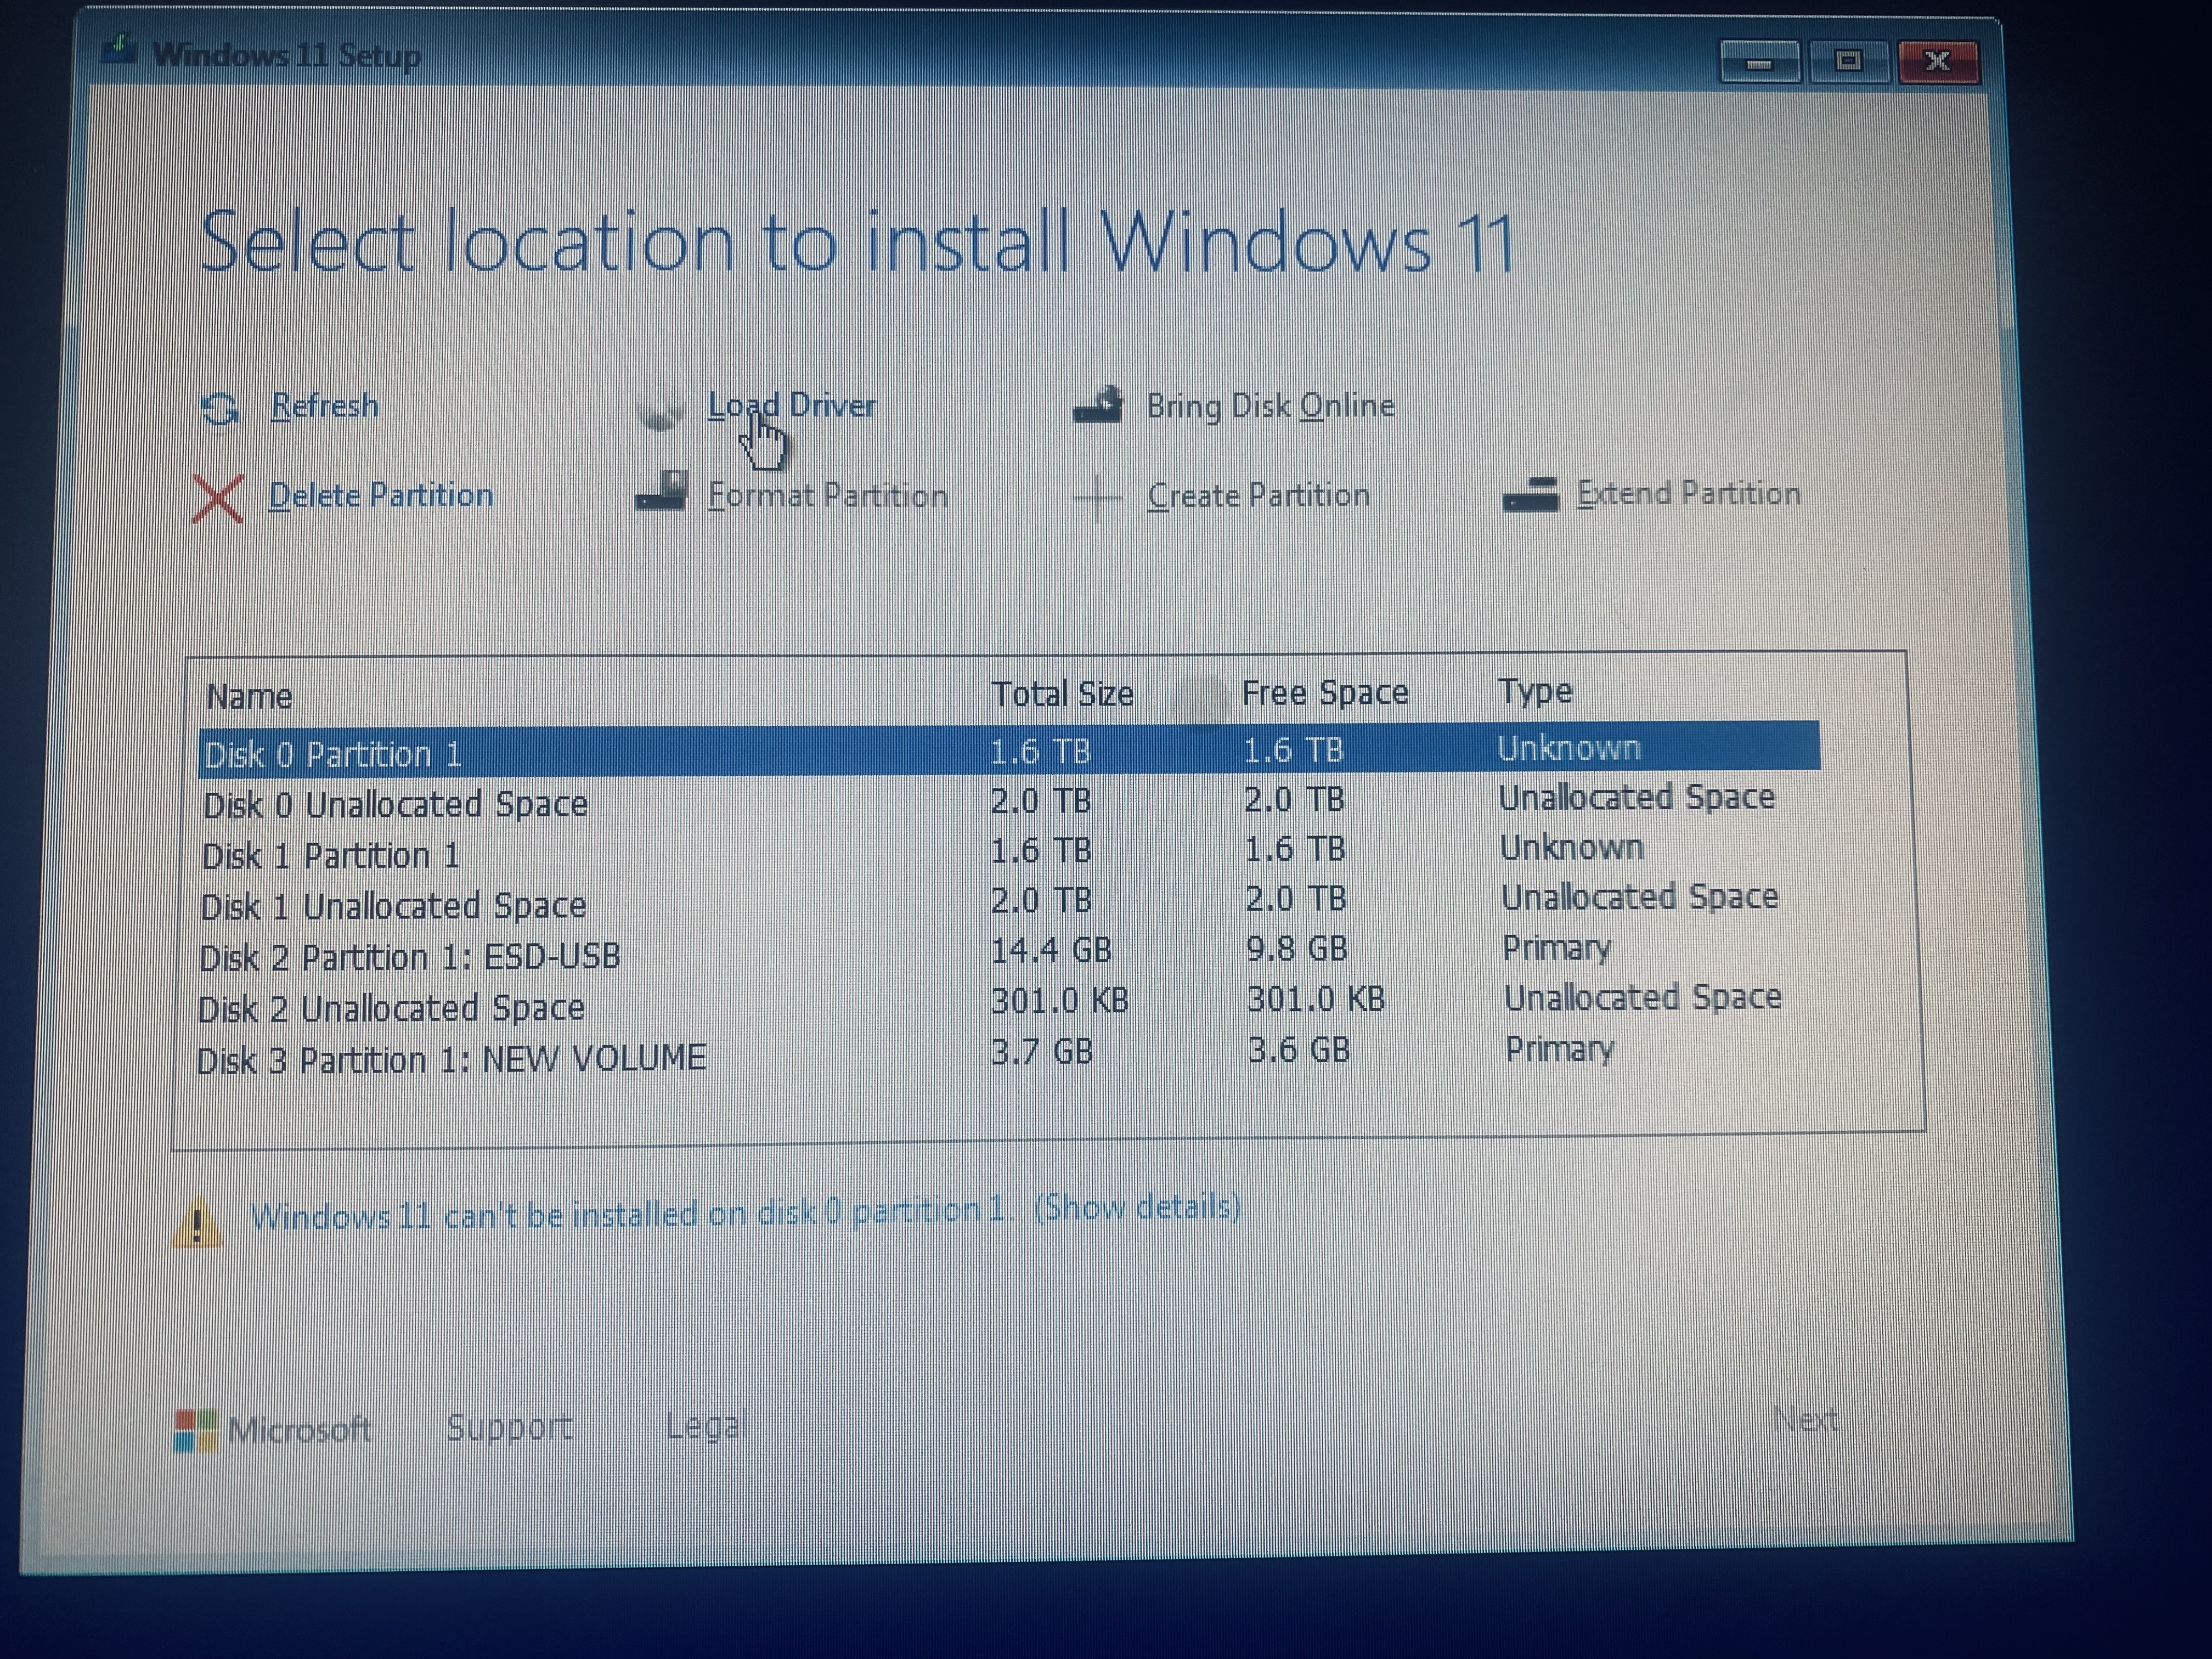
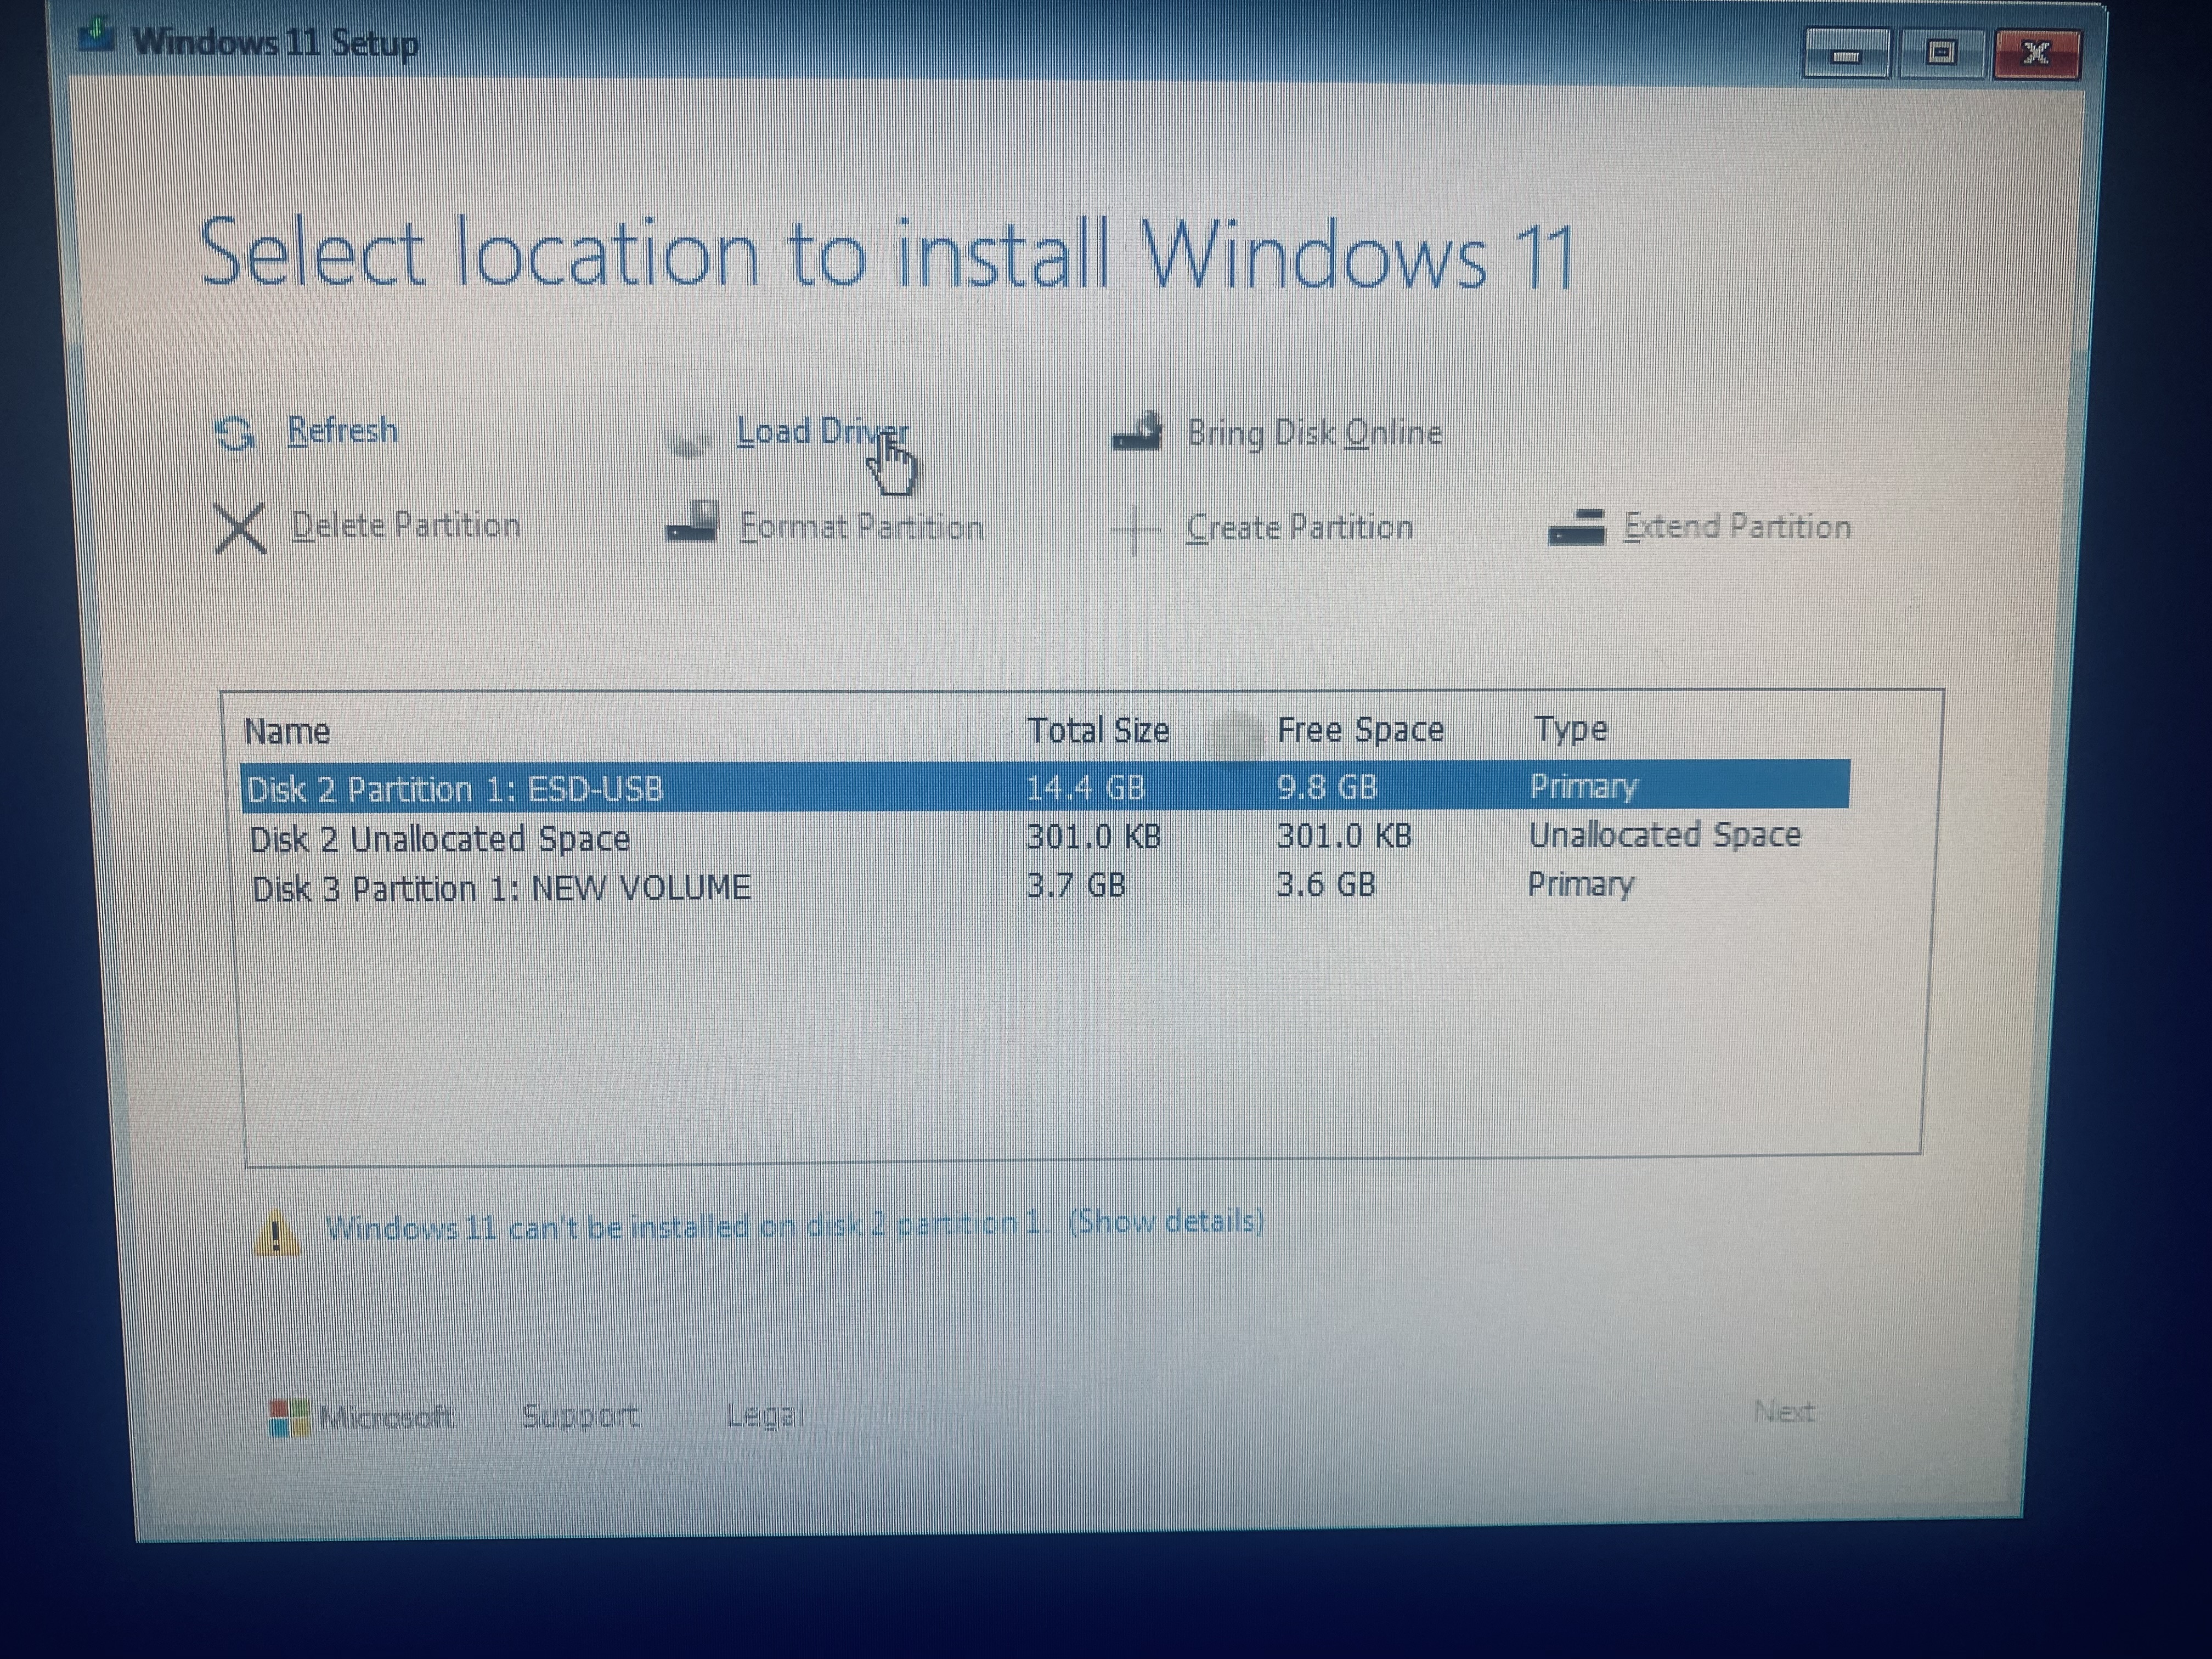

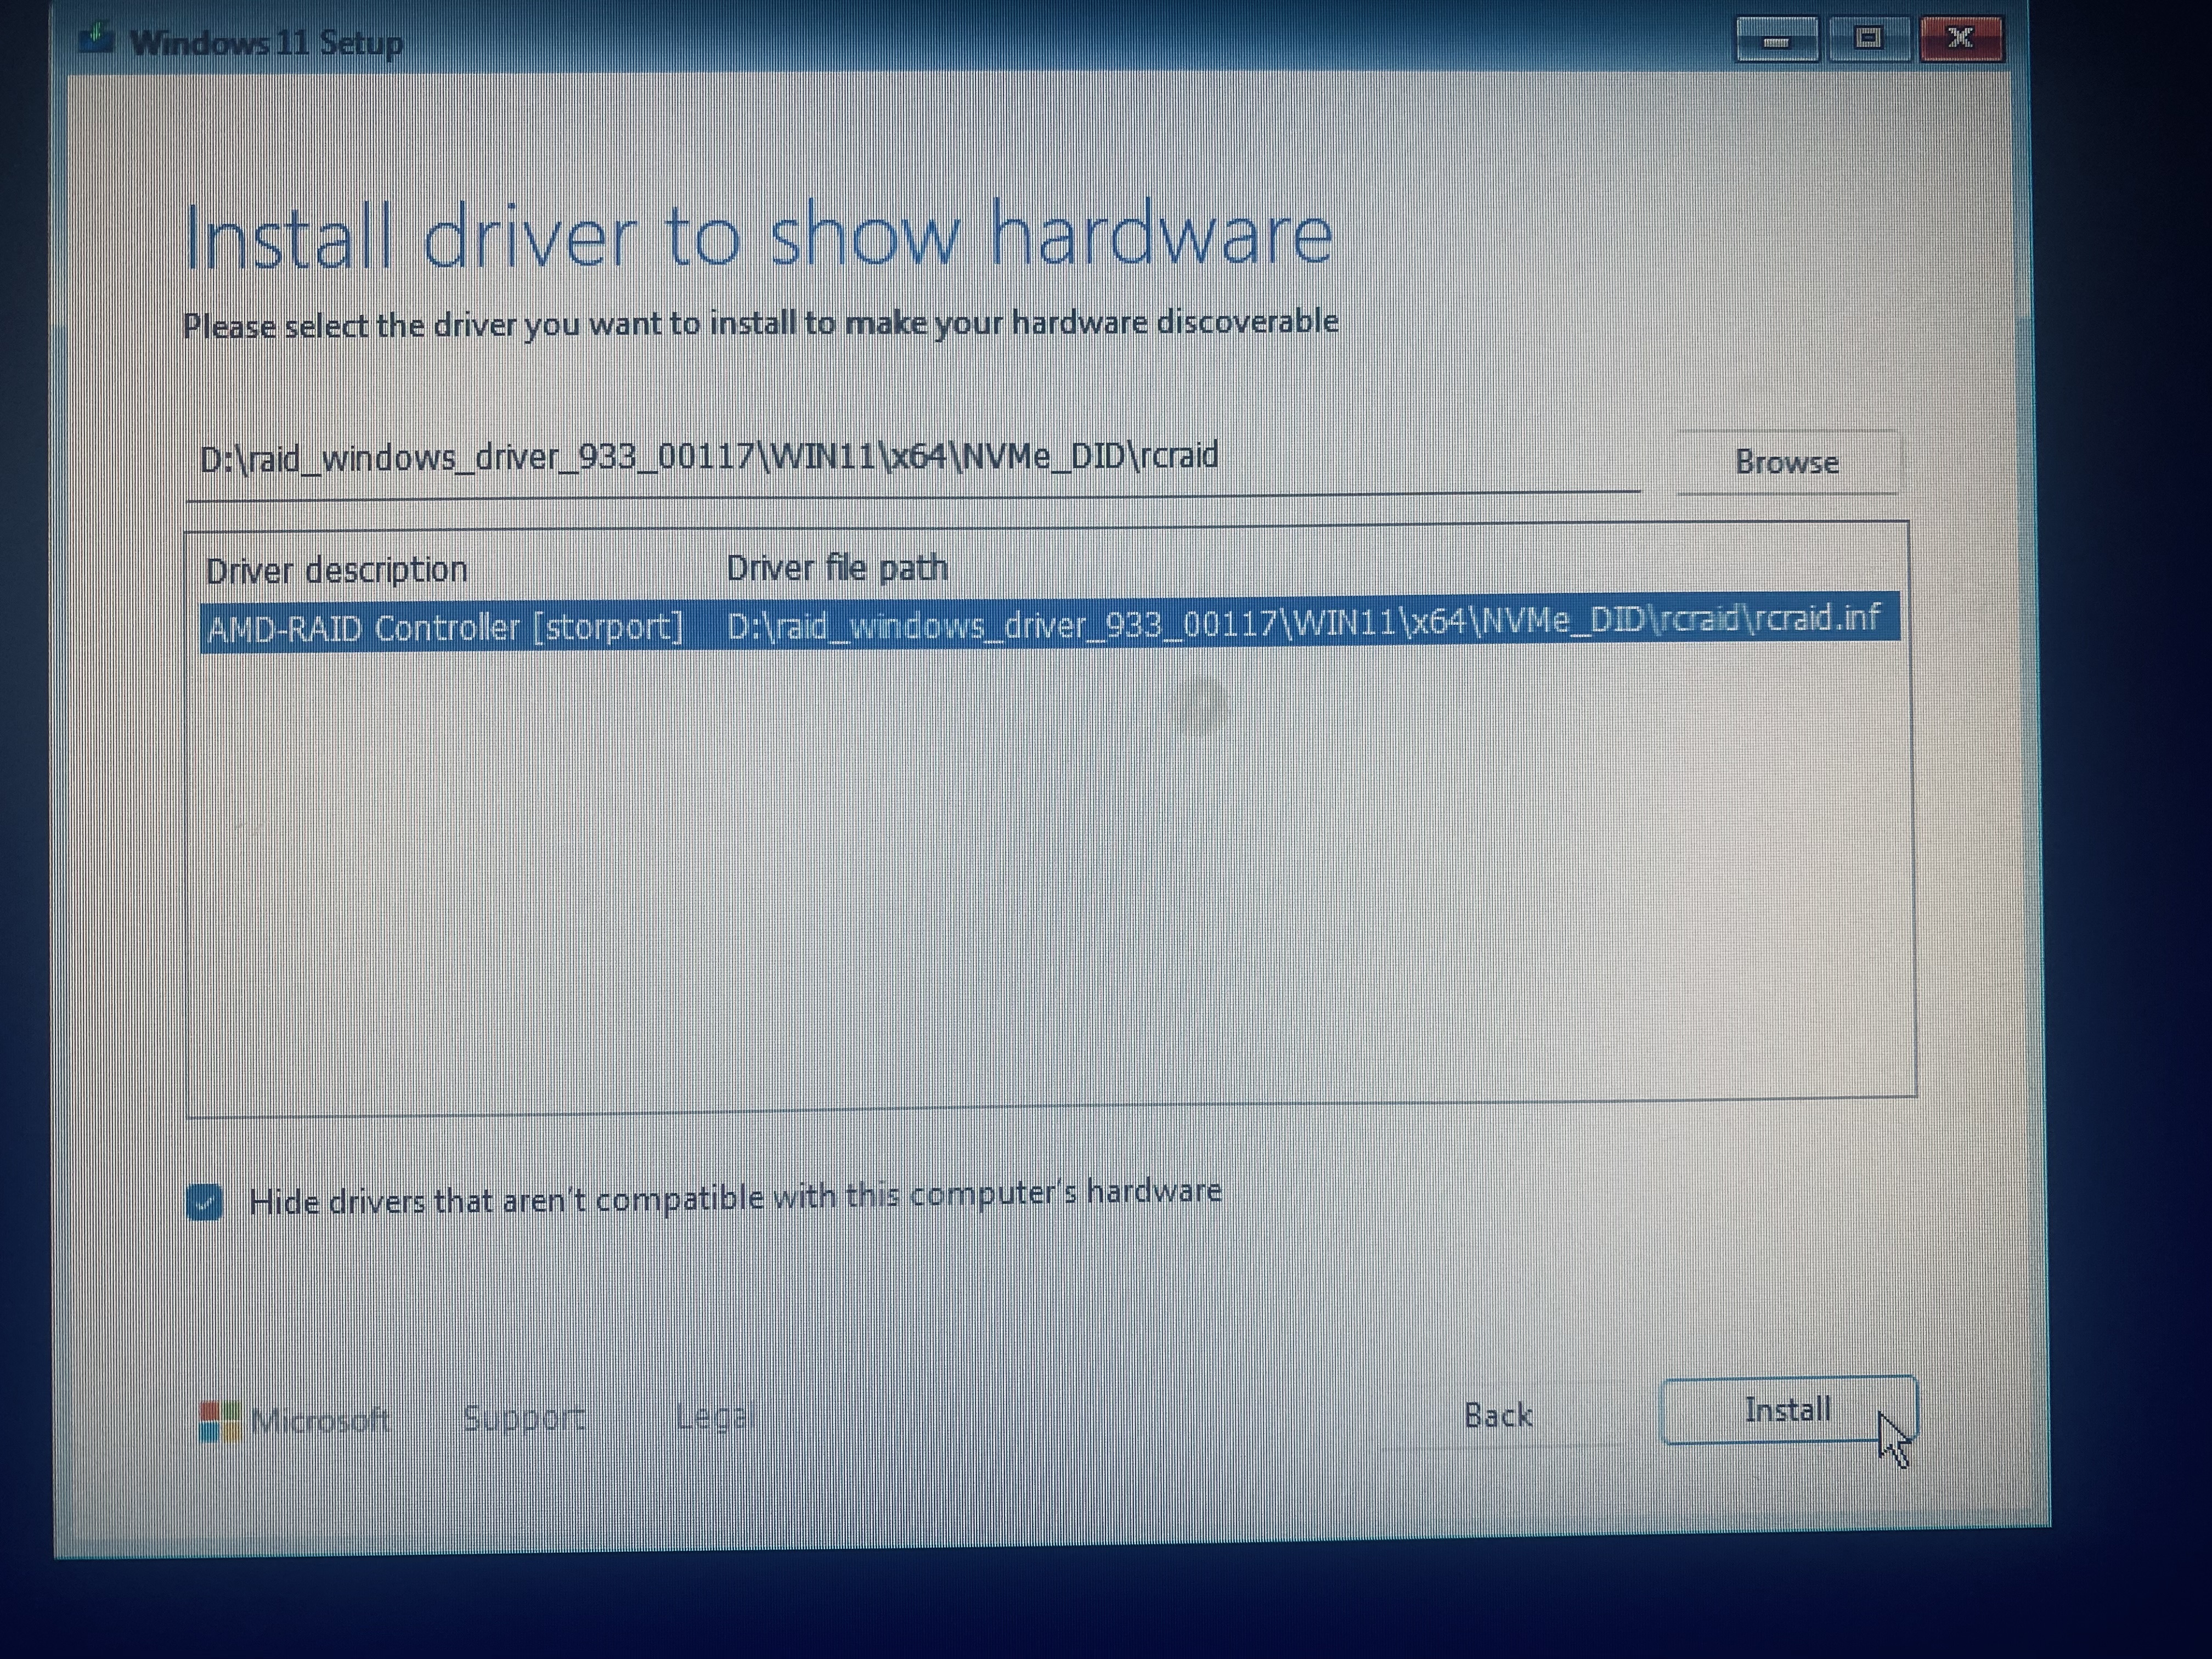
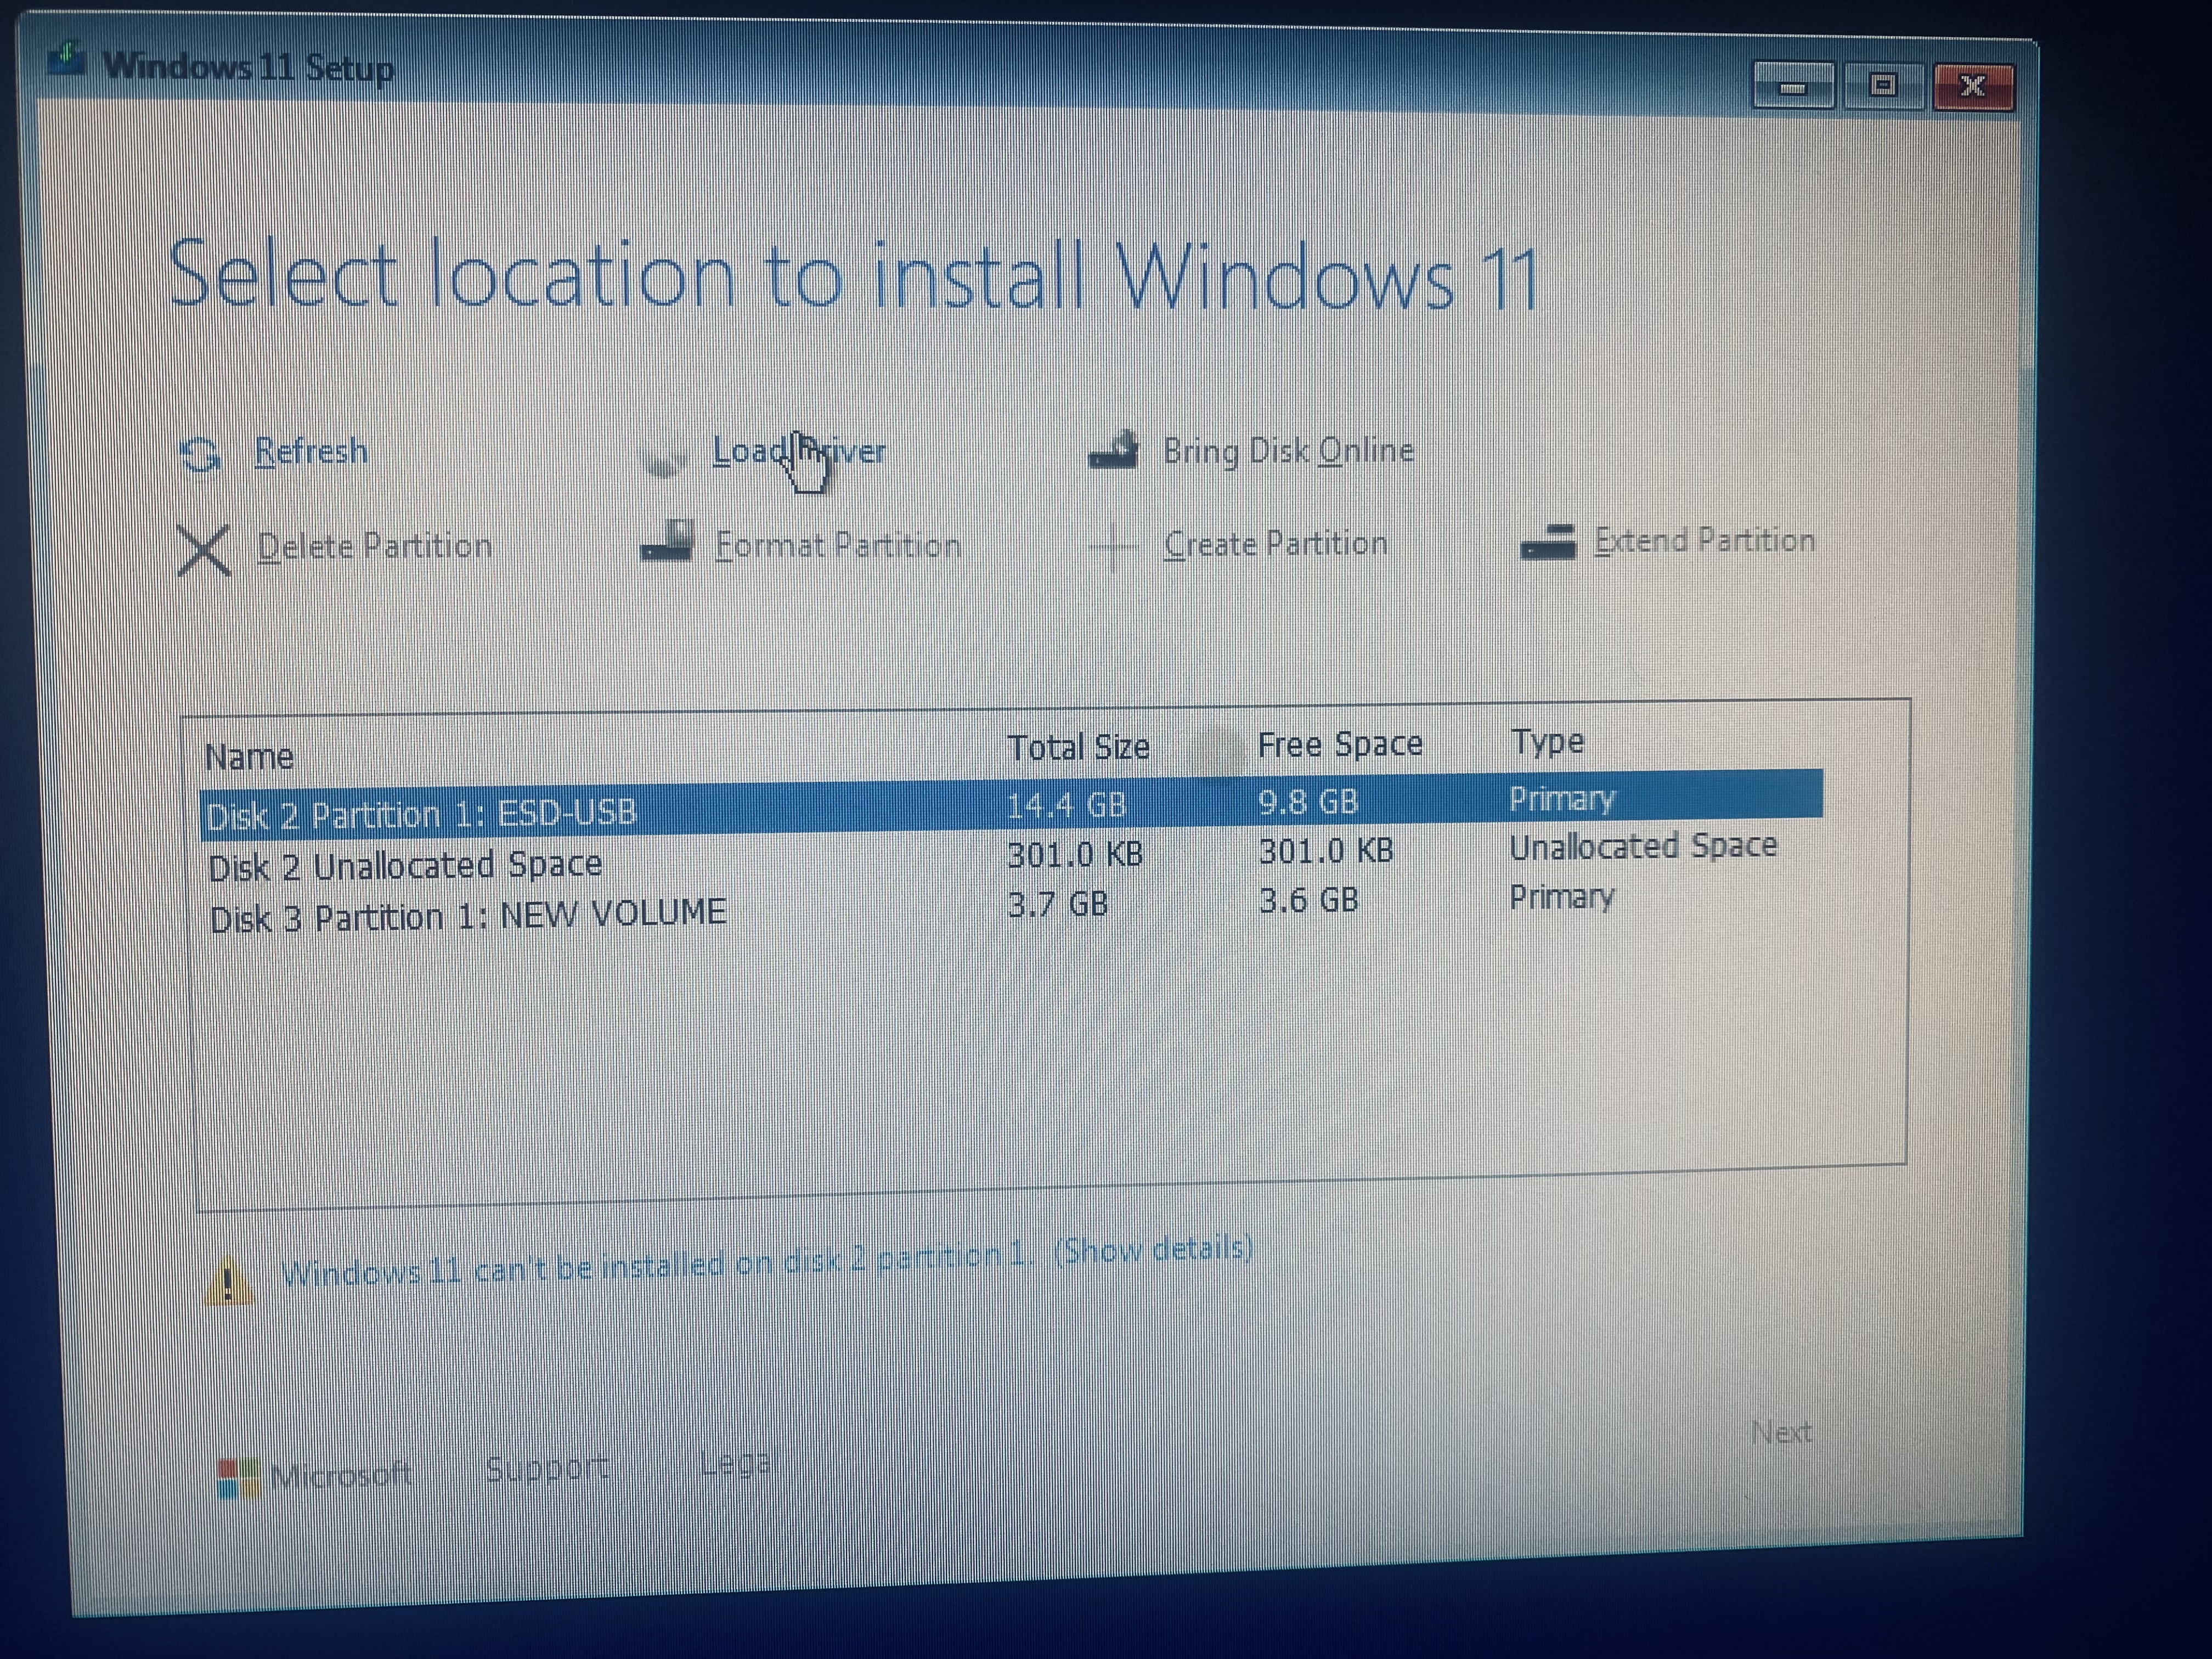
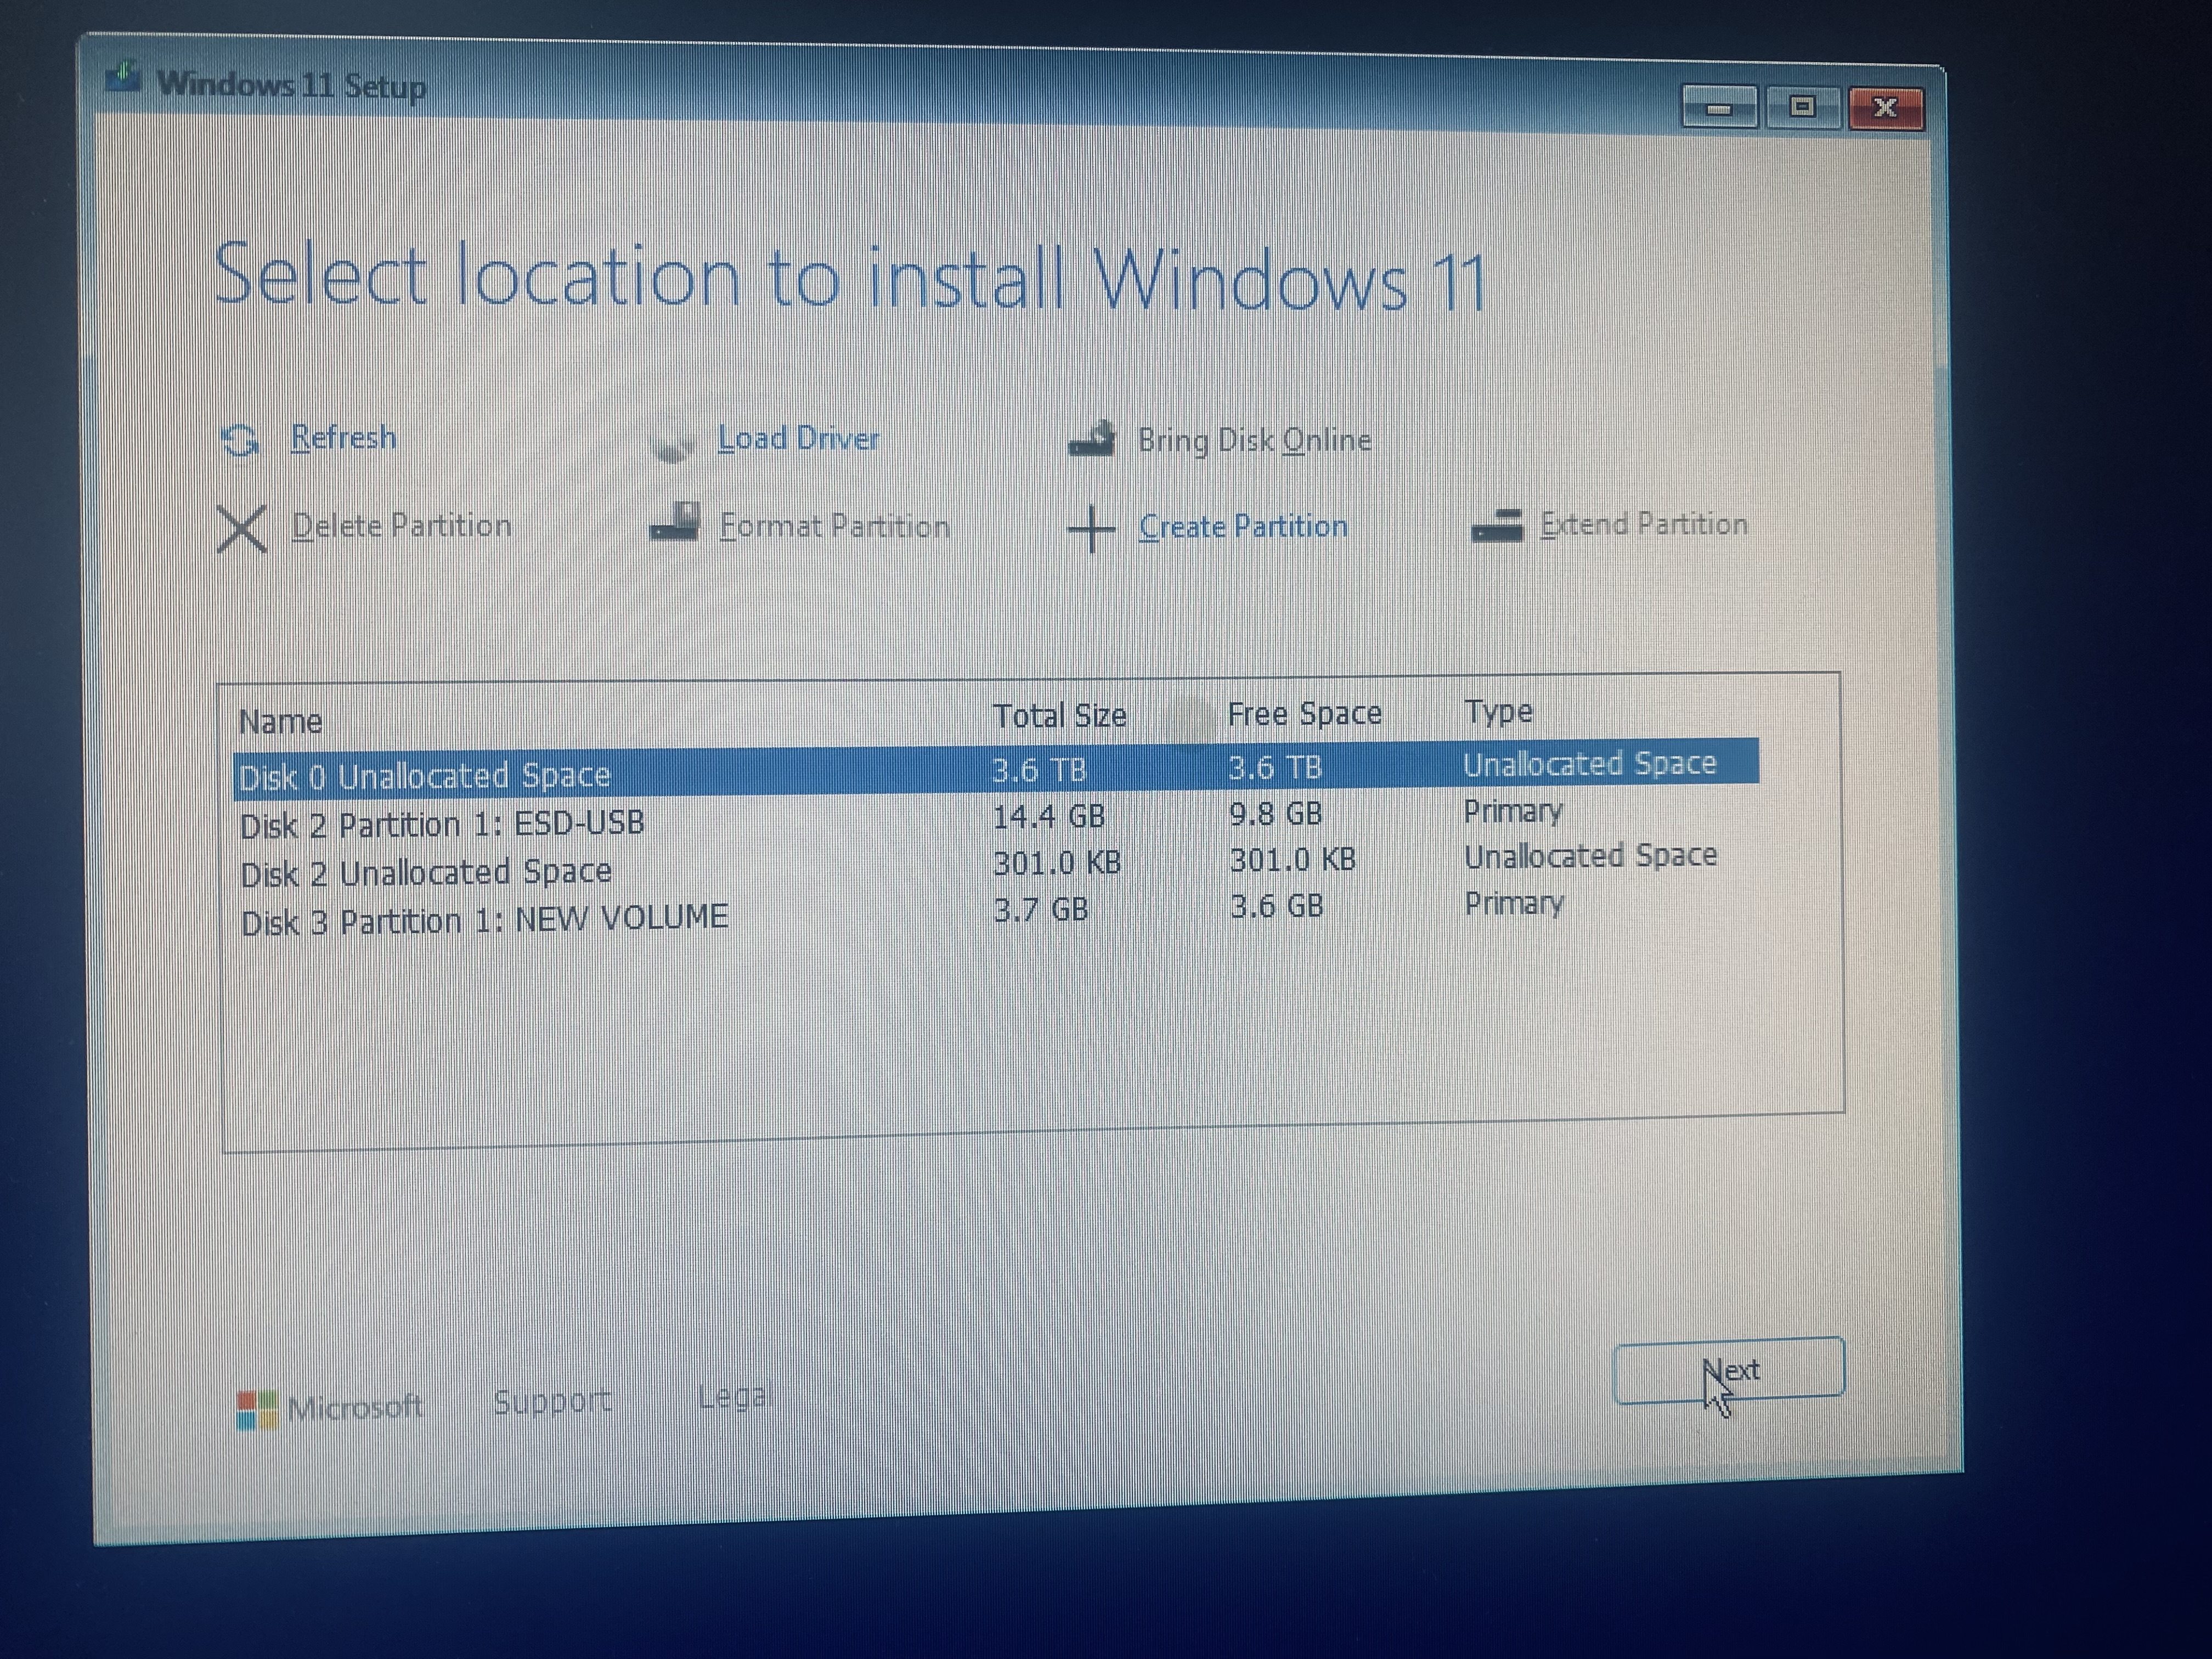
Once all three drivers are installed, your array is finally visible to Windows, and you can install as normal.
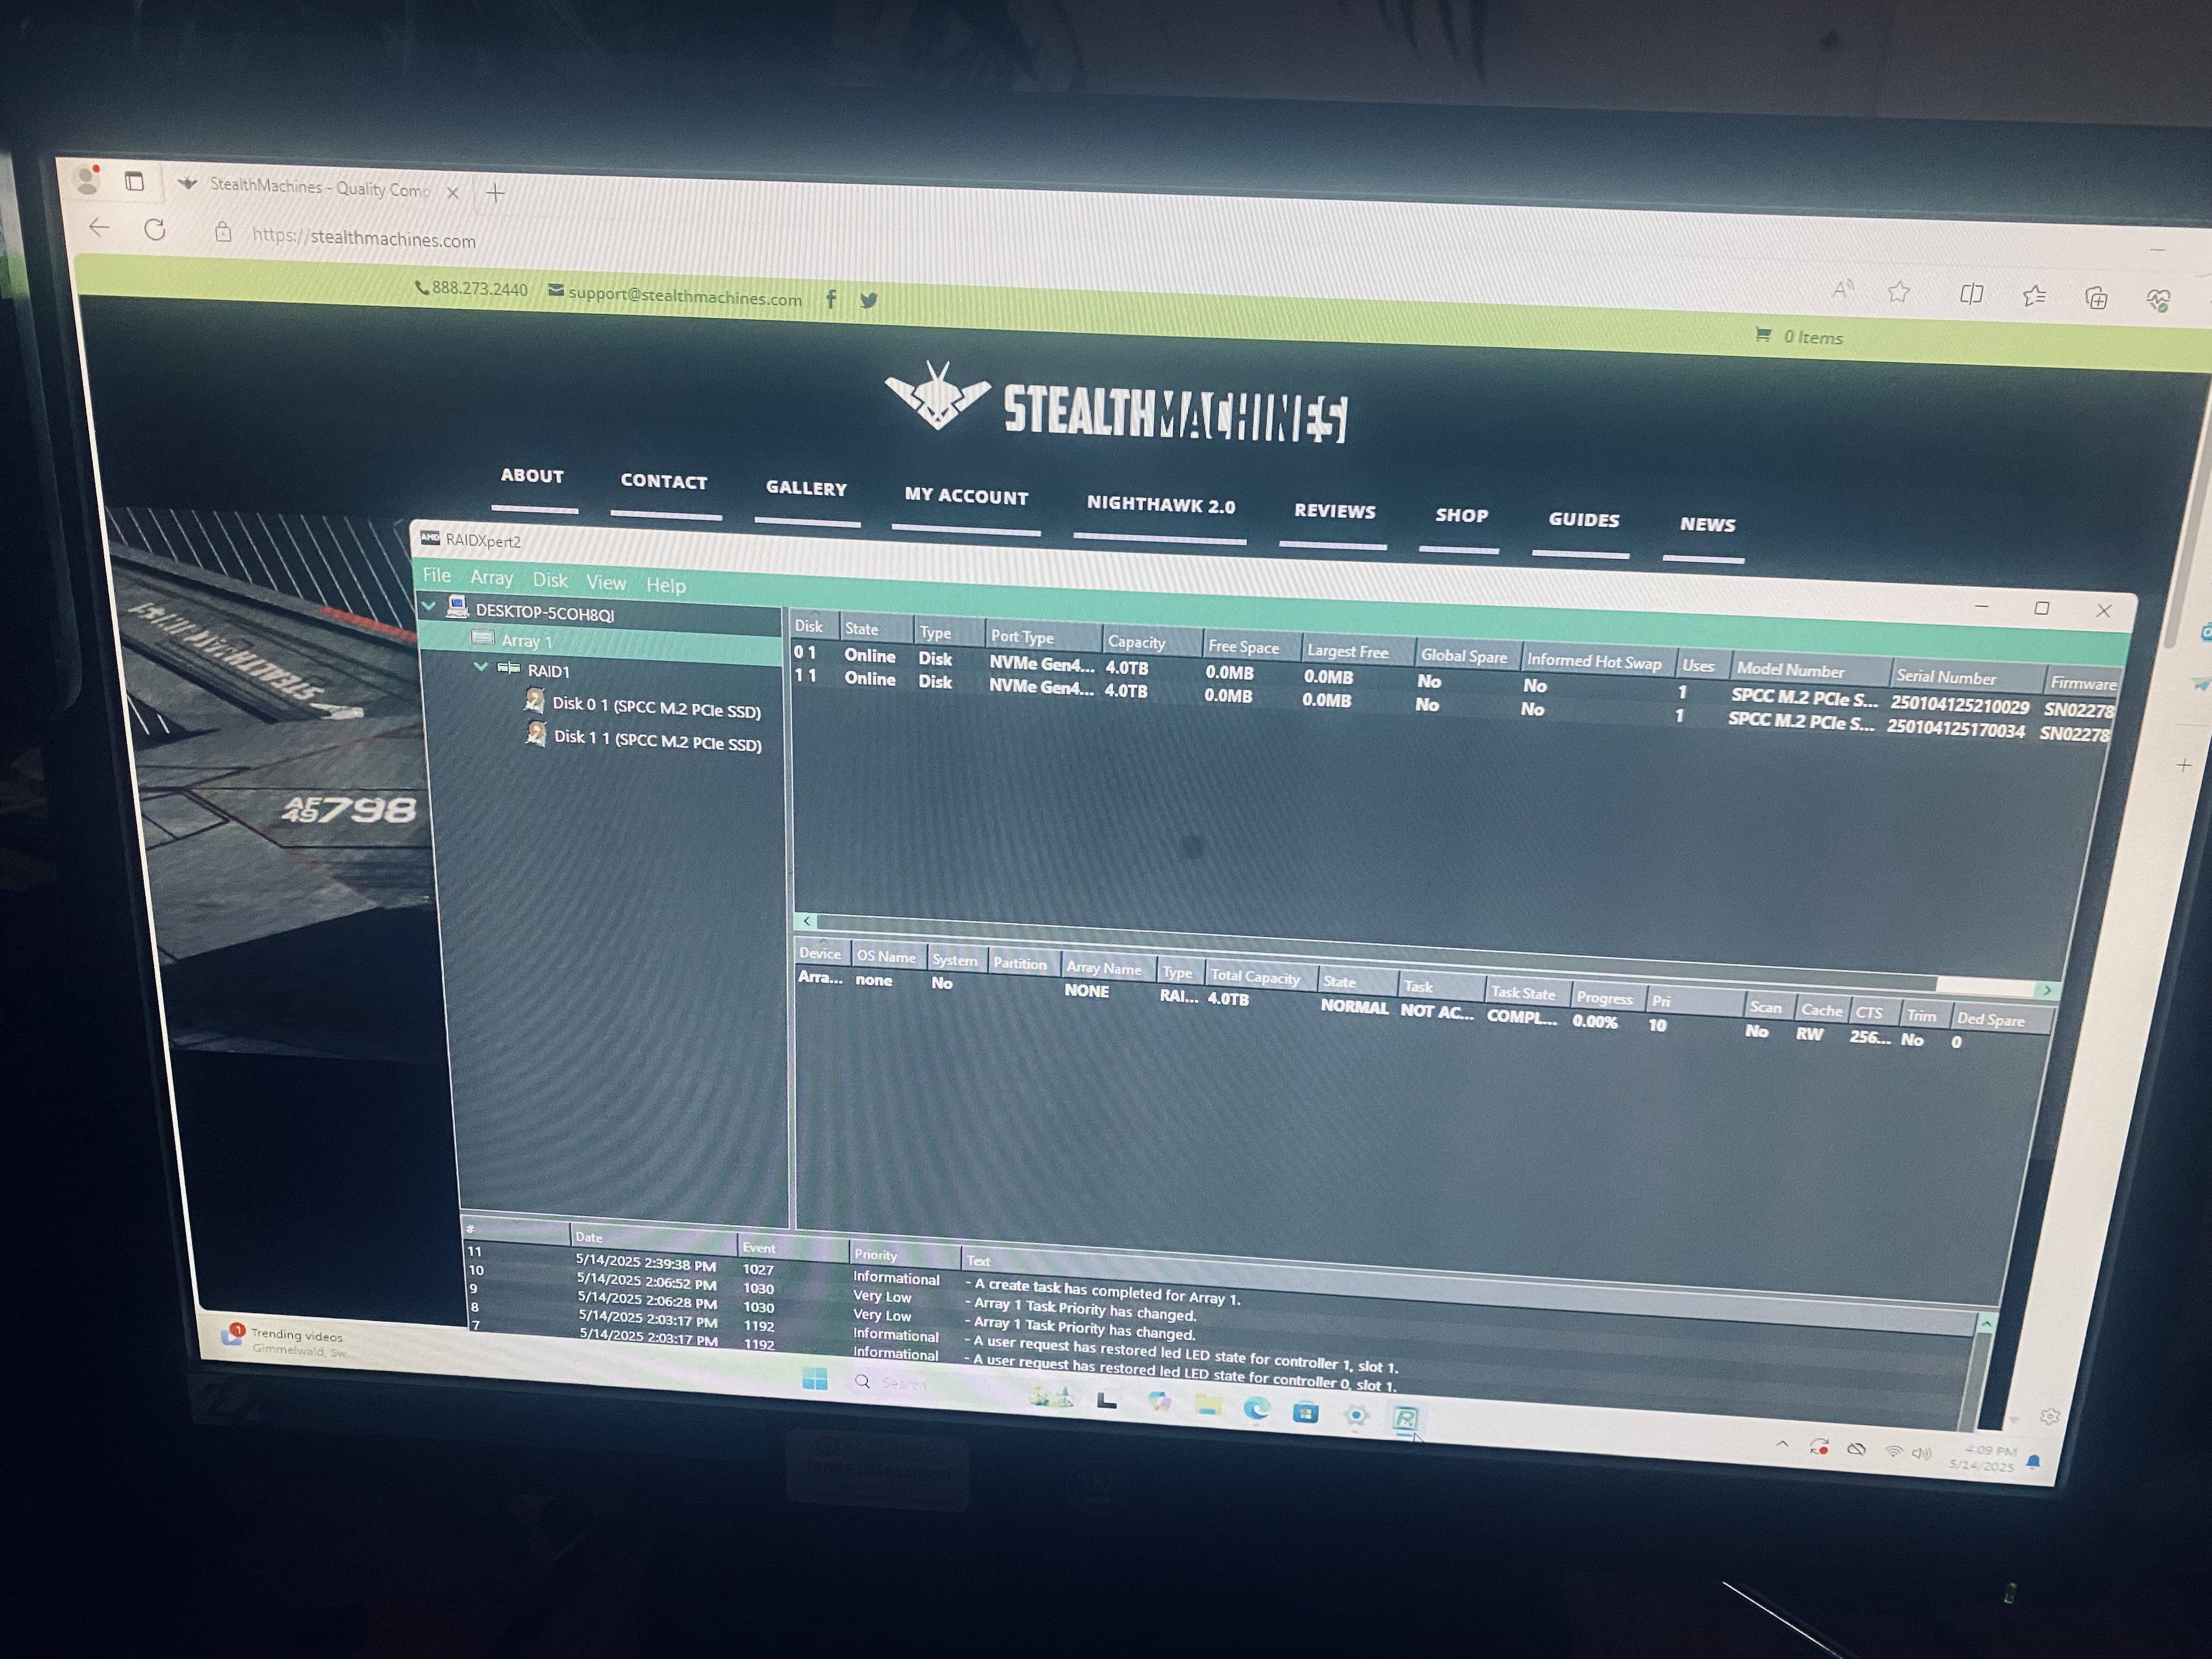
Install RAIDXpert2
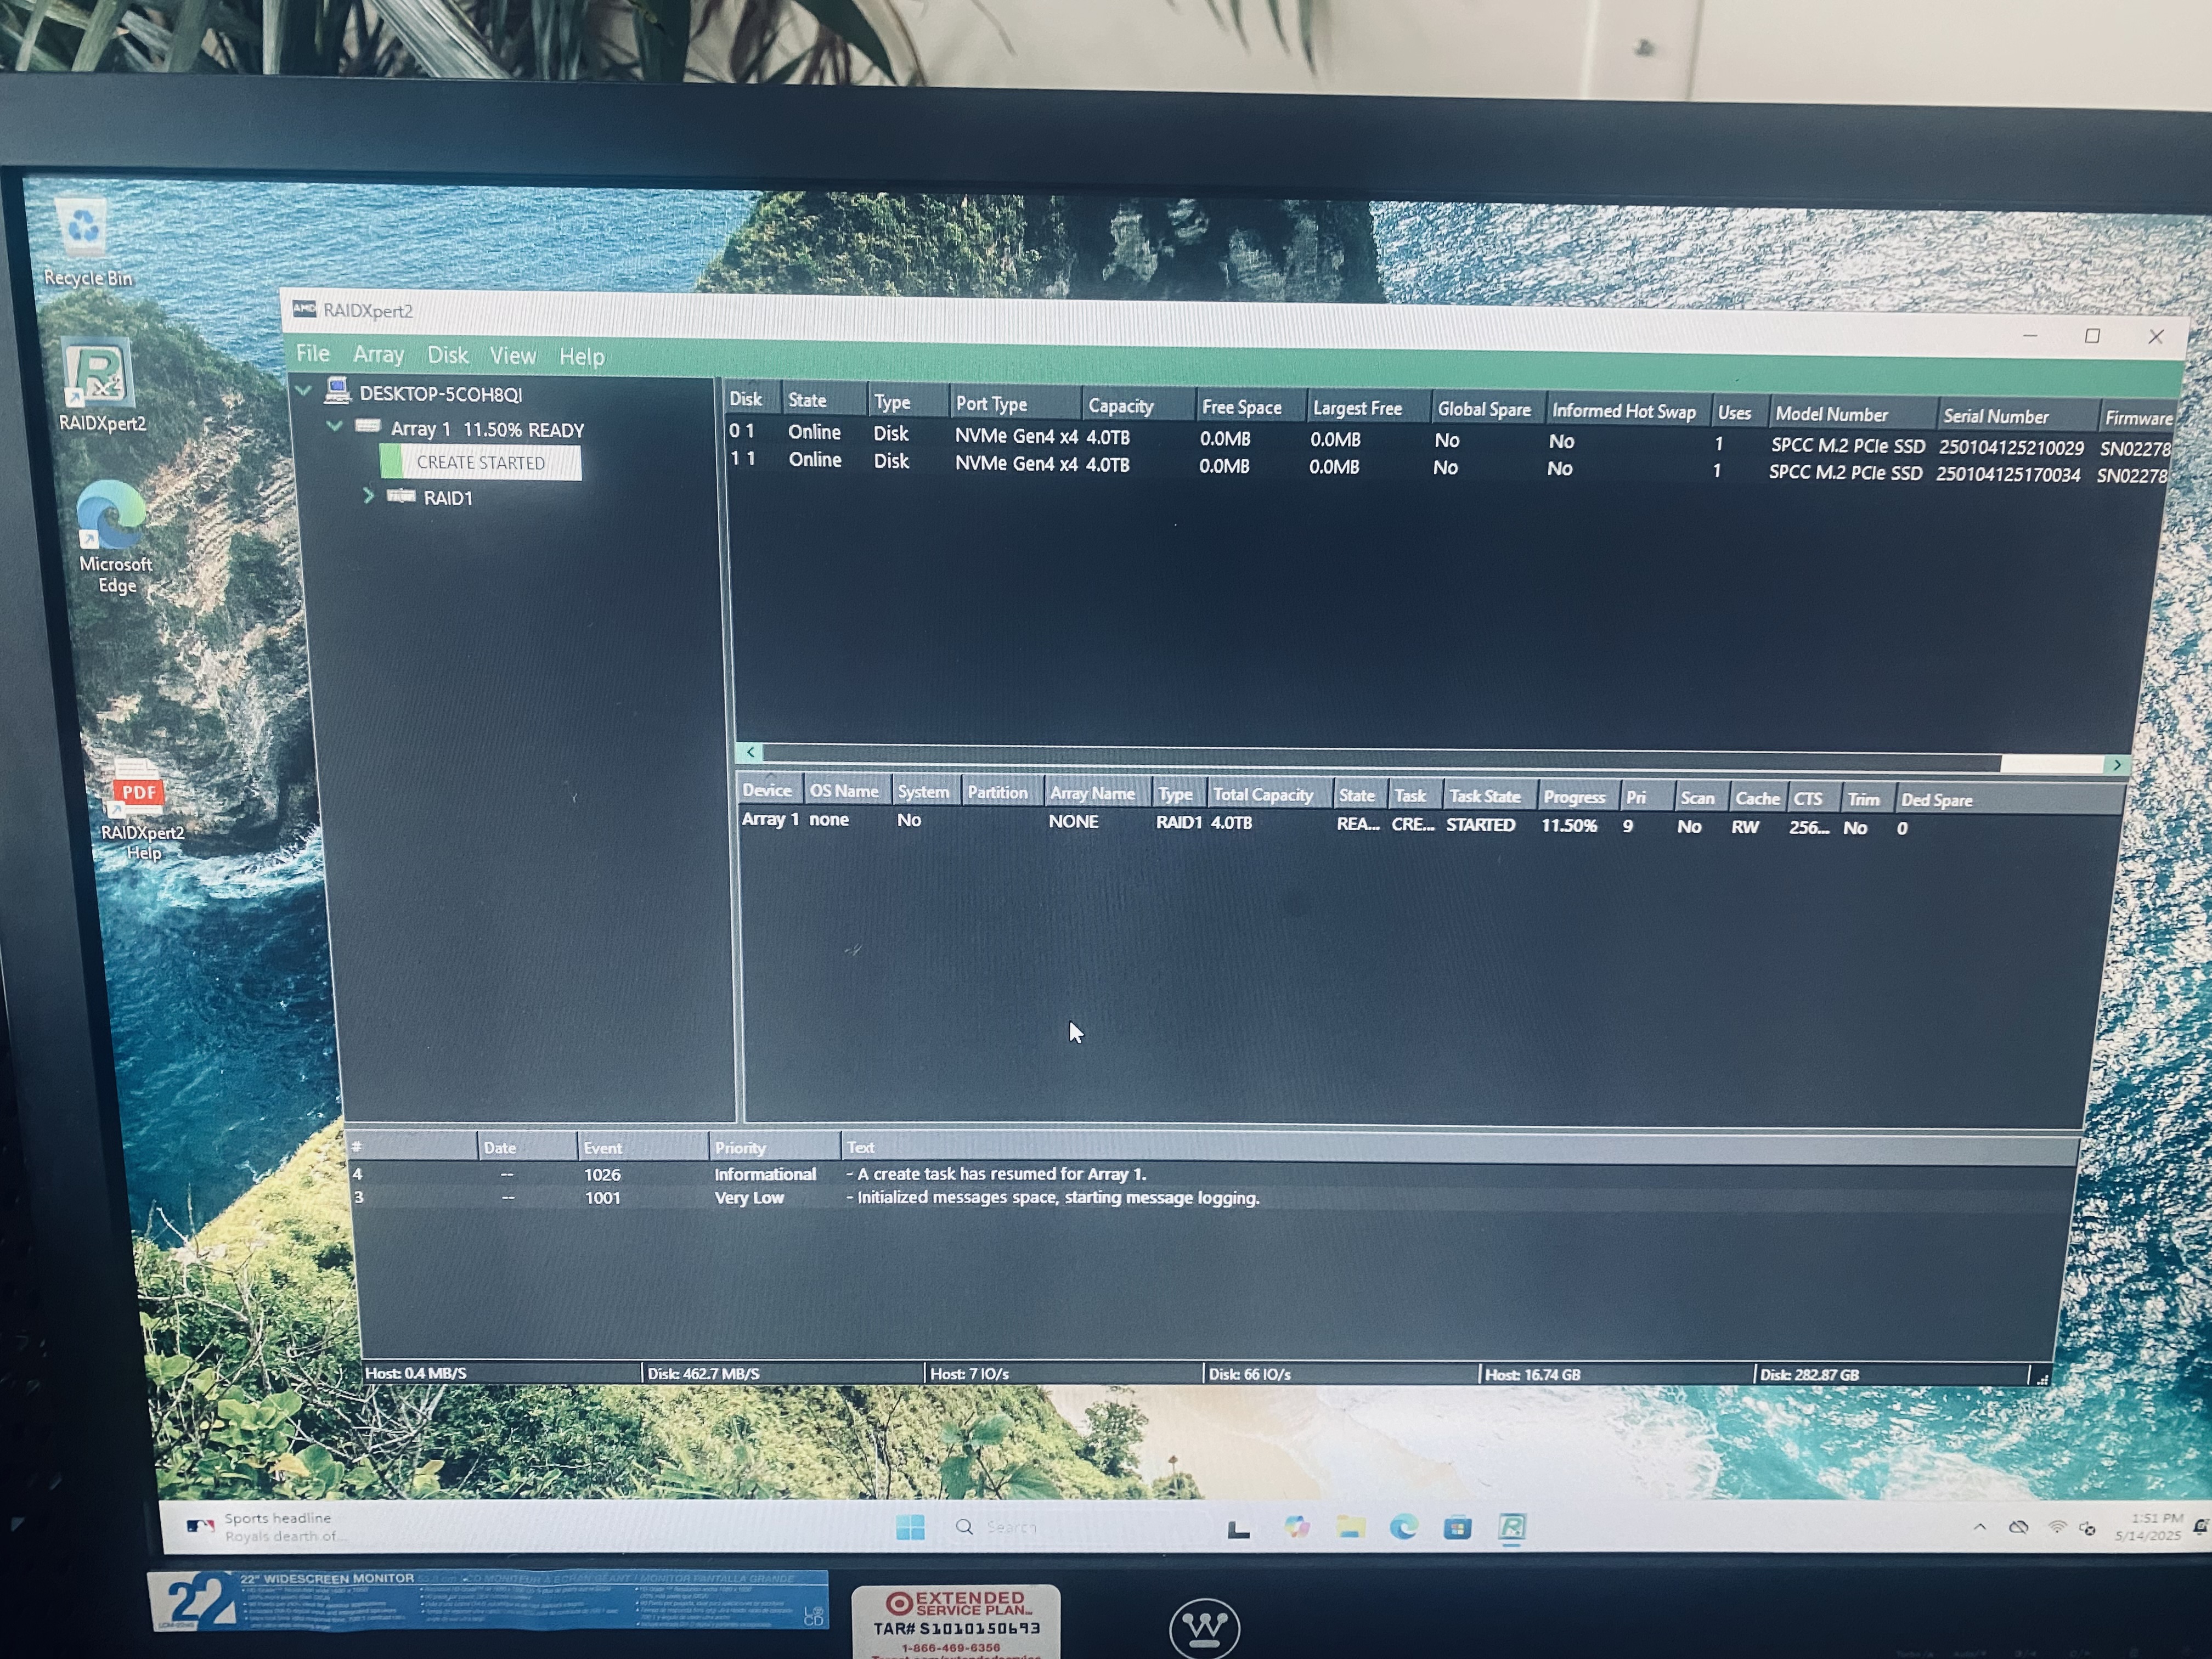
With RAIDXpert2 installed, upon opening it the array will automatically begin building itself inside the app. This took 2-3 hours for me.
Results
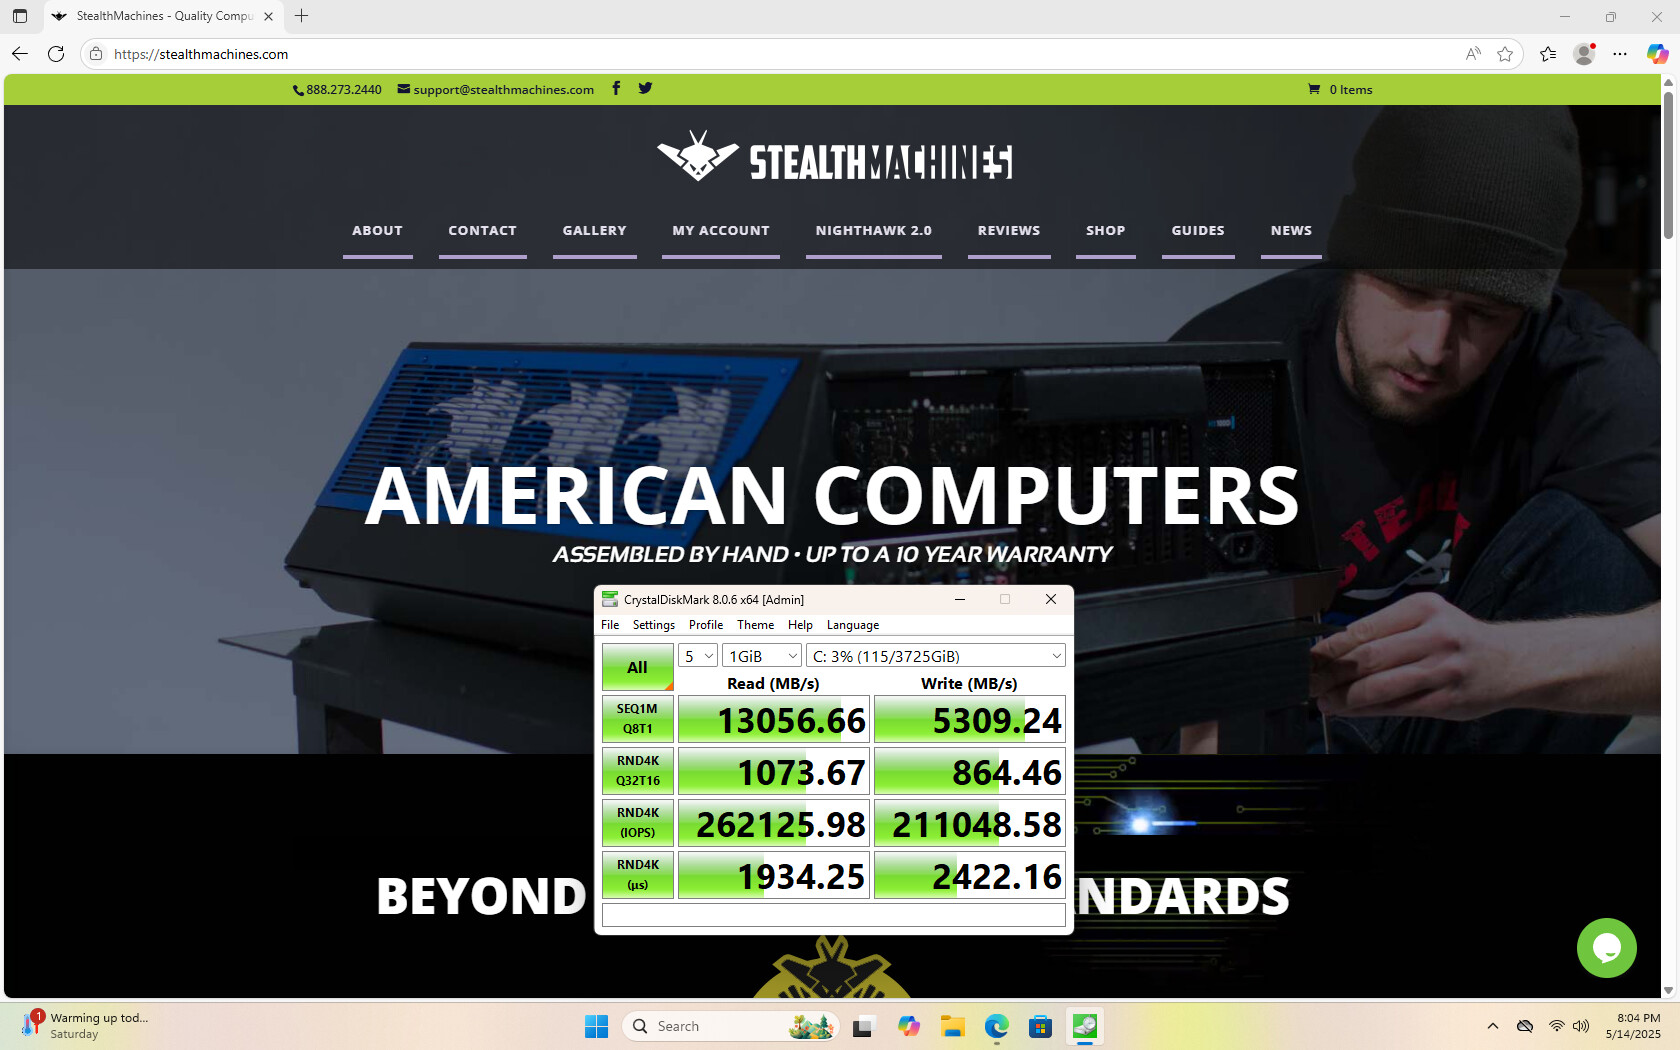
StealthMachines FTW!
Some shameless advertising - do you simply demand the best? StealthMachines is the best for over 20 years -
Bonus: Install Windows without registering
On an entirely unrelated note, are you trying to install Windows 11 without setting up an online account? We’ve got you covered…
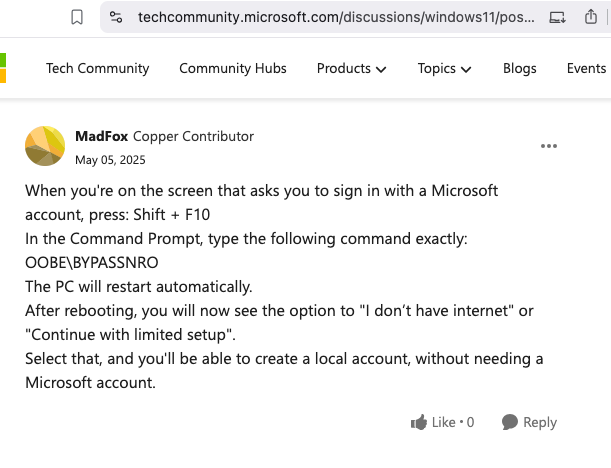
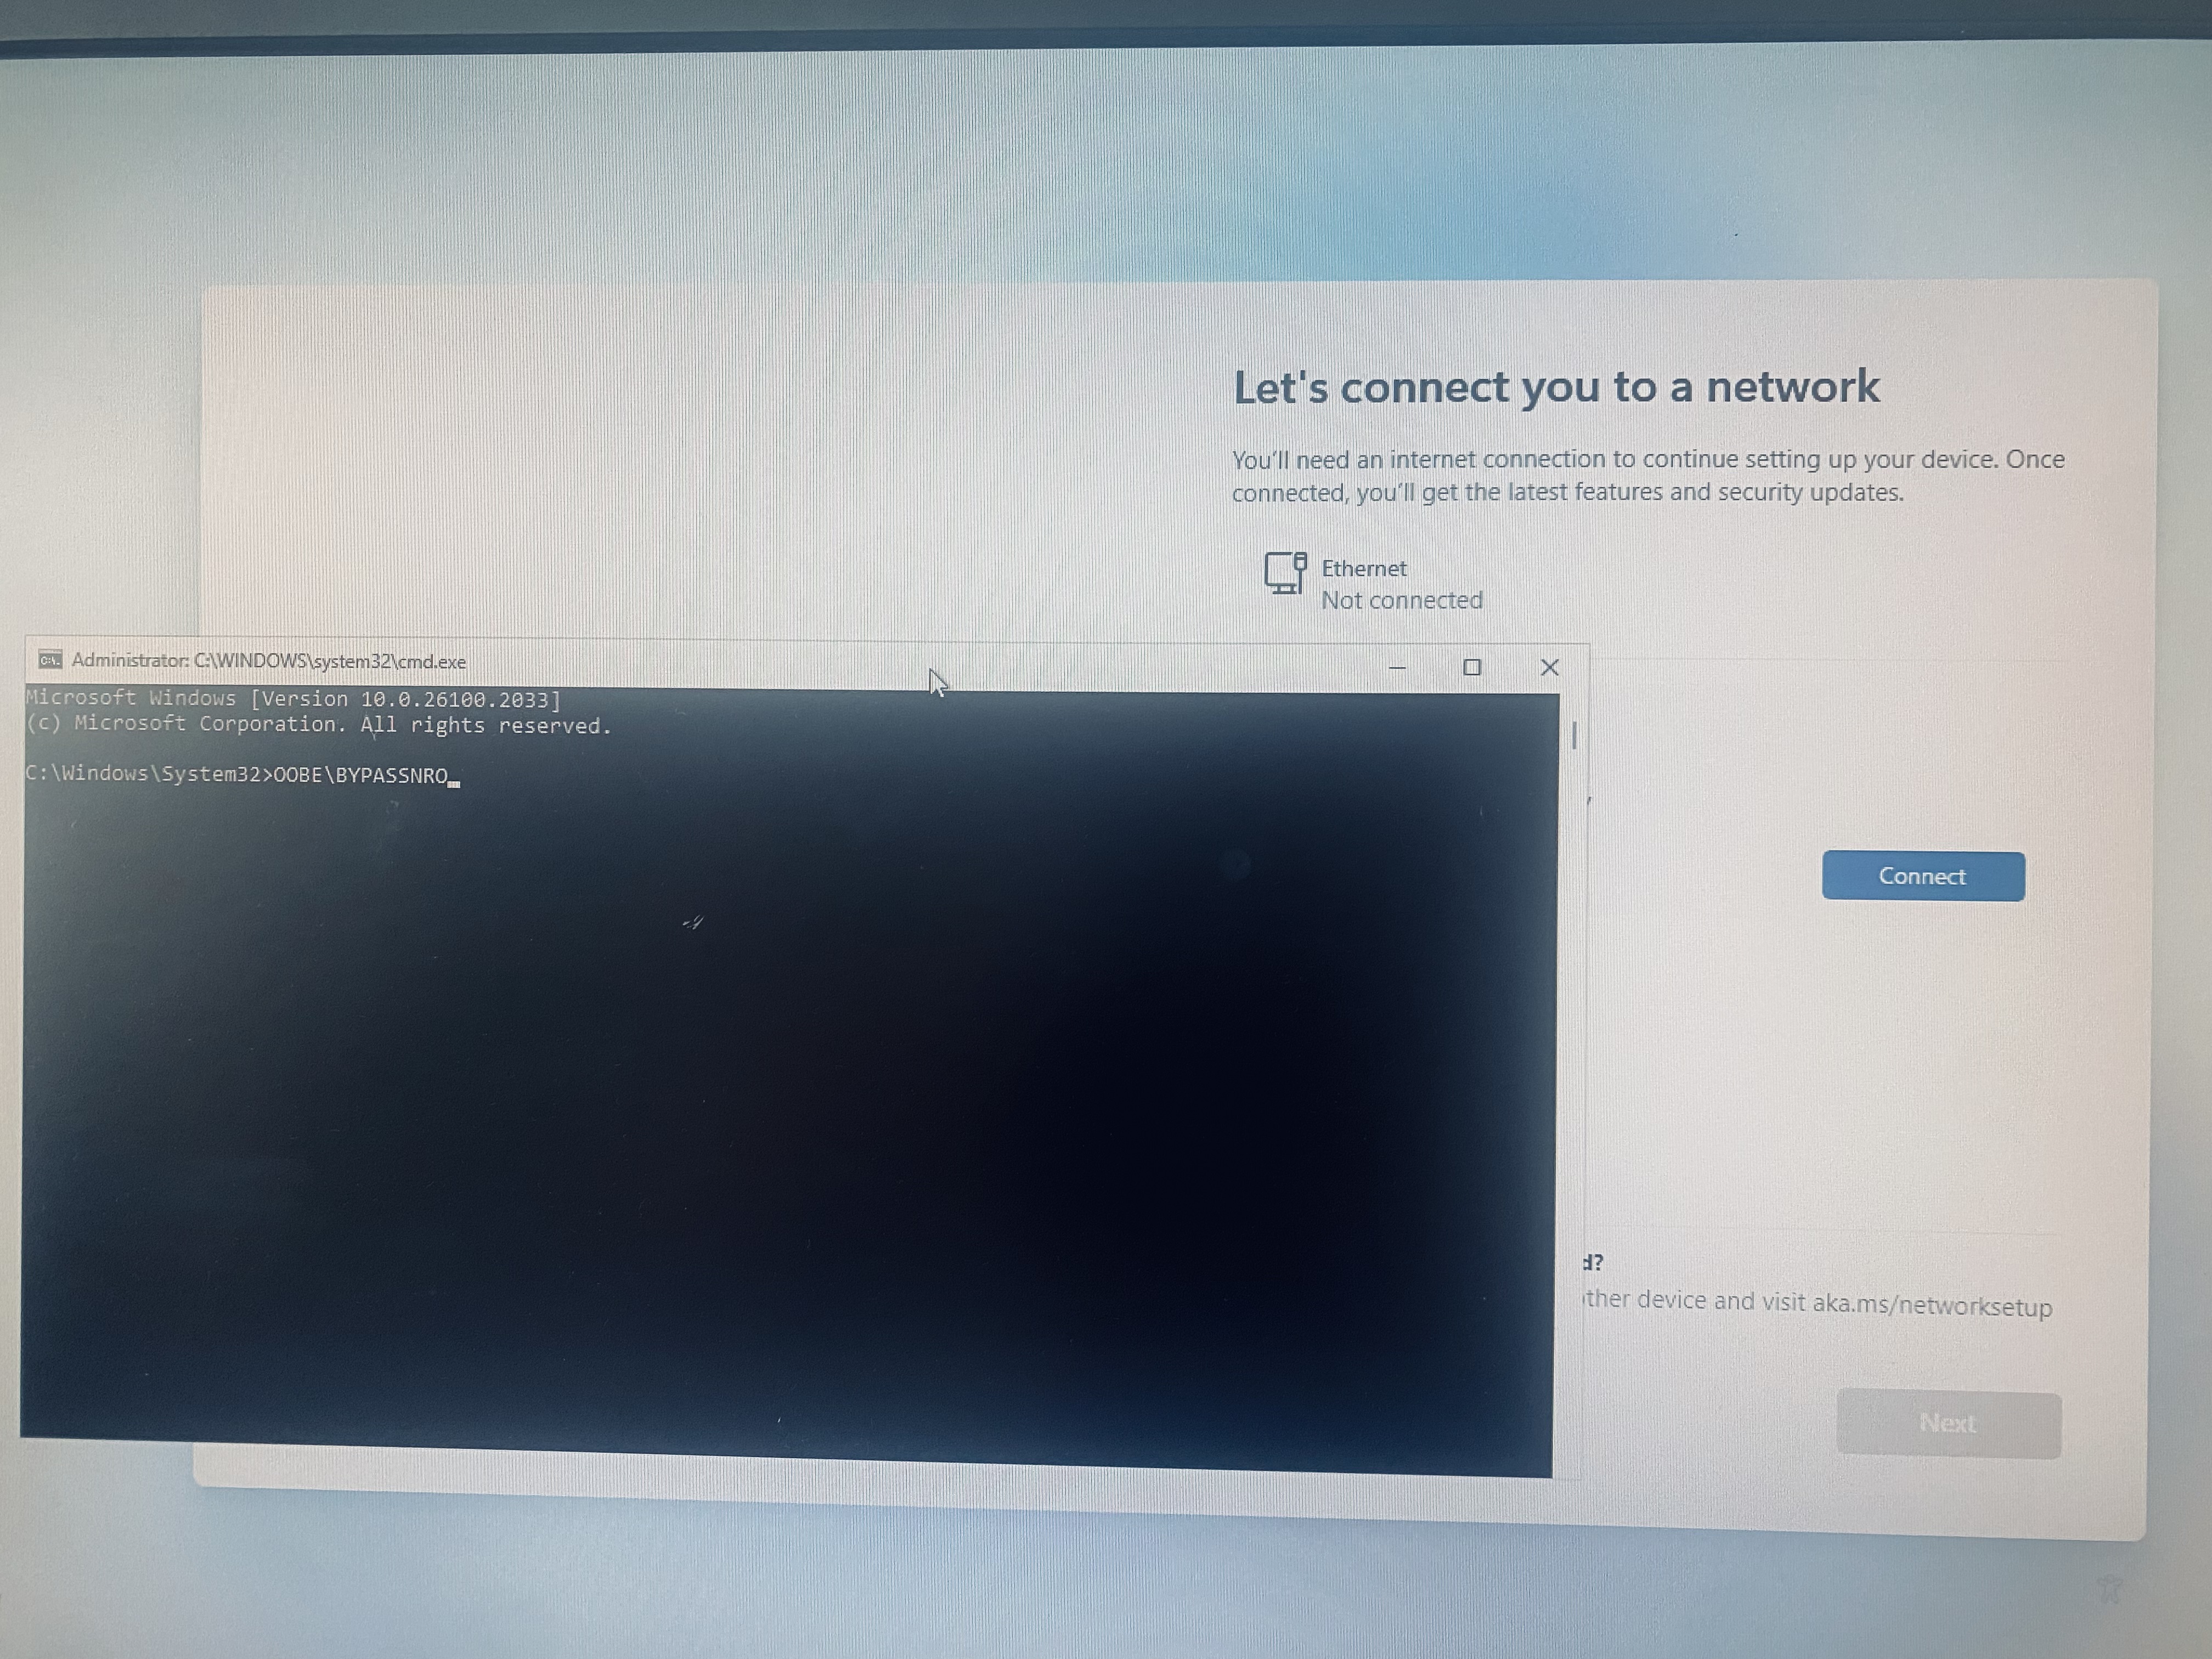
I will add that you might not be able to readily type in terminal / command prompt. This is because command prompt does not present itself, by default, as the foreground window, a small bug. To overcome this, simply press ALT + TAB and then scroll to the correct window to bring your command prompt to the fore.
One more thing: for this to work, you must have disconnected all internet connections prior to installation. That means if you got this far with internet, you will need to start over with a new installation.

Silly, but true. Annoying, but reality. Odd, but correct. Bad news, bears. Sorry for making you redo installation, but not sorry for getting you back on the road. Sad you waited until the end to read this, but happy you made it to the end. Glad you figured it out, but elated you overcame this challenge.
God bless!